This is such a fun technique and Amy makes it easy to do! Follow along . . .
By Amy Walford

We’re still having a blast celebrating CASE Study‘s 2nd Anniversary. Let’s recap on what we’ve done so far:
- We’ve shown our signature style
- We’ve thought outta the box
- We’ve CASEd a DT Member
- We’ve CASEd you
So what’s left? Well to CASE ourselves of course! We’re asking you to do the same too.
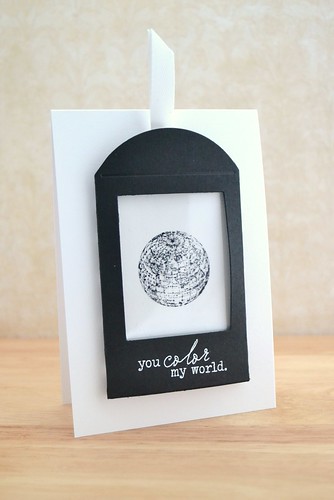
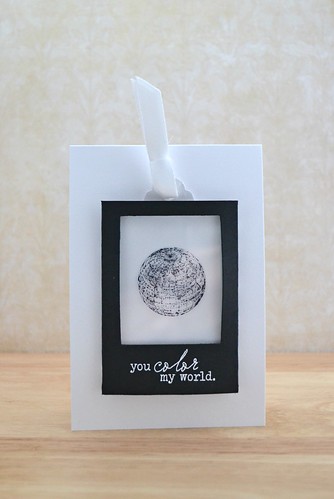
So for my CASE I picked a card that I had a blast making…and one I thought I’d have a blast CASEing:
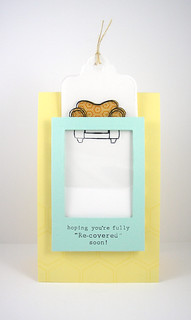
Recognise it? It’s a magic slider card and since sooooo many of you requested a tutorial for this, I’ve finally had time to do it – hurrah!
But first, my CASE:
I like that this magic card plays on the sentiment, and I wanted the only colours to feature in the ‘magic’ 🙂
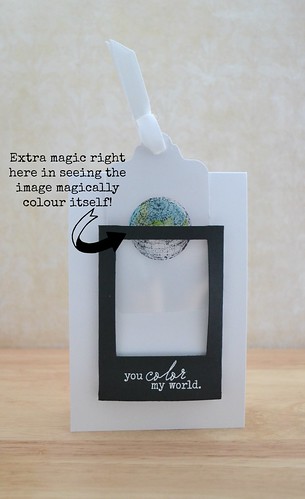
Literally colouring my world before your very eyes!
Slider Card Tutorial
Now for those readers stopping on to read the tutorial: OK so are you ready to make one of these? They’re super easy – I promise! 🙂
This list is in addition to basic supplies of cardstock etc… It’s easier if you’ve got these in your crafty stash but if you haven’t, improvise!
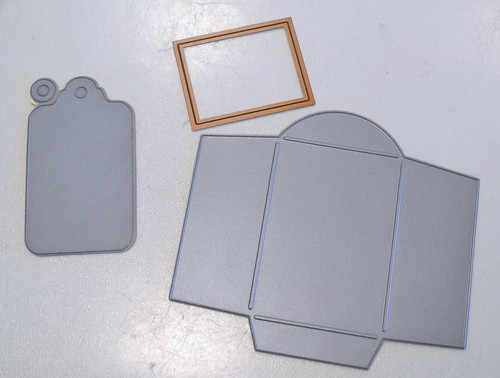
- Seed Packet Die (Papertrey Ink)
- Tag Sale Die #1 (Papertrey Ink)
- Rectangular Nestability (Spellbinders)
- Acetate
- Sticky Foam Pads
- Ink for stamping on acetate (I used Staz-on)
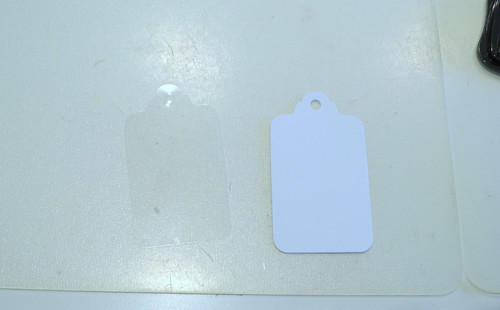
Step 2 – Cut a tag from white cardstock and a tag from acetate
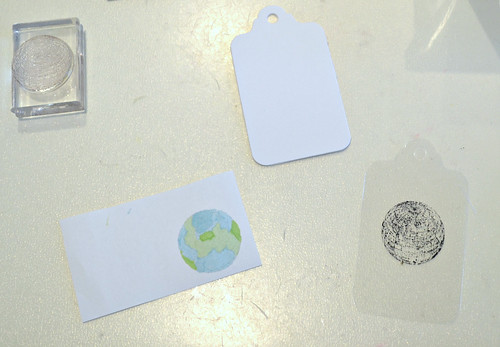
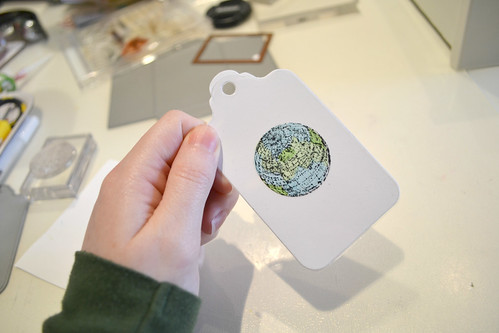
Step 3 – Stamp image on acetate (I used Staz-on) and stamp same image in light ink on paper (yes, paper and not card; you want to keep things nice and slim for the trick to work smoothly) and colour (trust me, it’s much easier to do this rather than try and stamp precisely on the card tag so the images line up nicely when on top of each other). Alternatively you could stamp on patterned paper – it’s up to you!
Step 4 – Cut out colour image and adhere to card tag, lining up with acetate tag.
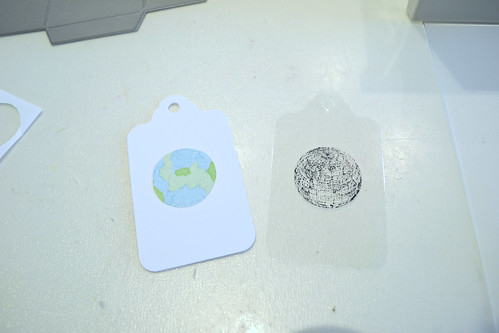
They should line up nicely when placed on top of each other.
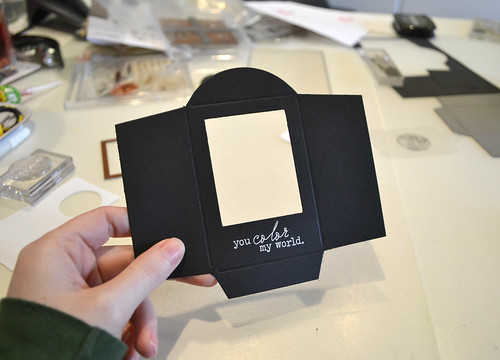
Step 5 – Die-cut seed packet die and use a nestability to create the window. Now I’d already made sure my sentiment would fit along the bottom – make sure yours does too if that’s where you want to place it! No nestability? No problemo! Use a ruler and craft knife instead!

Step 6 – Stamp and emboss sentiment. (Your sentiment might feature on the card rather than the window frame, in which case, just ignore this step!)
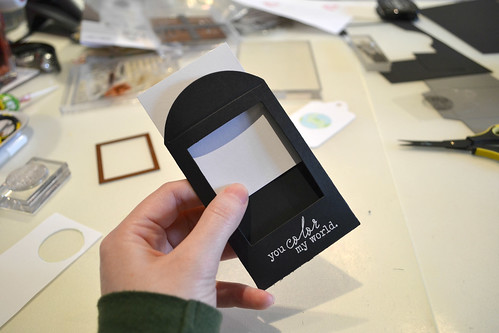
Step 7 – Fold seed packet die and place a white piece of card inside (this card will allow the image to show through the window and also hides the folds of the seed packet die)
Step 8 – Thread ribbon/twine through the two tags to secure them together
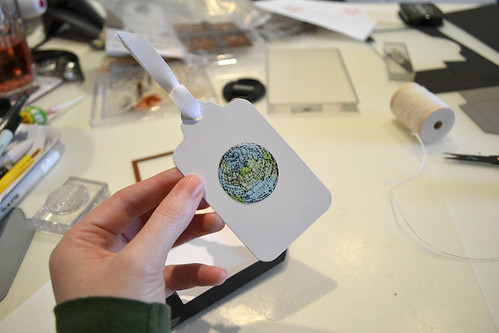
Step 9 – This is where the magic happens! Thread the acetate tag into the seed packet die, and allow the card tag to hang behind it.
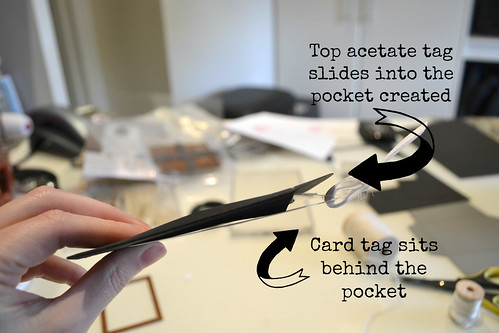
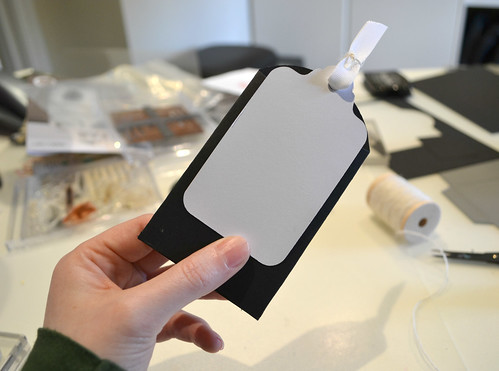
The back of your seed packet die should have the card tag hanging there like this:
Step 10 – Apply foam pads around the back of the frame and adhere to cardbase to finish! I trimmed some foam pads in half to make them tiny – you don’t want them to interfere with the movement of the tags.

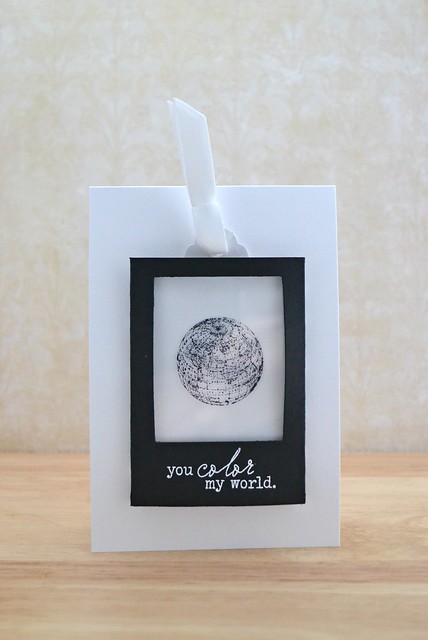
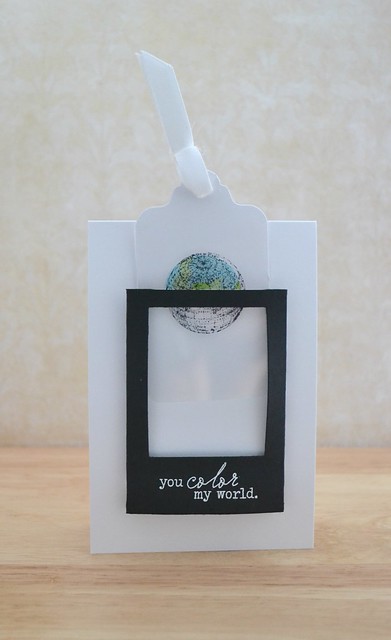
Step 11 – Assemble….
…and play:
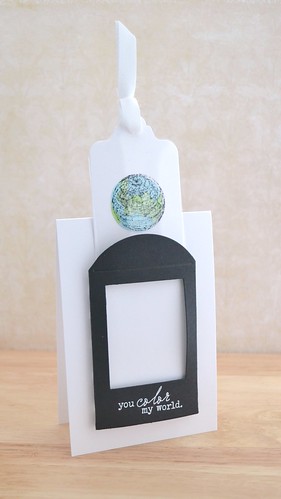
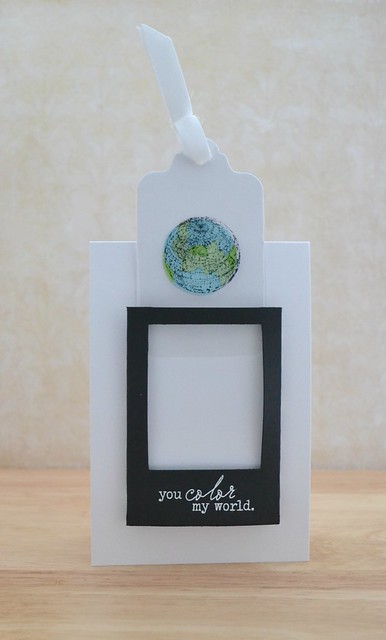
Step 12 – Indecisiveness/a change of heart…..!
I decided to trim the top panel from the seed packet die – although it hides the top part of the tag nicely, it disguises the magic too. It’s entirely a personal preference but I’m always a sucker for extra magic!
So there you have it! I hope some of you find this useful, and will try this fun interactive approach to cards yourself – if you do, be sure to let me know so I can check it out!
Thanks so much for stopping by today!
Catch ya later!

Card Deets
{you color my world}
Stamps: Sentiment from Happy Trails (Papertrey Ink)/Globe from Wonderful World Clear Stamps (Hero Arts)
Ink: Black (Staz-on)/Versamark
Cardstock: True Black, White (Papertrey Ink)
Accessories: Tag Sale Die #1, Seed Packet Die, Fresh Snow Twill (Papertrey Ink)/Rectangular Nestability (Spellbinders)/Detail White EP (Stampendous)/Acetate (Office Supply)
This is super cute!! Thanks for the tutorial! 🙂
Awesome slider card! Thanks for the tutorial!!
I LOVE Aimes’ work!
We do too!