By Valerie Bishop
I used one of my favorite flower paper folding techniques to make the flower on this card I made using the products from my Front Porch Kit-
.jpg)
Here’s the tutorial on this – it’s the same flower with just different papers –
All you need are a few items – a piece of double-sided patterned paper, a circle punch (I used a 2″ punch but any size will do),a larger circle punch (for the base – or you can just freehand cut this),a large brad or button, and some adhesive.
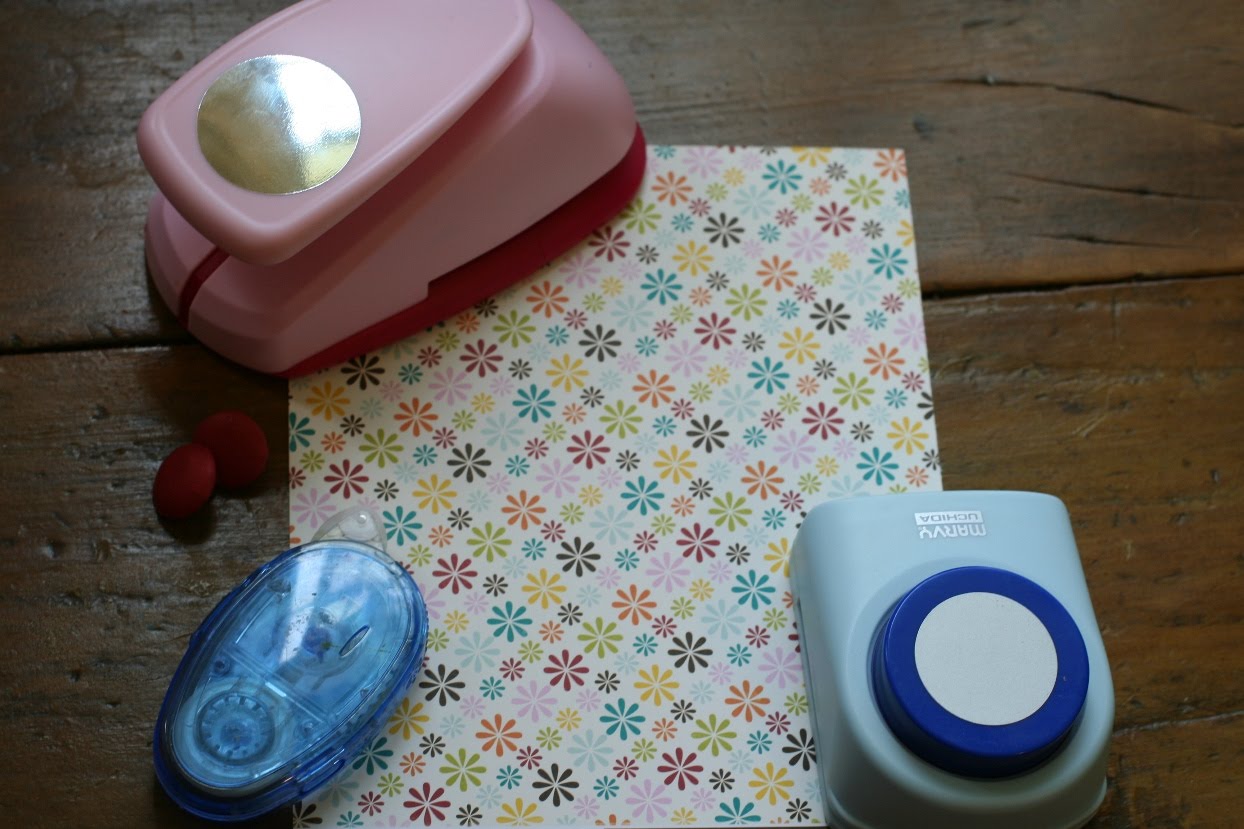
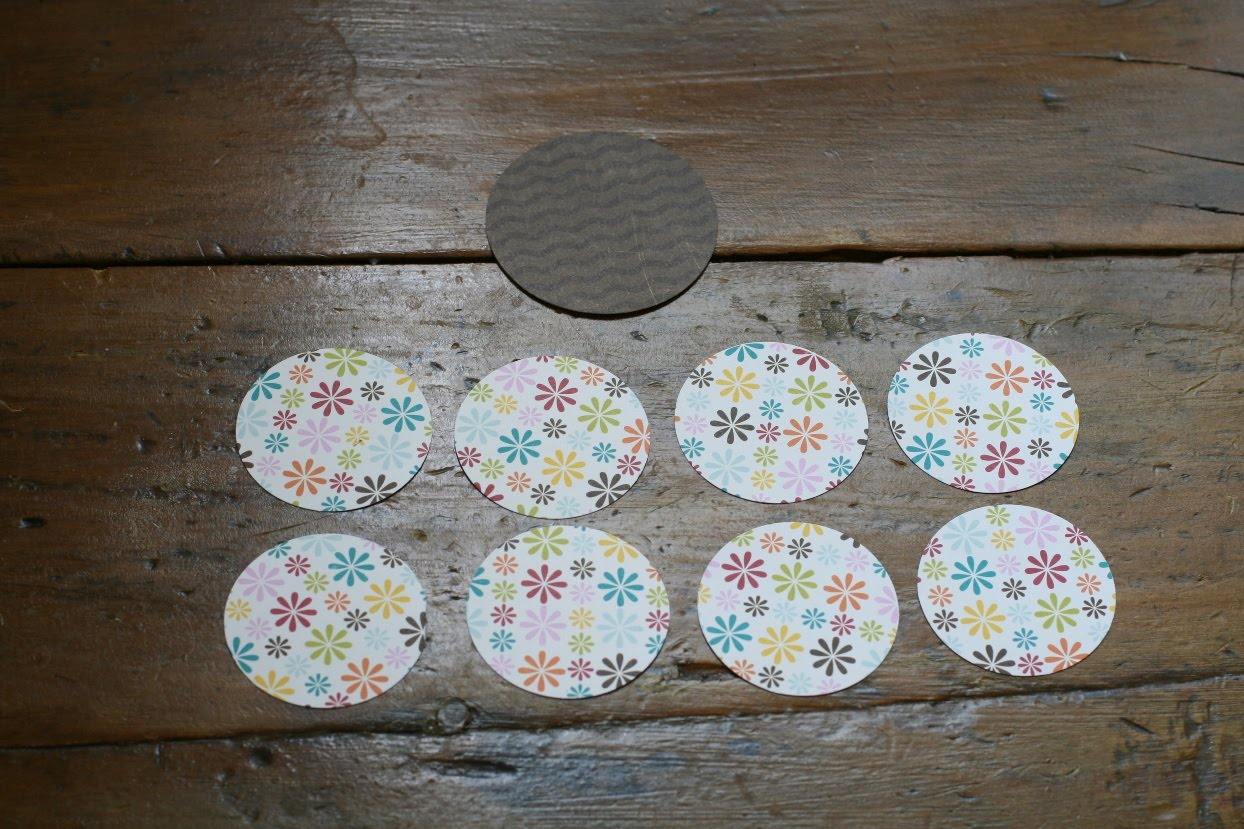
First you need to punch out 8 circles with the smaller circle punch and one with the larger circle punch (I used a 2 1/2″ punch for the base circle).
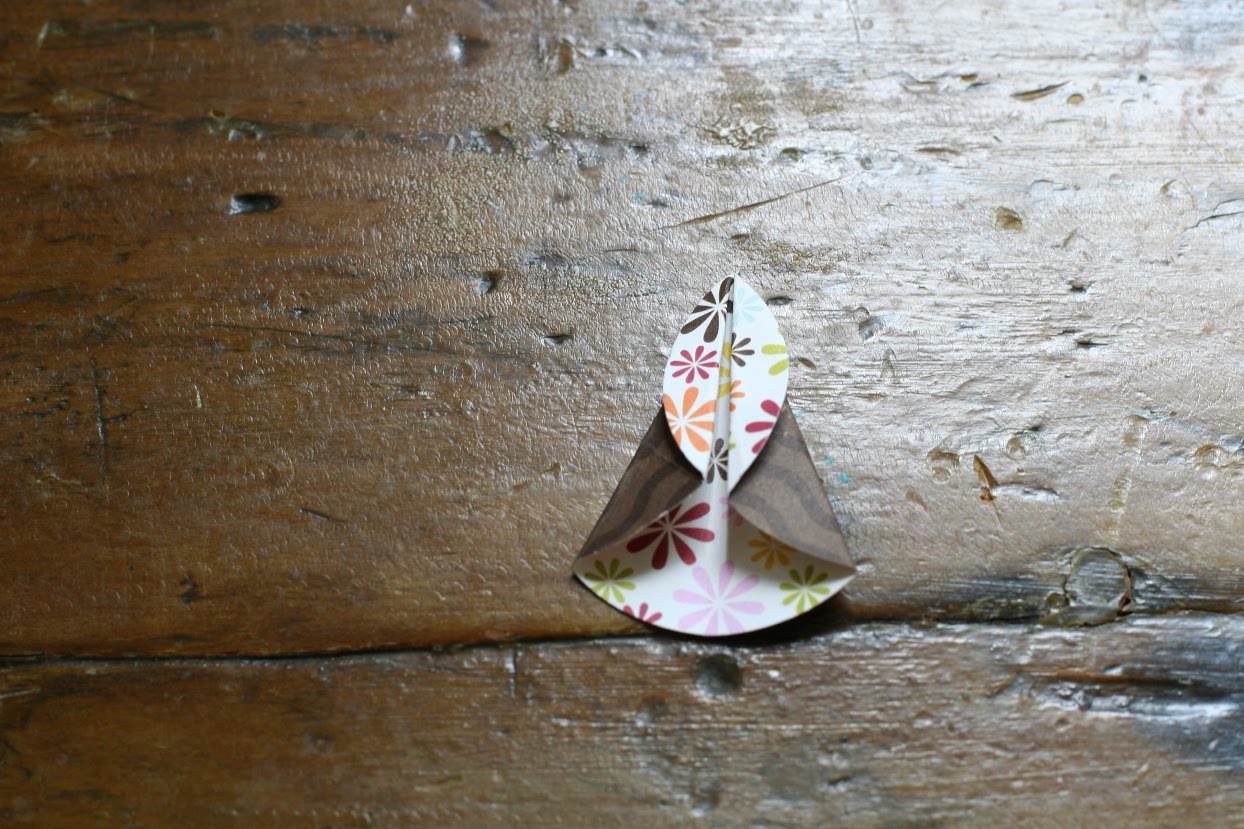
Next, fold all of the smaller circles in half, and then in half again so that they are bent into four quarters.
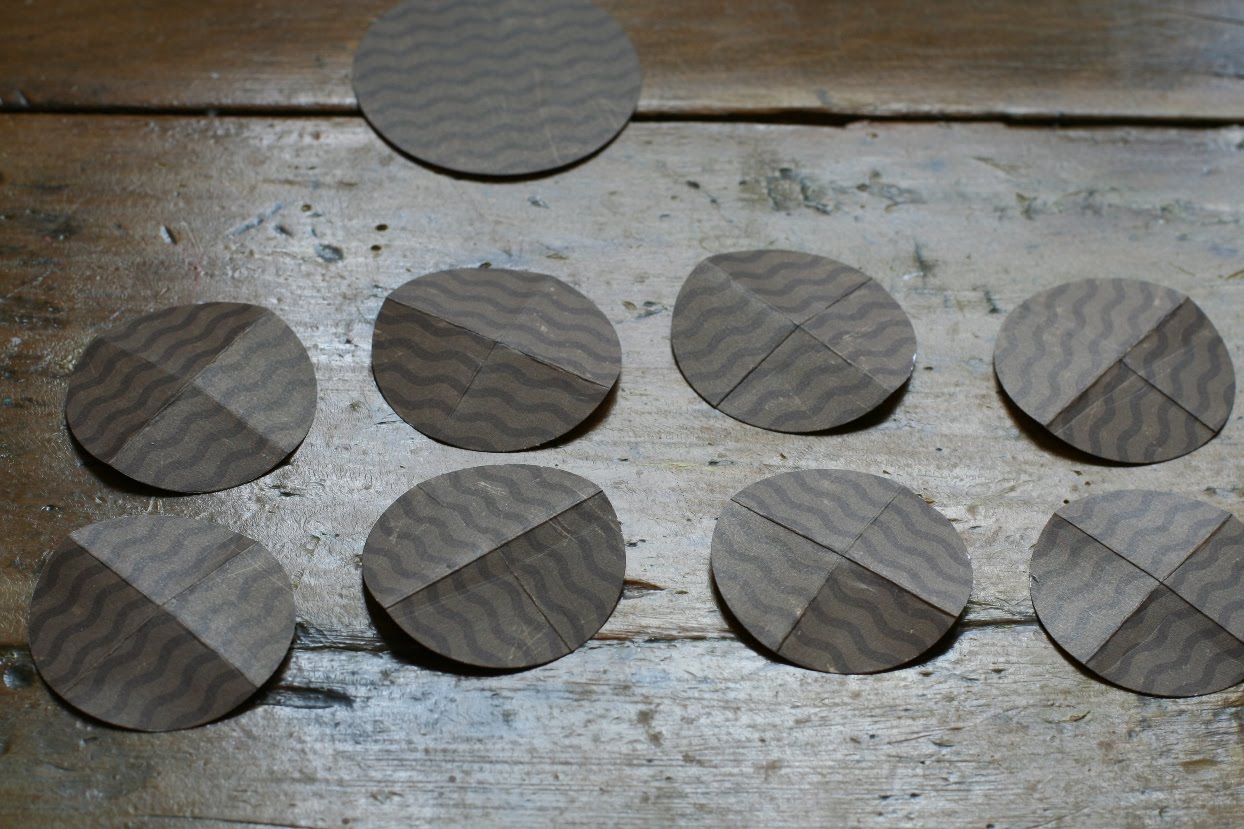
Fold back two of the edges of all of the smaller circles so that they form a point.
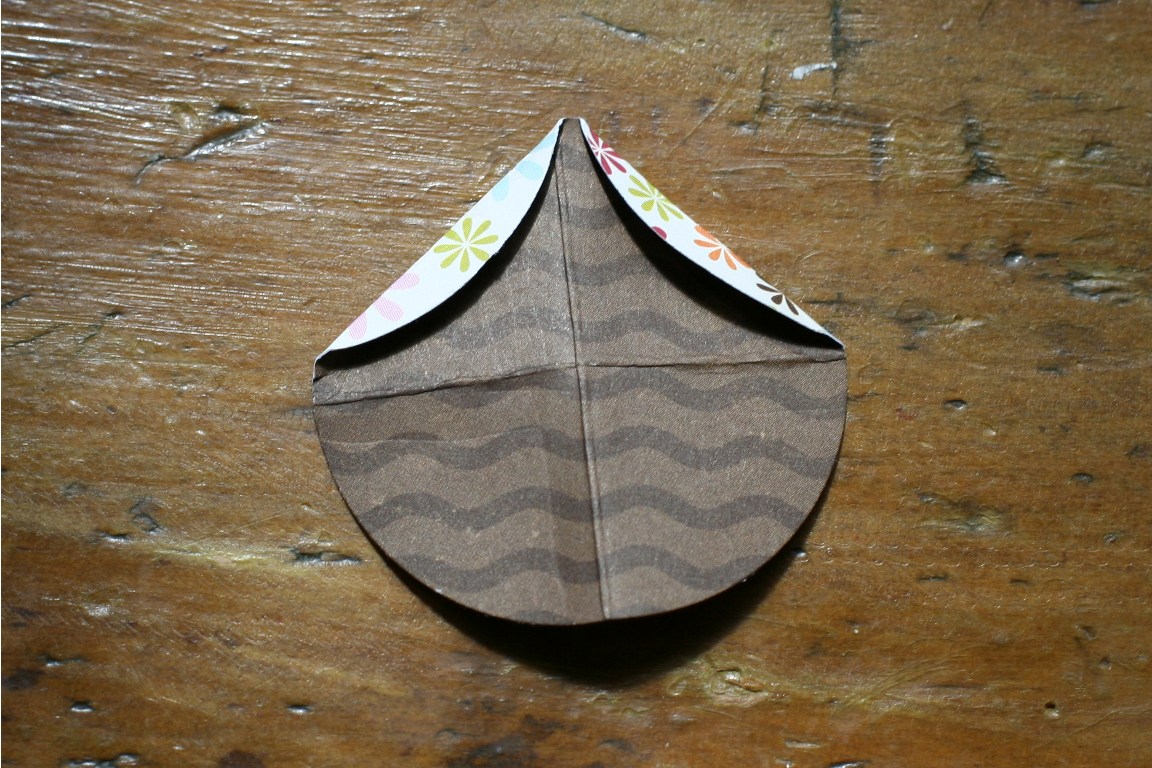
Now, turn the circles over and fold the edges back so that they meet in the middle – sort of like a paper airplane.
After you finish folding all of the smaller circles, apply adhesive all over the large circle and start applying the small folded circles as shown
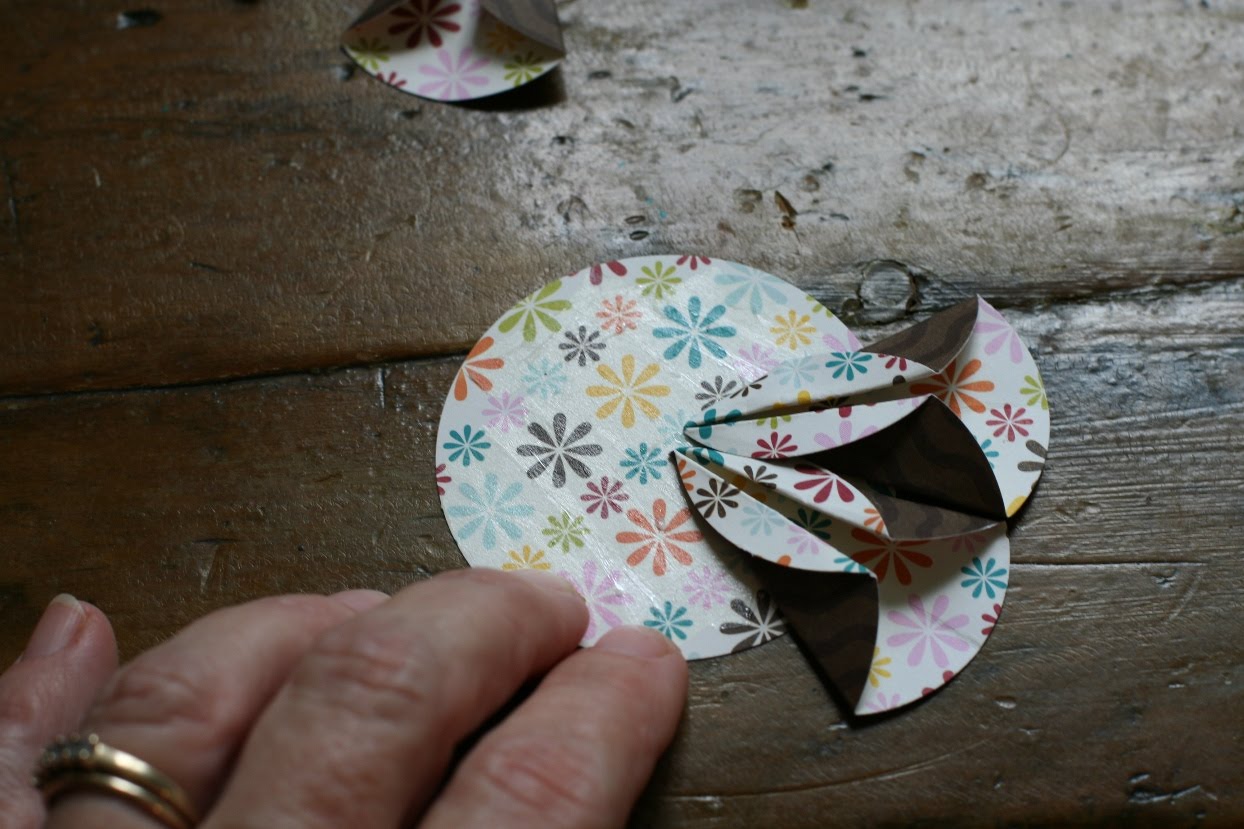
This is what the completed flower should look like

For the center of the flower that I used on my card, I layered a button on top of one of the metal flowers that came in the FP kit – Just Add Water. I also glued some of the dew drops (also from the kit) on each of the petal ends. It’s so simple yet so striking!