By Debbie Seyer
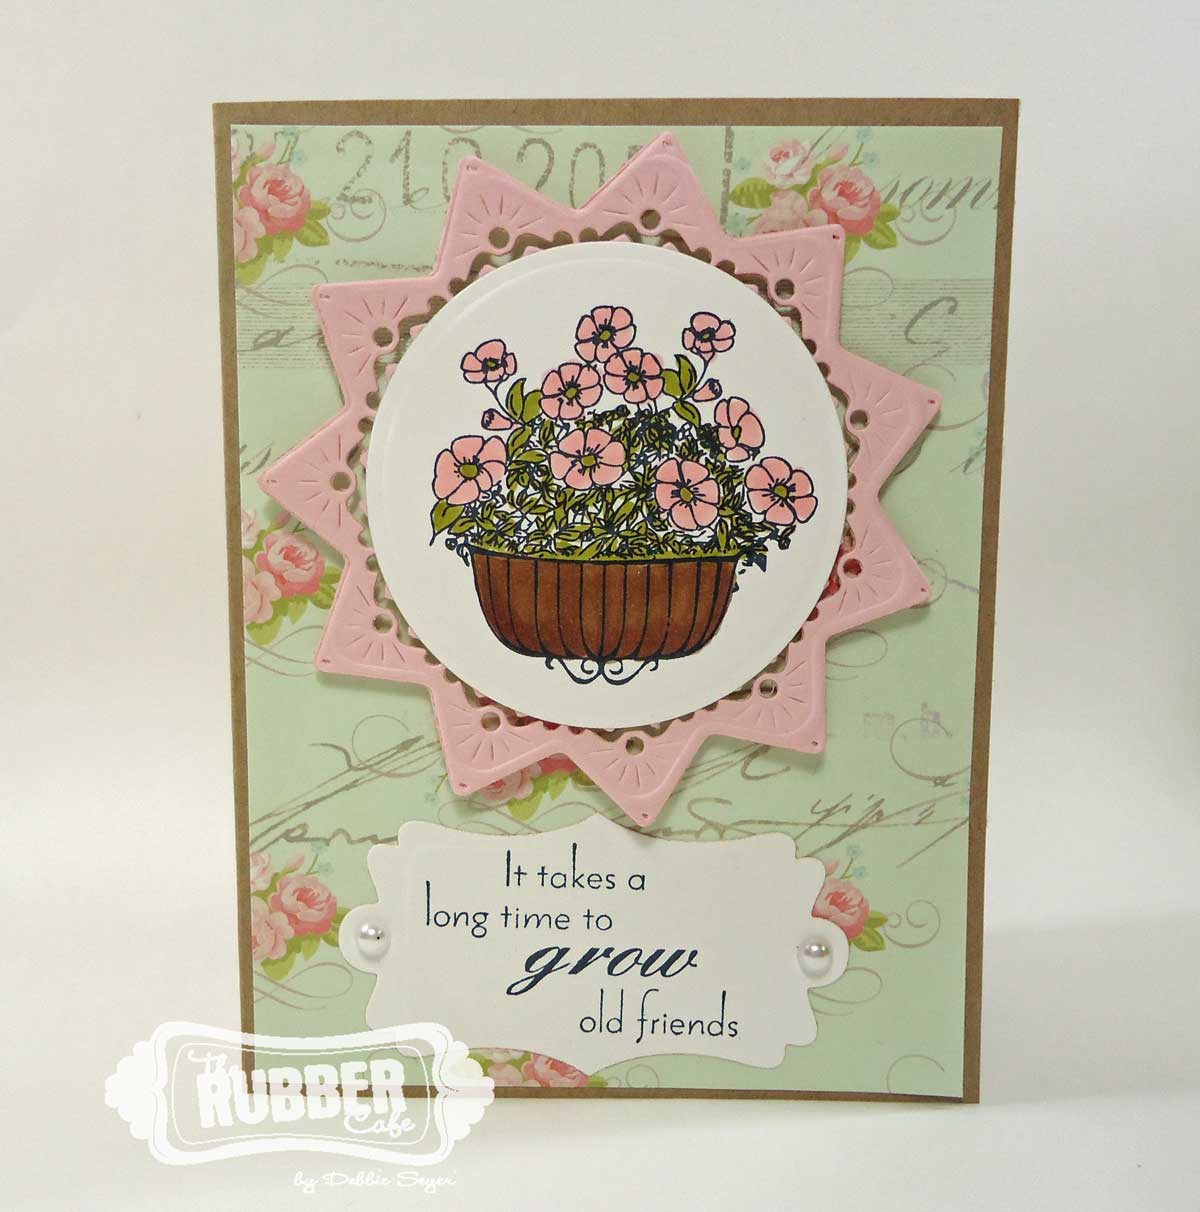
I used Kraft cardstock for the base of these cards and layered some Pink Paislee patterned paper. Then I got busy stamping and coloring. First, I stamped the basket and colored it with Copic Markers.
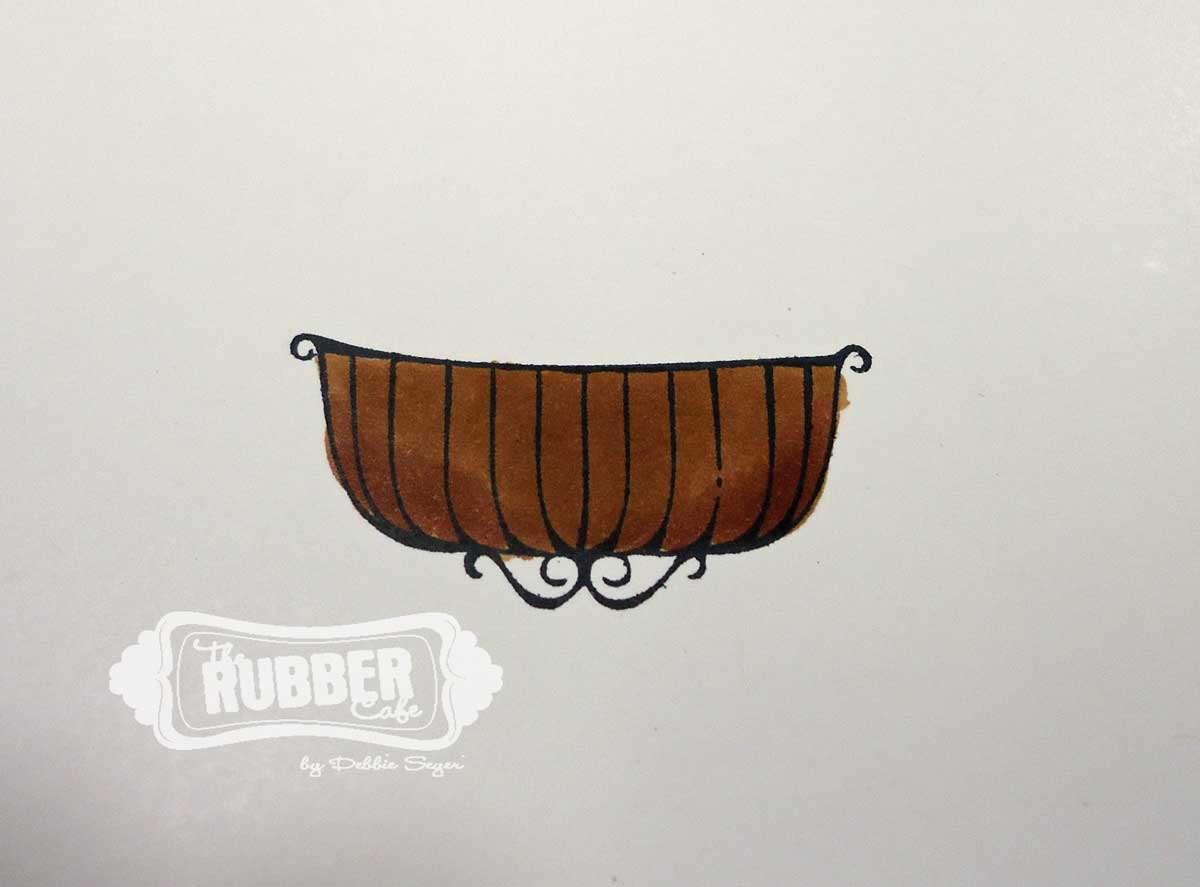
Then I used some masking paper and masked the image so I could stamp the flowers on top. This makes the flowers look like they are coming out of the basket!

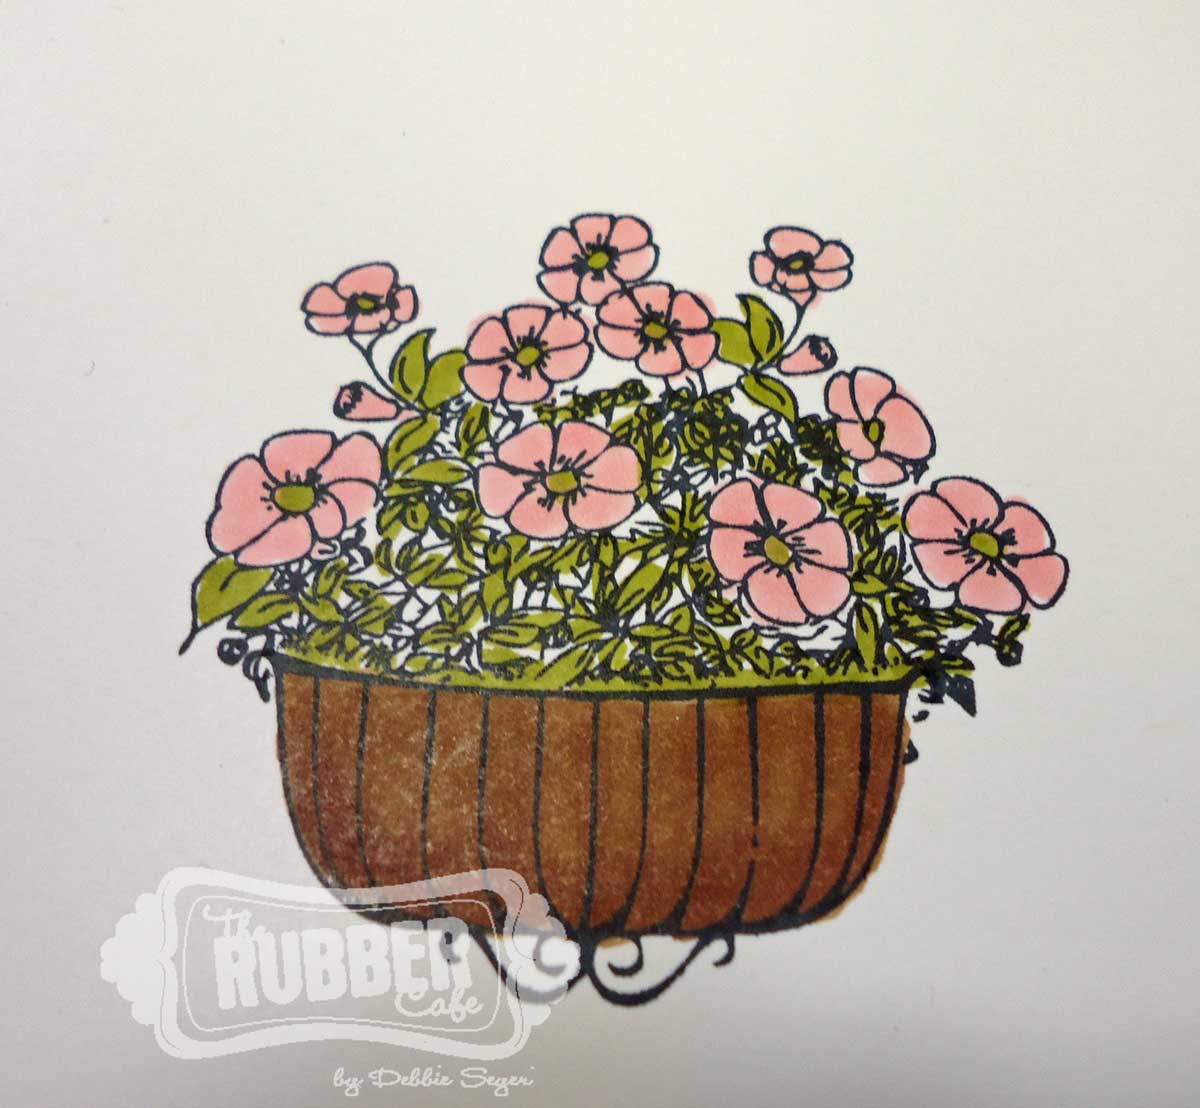
Then I stamped the flowers on top and removed the masking paper. See how great it looks? Plus its super easy to do.
You can save your mask for next time you use the stamp, too!

Then I colored in the flowers and leaves. As you can probably tell, I did not do a bunch of shading and highlighting. When making a bunch of cards, I like to keep things simple.
I cut and embossed the flower image using Spellbinders Standard Circles Lg, then I cut and embossed the Exquisite Circles from some pink cardstock. After stamping the sentiment, I cut and embossed using the Grommet Tags. To finish I added the Pearls Jellie Dots.
See? Quick and easy!
I use my Grand Calibur so that I can cut and emboss my dies all at once.
Hope this inspires you to make a stack of cards for special people!

Supplies:
Stamps: The Rubber Cafe’ – Window Garden, Friends
Ink: Tuxedo Black Memento Ink Pad
Cardstock: The Rubber Cafe’ – Pugnacious Signature Paper White, Kraft cardstock, Pink Paislee – London Market Patterned Paper.
Embellishments: The Rubber Cafe’ – Pearl Jellie Dots
Tools and Dies: Spellbinders Paper Arts, Grand Calibur, Standard Circles Lg, Exquisite Circles, and Grommet Tags