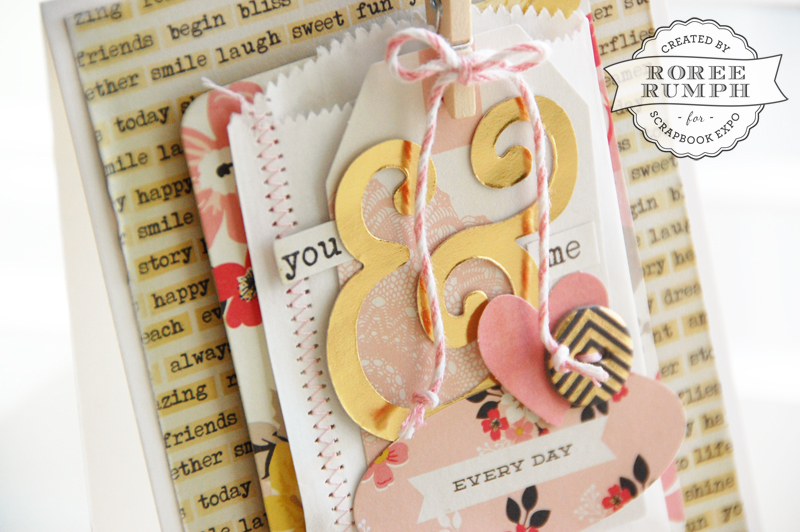
Hey, everyone! Roree here with another Make It! Monday project. Today I am sharing a card I created by building layers of embellishments.
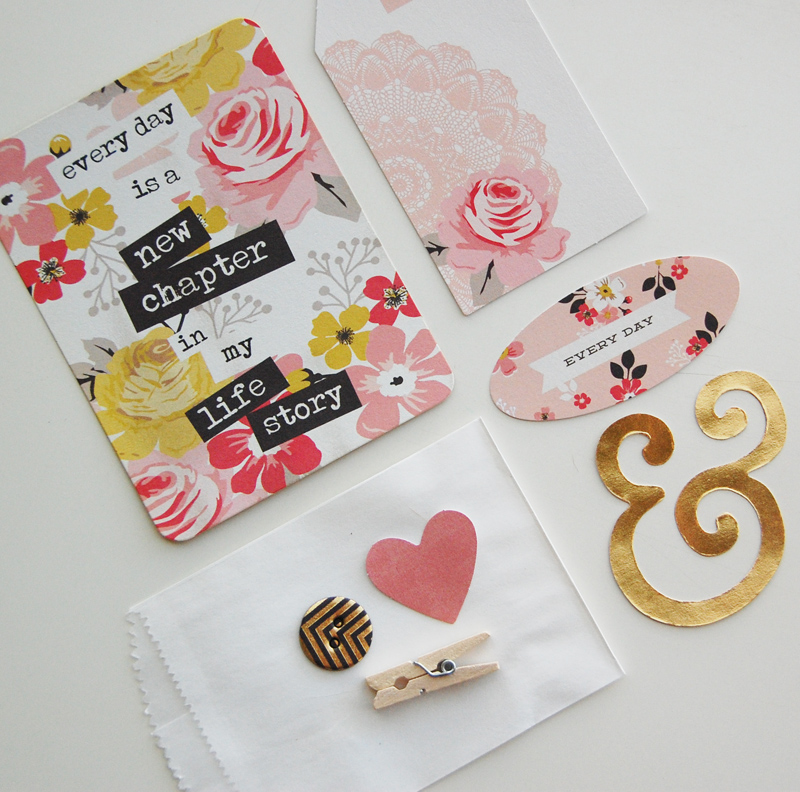
First, I started with different embellishments from the My Mind’s Eye My Story collection: die cuts, journal cards, chipboard, and stickers.
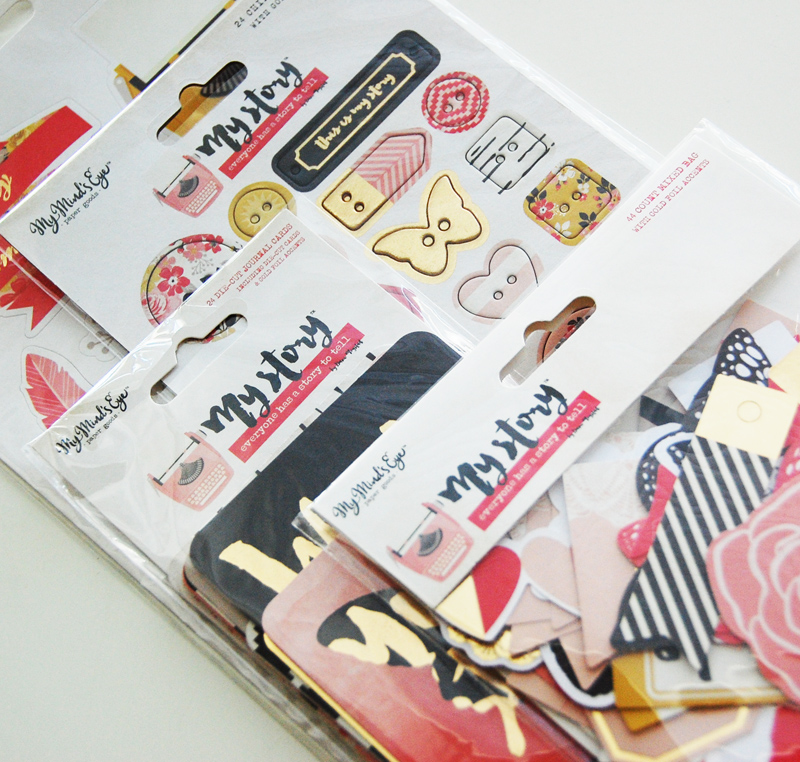
I chose a few of my favorite pieces, along with a small white bag and a mini clothespin from my stash.
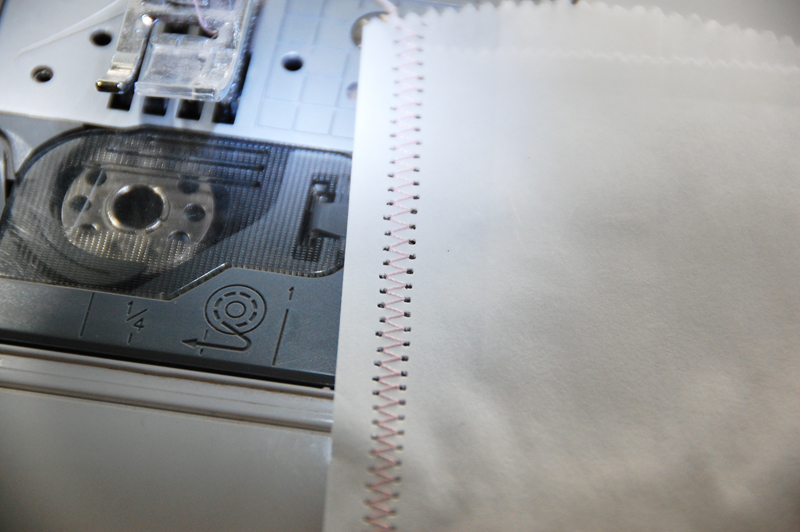
I added some machine stitching to the left side of the white bag.
I layered and adhered the larger pieces together.
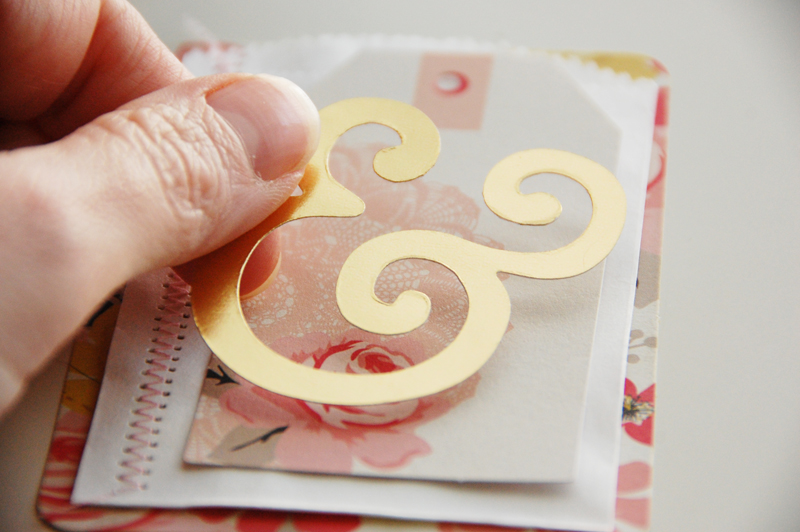
Then, I layered and adhered the smaller items on top and tucked a few sentiment stickers under the ampersand die cut.
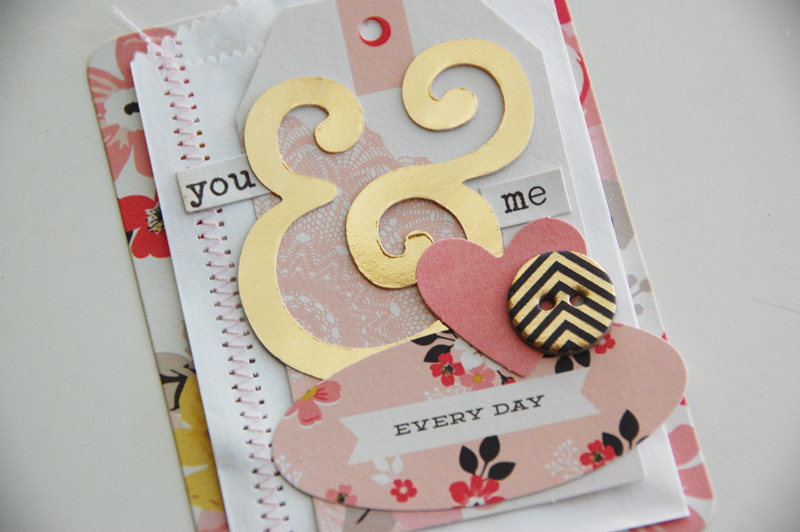
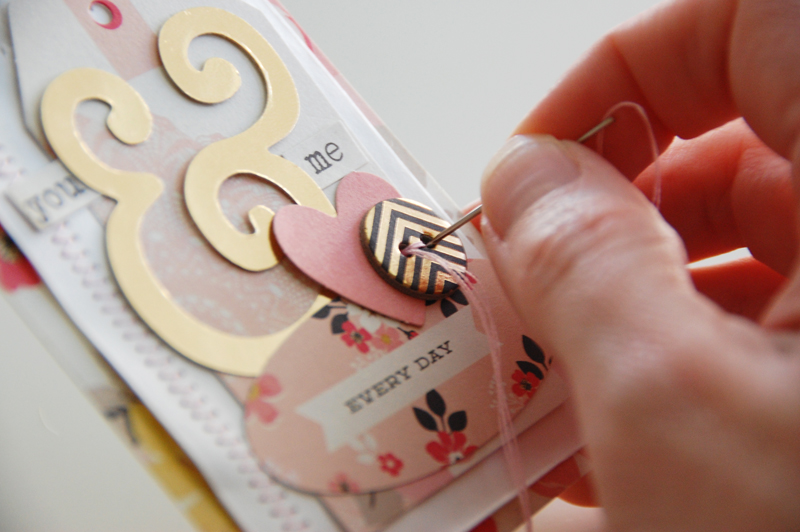
I hand stitched the chipboard button to the layered stack.
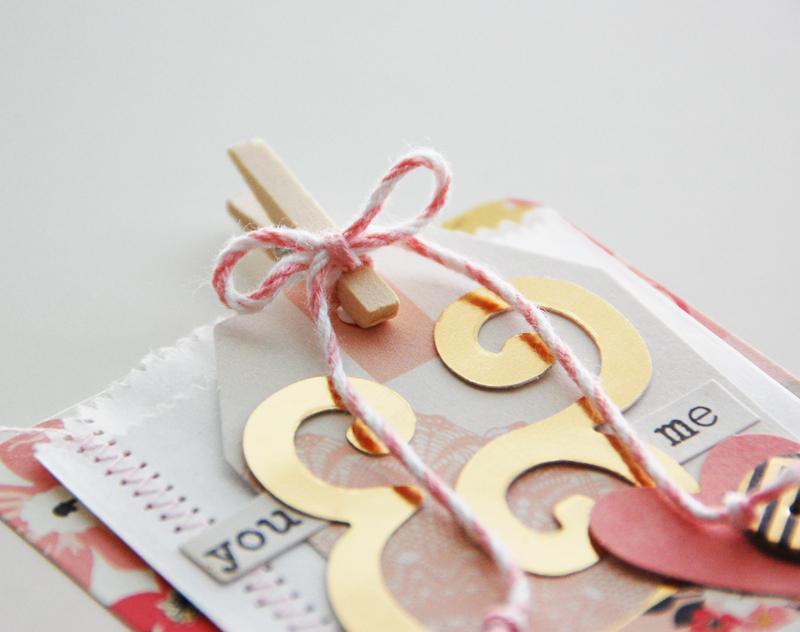
I added some baker’s twine to the mini clothespin and tied a bow.

Then, I added the clothespin to the top of the tag die cut.
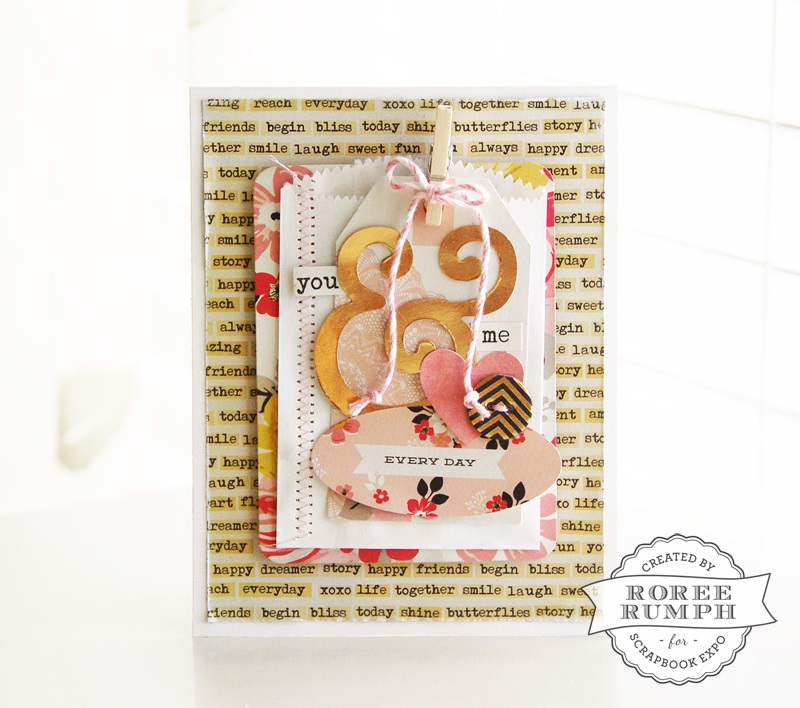
I finished by adding the layered embellishments to the center of a 4 1/4 x 5 1/2″ card.
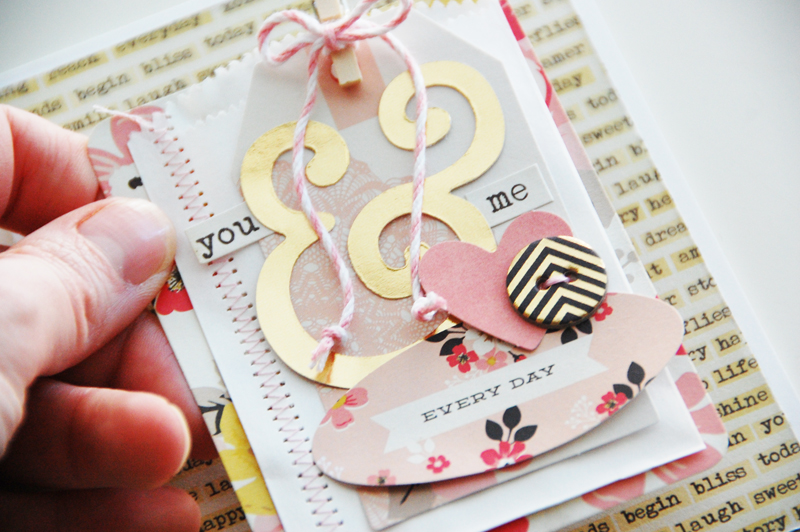
By building layers, my card is full of texture, color, and visual interest.
I hope you enjoyed today’s Make It! Monday project. Thanks so much for stopping by!
Love all the layering!
You make it look so simple, even rookies are inspired. Thanks. I’m getting motivated for the Expo next weekend. I can hardly figure out what I want to tackle and then I see layered cards ARGH! Thanks again. LeAnne
love your card. thanks for the idea!
Oh, I love tutorials like this. I am so hesitant on making cards with layers. This is such an inspiration.
Love the layers and textures. Thanks for sharing!