Hey, everyone! Roree here with another Make It! Monday project. Today I am going to share how I create my favorite layered flowers—perfect for cards, layouts, and so much more.
I love to make flowers and this style is my go-to flower for so many different types of projects. They are easy to create, are so pretty, and they add wonderful texture and dimension to any project. Now, if you like your projects to fit perfectly in envelopes or page protectors, they may not be for you. But try them on a project that you aren’t planning to send in a flat envelope. If you love flowers, I know you will love creating them as much as I do.
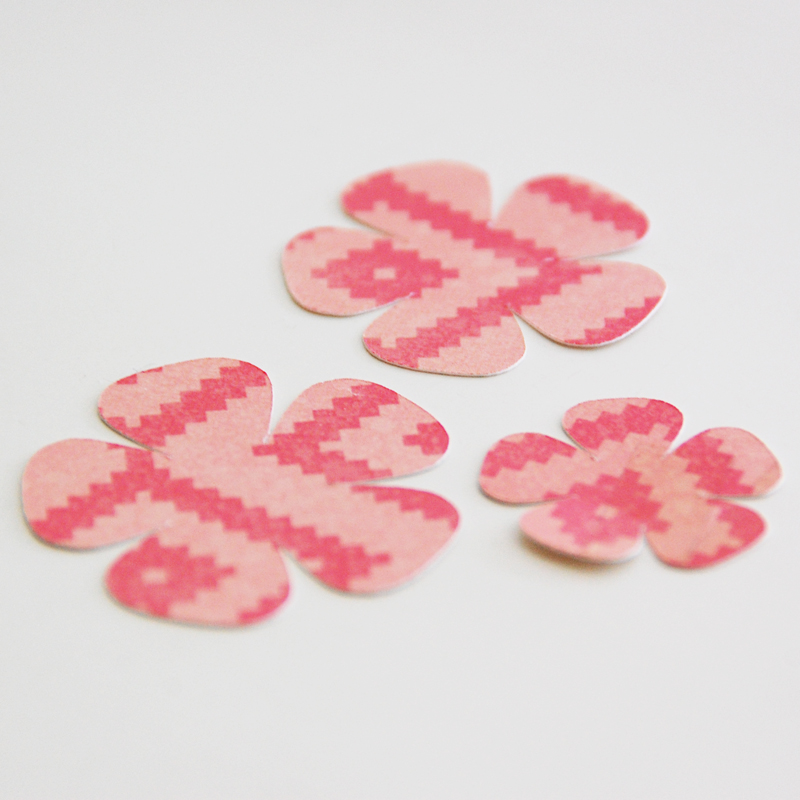
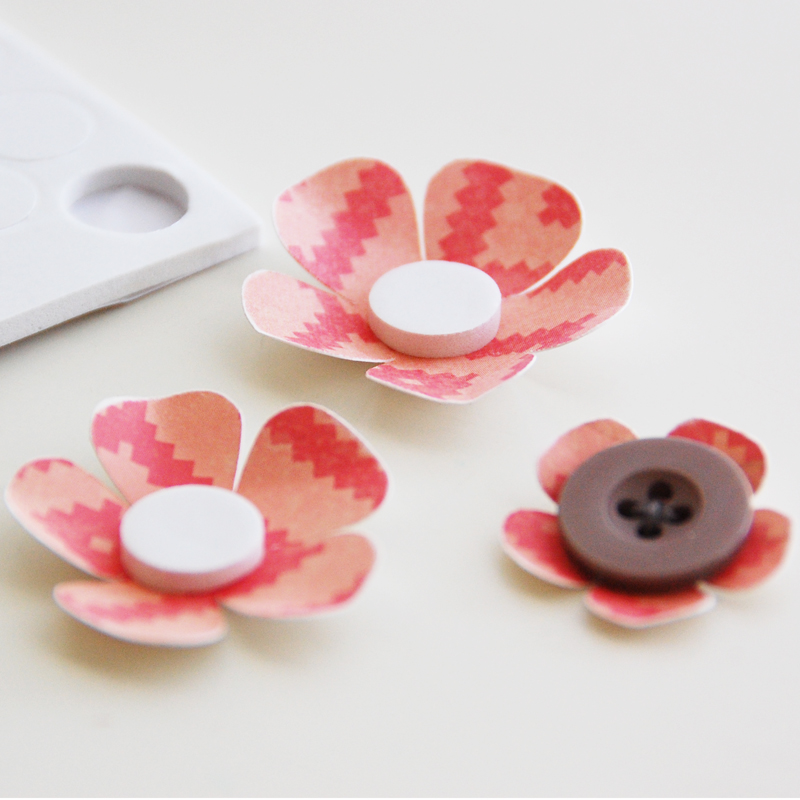
To start, I cut out three flowers of varying sizes with my die cut machine. (You can use pretty much any type of flower with petals.)
I folded each petal around the tip of my finger to give the petals some shape.
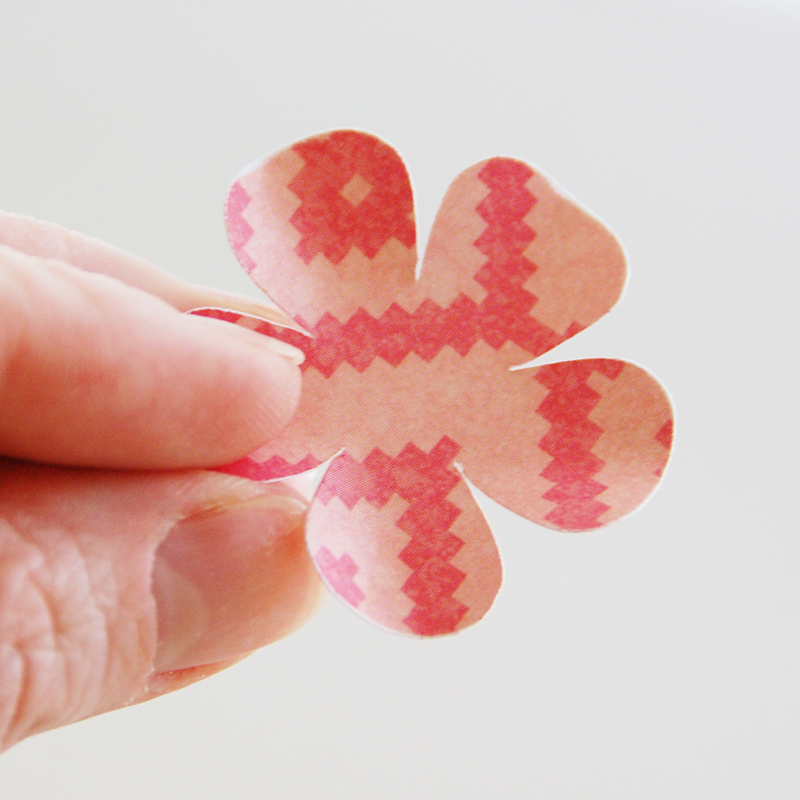
I then folded the petals inward to make the flowers a little more pliable.

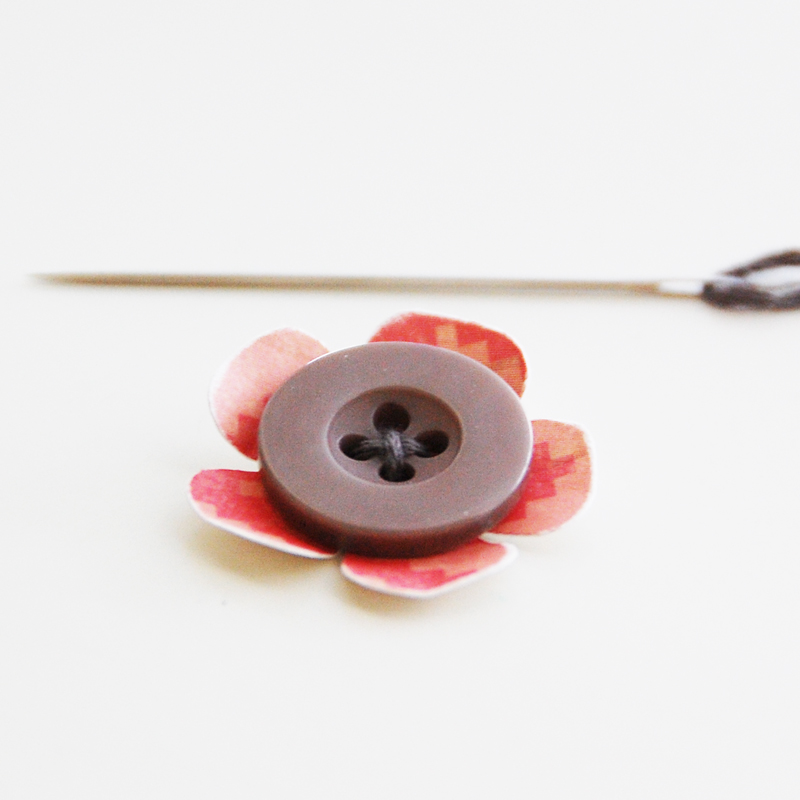
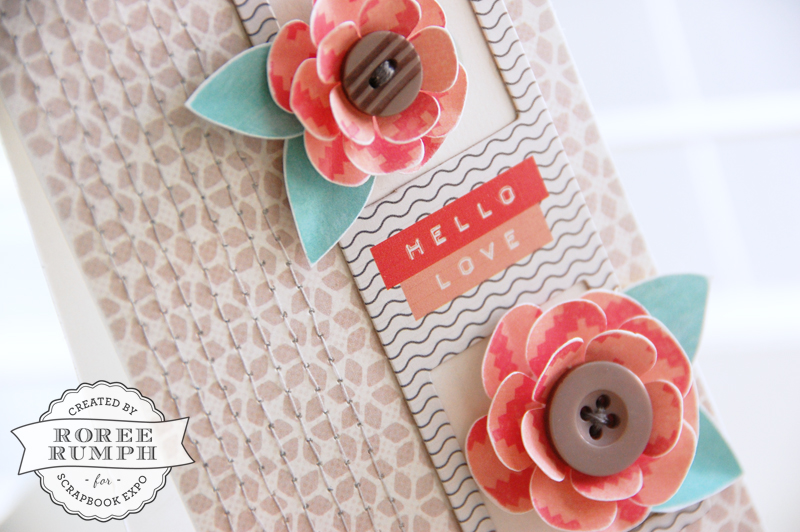
I stitched a button onto the smallest cut, the one that will be the top layer of the flower.
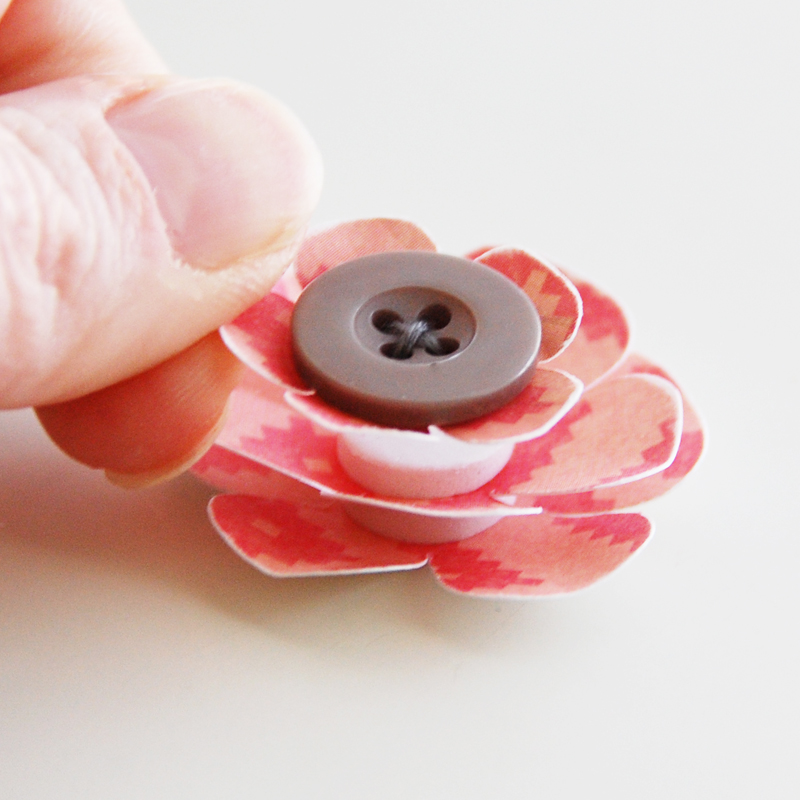
I added foam adhesive to the centers of the remaining flower cuts and then layered the cuts together.
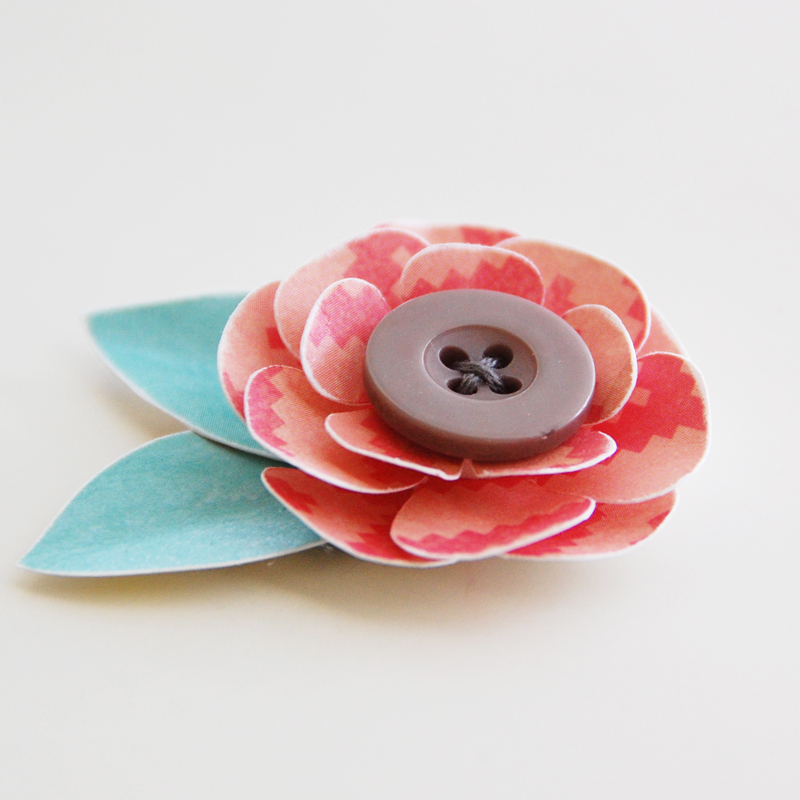
I layered a couple of leaf cuts under the flower, adhering them to the bottom to finish.
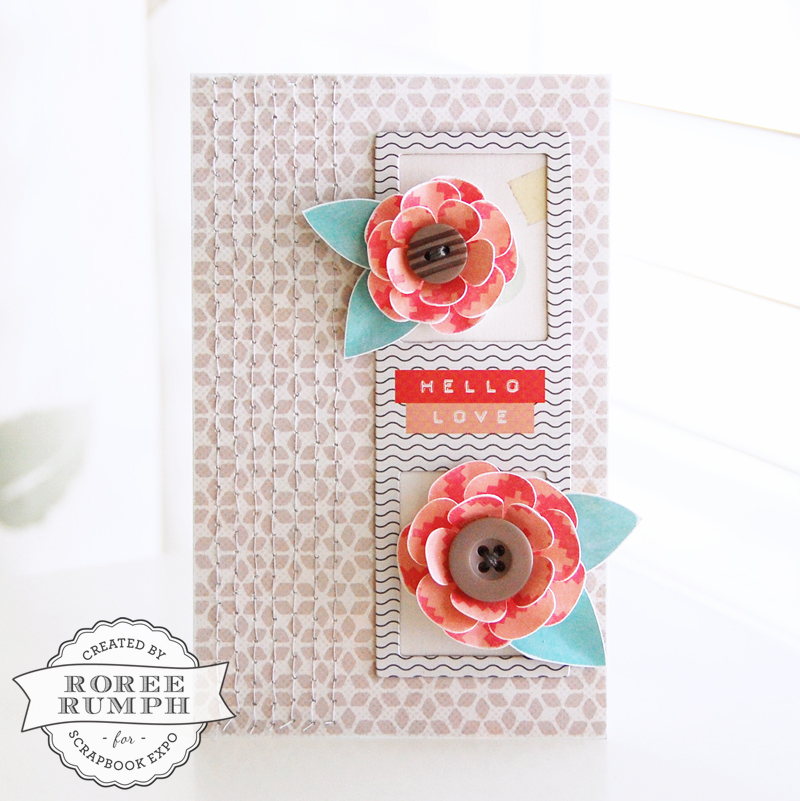
I created one more flower using the steps above and added them both to my card.
I hope you enjoyed today’s Make It! Monday project. Thanks so much for stopping by!
Love your layered flowers and how simple they are to make. Thanks for sharing :0)