 Welcome to this week’s “Inspiration Station!” Recently I purchased some beautiful grosgrain ribbon in a few different colors, and I’ve been thinking of ways I might incorporate them onto my layouts. Today I wanted to share one of my ideas which includes creating a pleated ribbon border. To create the pleated effect, be sure to read through the steps below.
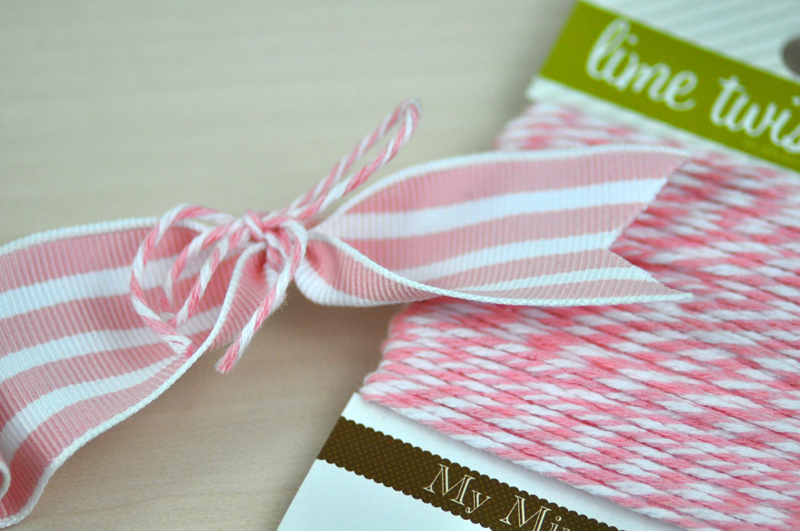
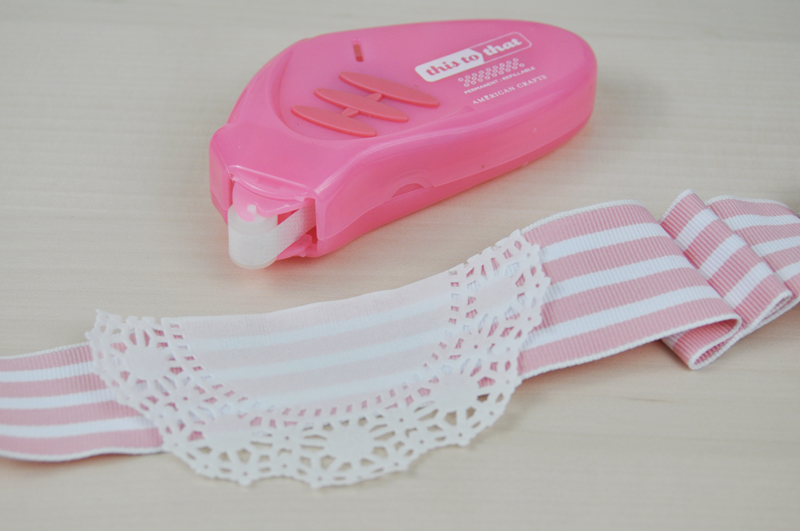
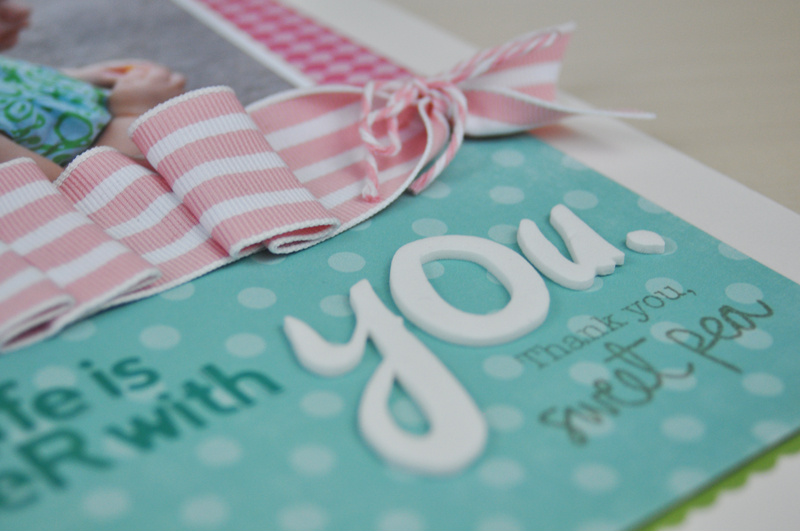
Step 1: Cut the ends of the ribbon to a point. Then wrap baker’s twine in a coordinating color around the end about 1″ from the end of the ribbon. Wrap the twine around the ribbon 3-4 times and then tie the twine tautly into a bow.
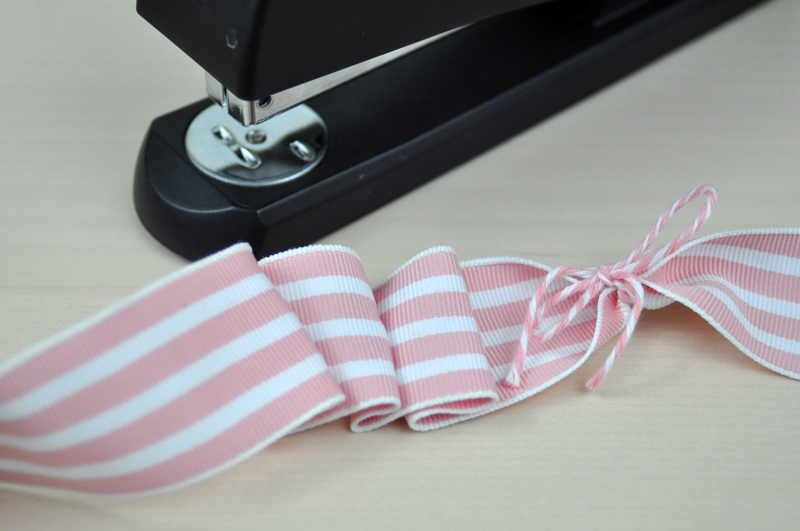
Step 2: Gently fold the ribbon to create the pleats. To hold the pleat shape, staple from the back of the ribbon but only through the bottom two layers so the staples do not show on the front.
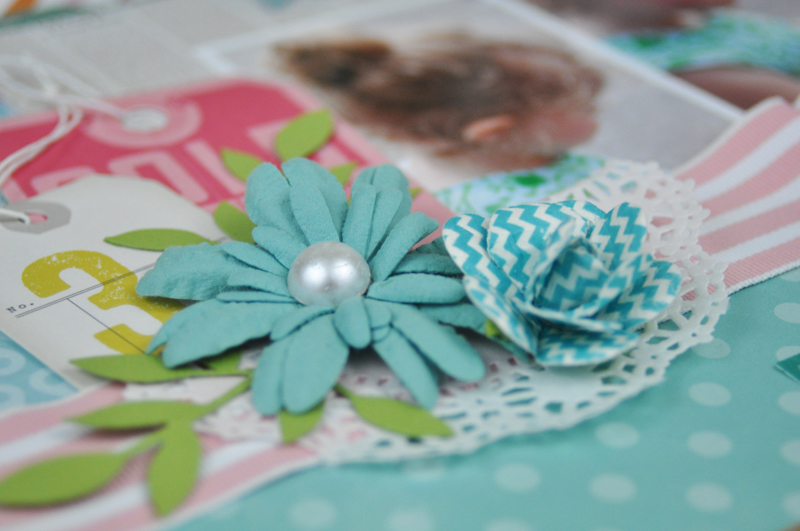
Step 3: To further dress up the ribbon, cut a white doily in half and mount it on the left side of the ribbon border.

Step 4: Add a few embellishments like paper clips to the doily. You can further embellish the doily as you can see in the close-up photo below.
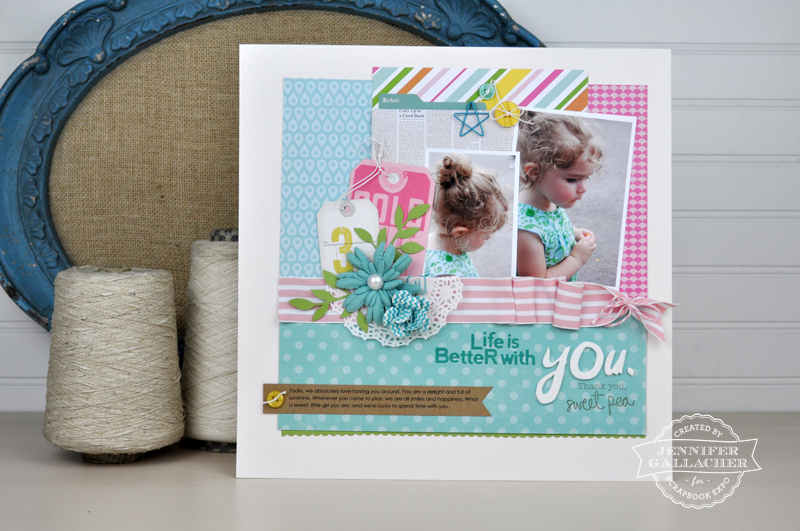
Here’s a look at the completed layout:
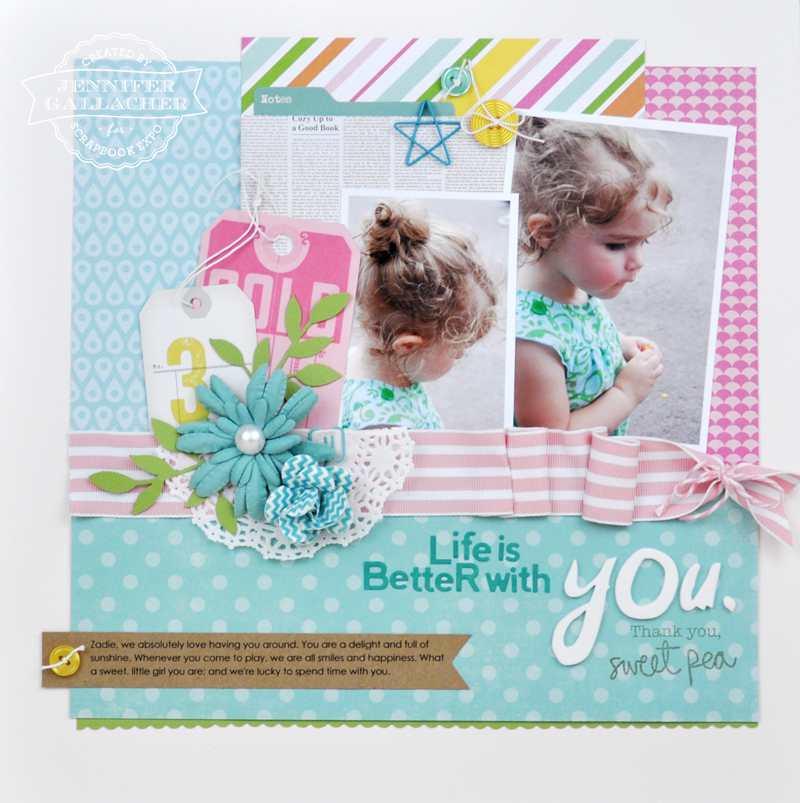
And here are a few close-up photos of the layout.
Note how the pleated ribbon creates both height and interest on the page and adds to the other feminine touches on the page. Be sure to check out all of my “Inspiration Station” posts on Thursdays here on the Weekly Scrapper blog.
Such a soft and sweet layout! I love everything about it. I’ve pinned ya! 🙂
You are so sweet! Thanks, Mendi. 🙂
Beautiful layout. Perfect for a little girl!
Thank you! I agree. This is a super feminine page.