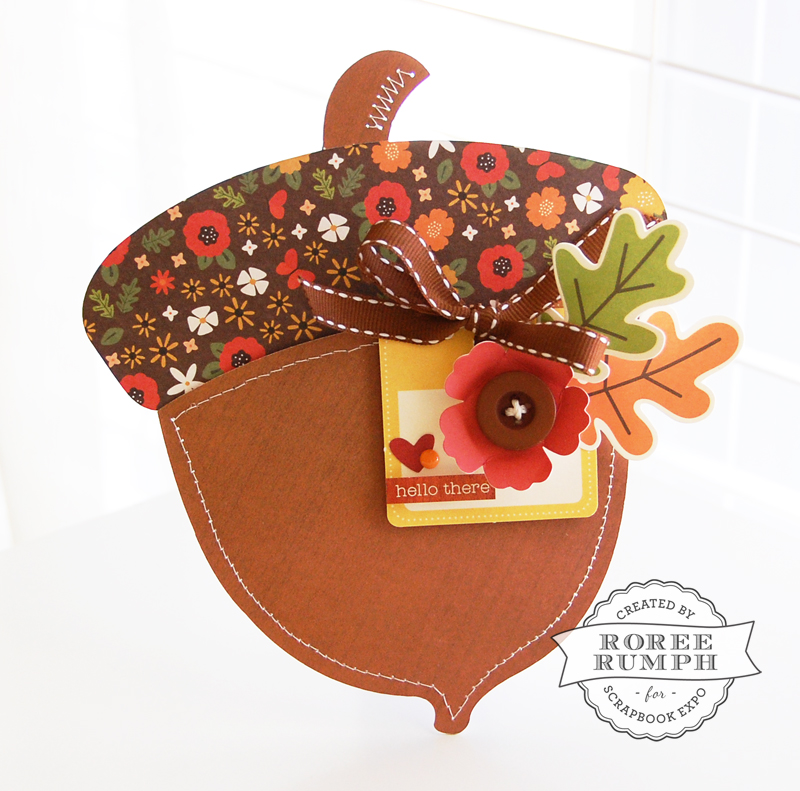
Hey, everyone! Roree here with another Make It! Monday project. Today I am sharing a acorn-shaped pocket card I created with Cricut®.
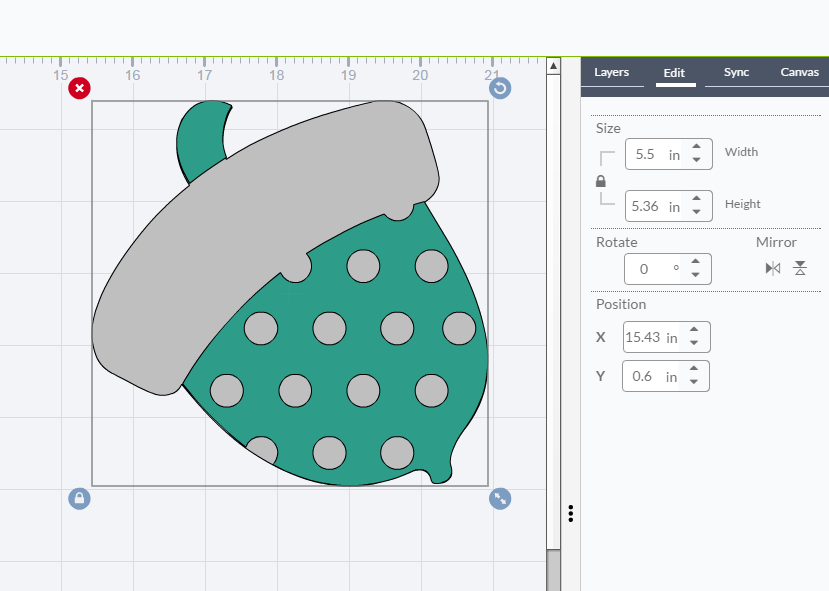
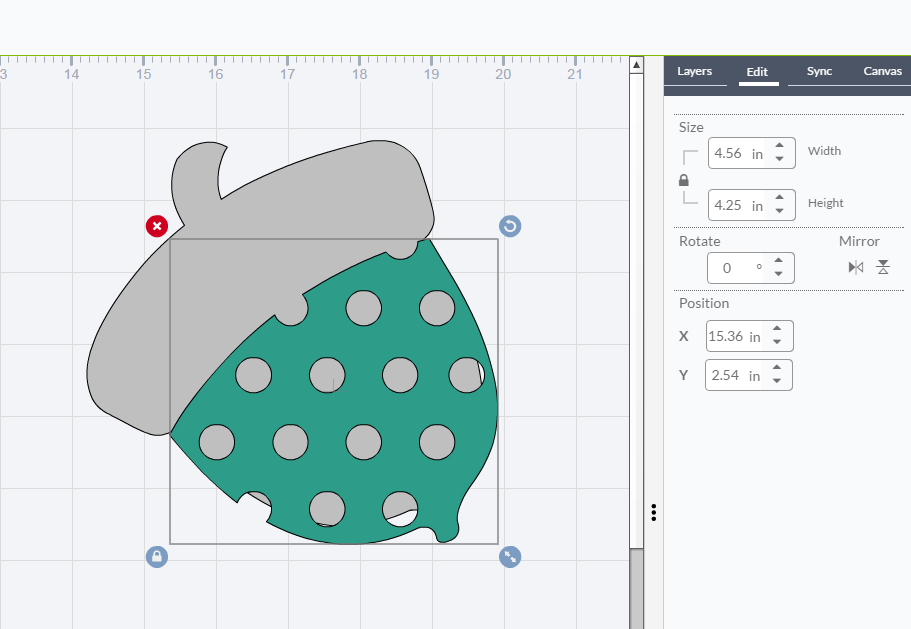
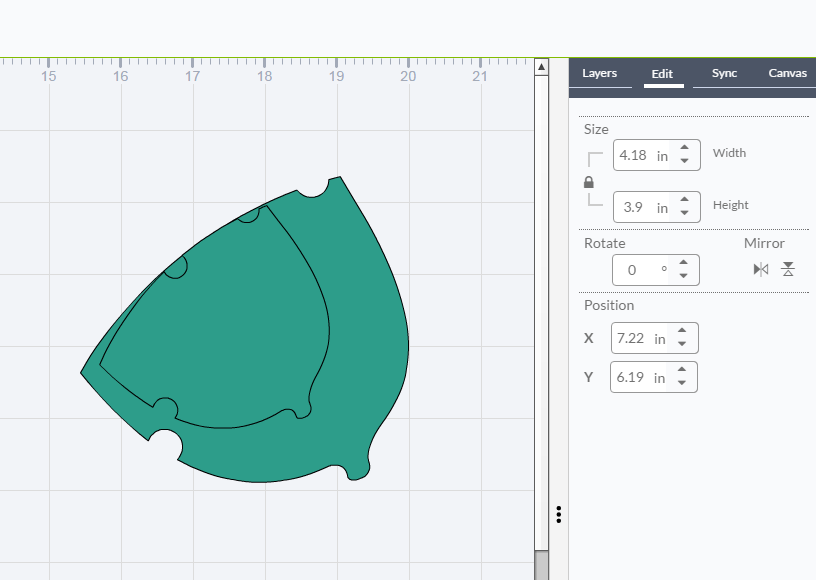
I started with Cricut Design Space™ and the Bits and Pieces cartridge. I chose the Acorn image (#MFB706) for the shape of my card.
I really liked the shape of the acorn but I wasn’t crazy about the circles at the bottom of the shape. There wasn’t an option to have the cut without the circles, so I decided to alter the shape to achieve the look I had in mind.
First, I sized my image, selected it, right-clicked on the image, and ungrouped the shapes.
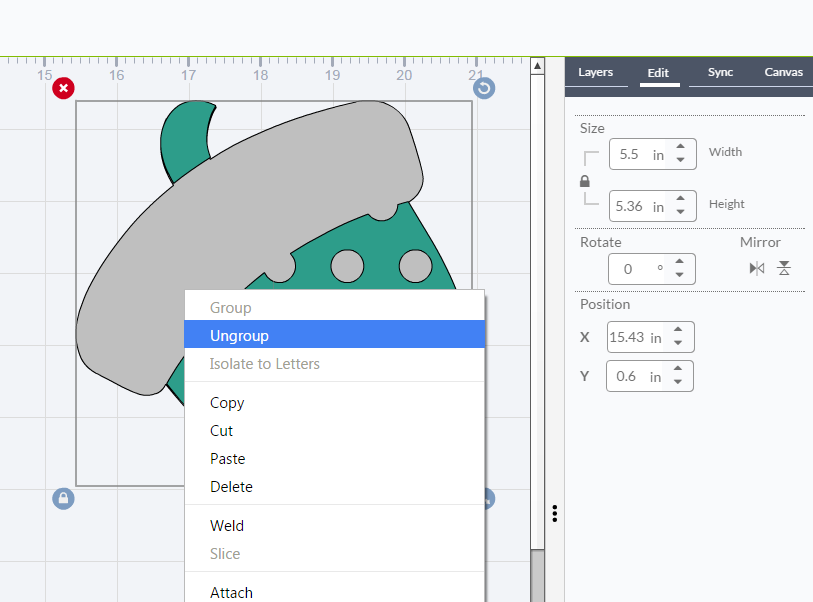
Once the shapes were ungrouped, I enlarged the bottom of the acorn.
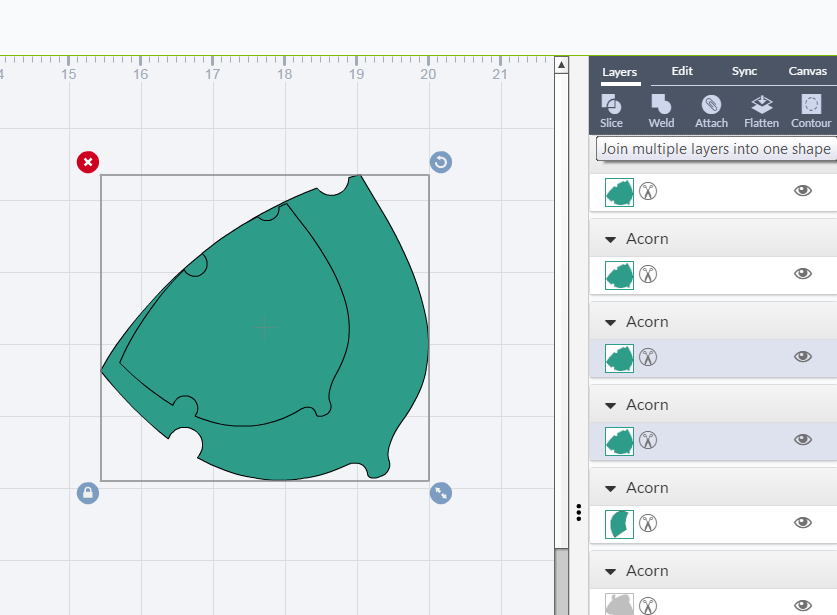
I right-clicked the bottom shape, selected Hide Contour, then hid all of the circle shapes.
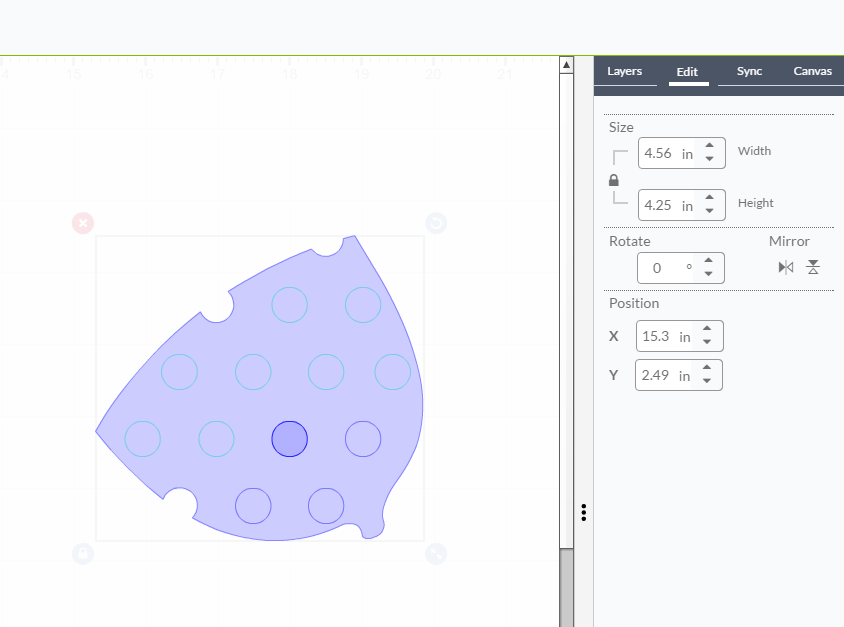
All of the full circles were removed, but I was left with three half circles around the edges.
To cover those over, I copied and pasted the image three times (one for each half circle).
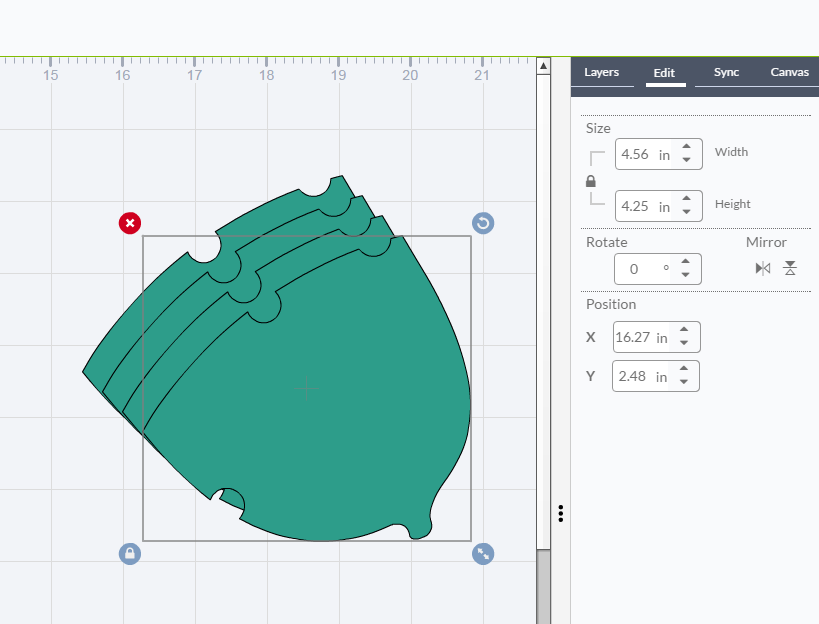
I moved two of the images over and made the third copied image smaller. I place the image over one of the half circles so that the arc of the shapes lined up and one of the half circles was completely covered.
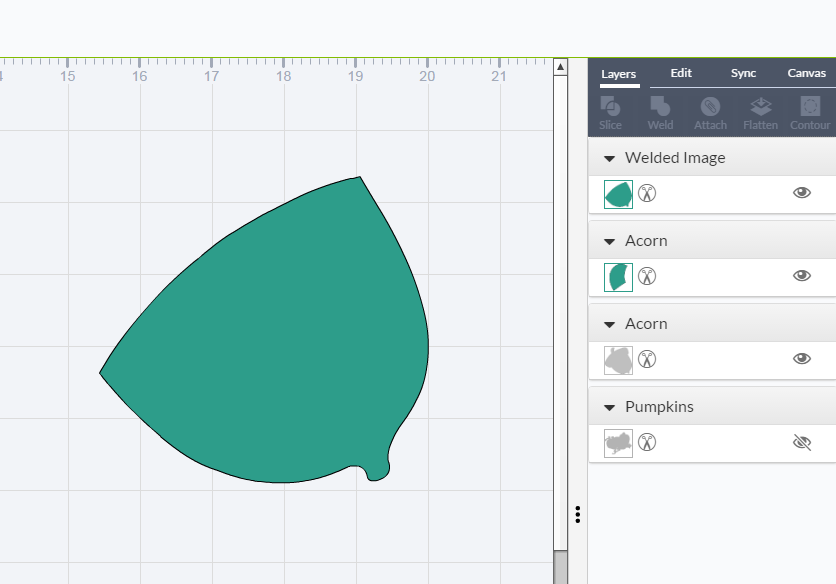
Then pressing the left mouse button, I selected the both images and clicked the Weld button in the upper right Tools bar to join the two images together.
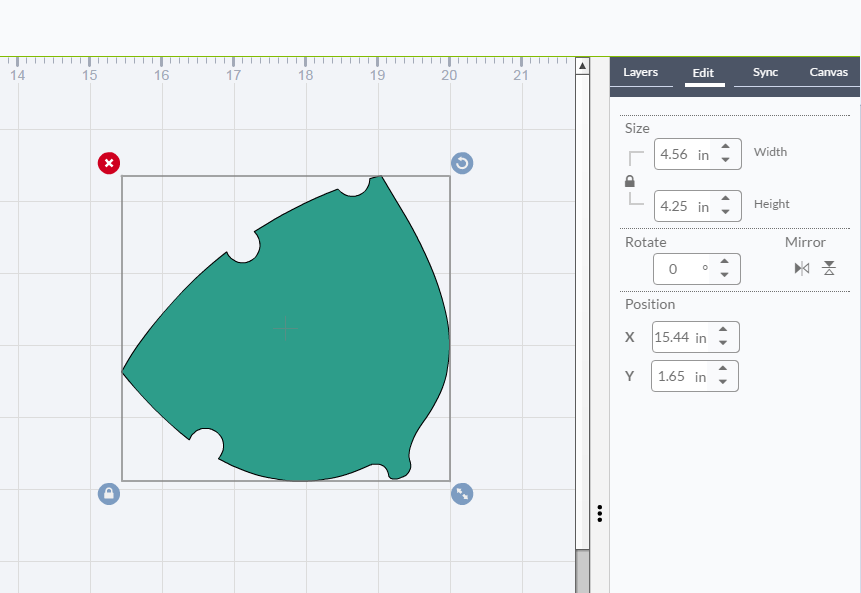
Once the images were welded, the half circle was filled in.

I repeated these steps with the other two half circles until I was left with the solid shape I was trying to achieve.
After that I used my Cricut Explore® machine to cut out the shapes using patterned paper from the Pebbles Woodland Forest collection, specifically the 6×6 Paper Pad. I created a pocket, added machine stitching to the die cut shapes, and accented the pocket card with a tag I put together using Ephemera and Phrase Stickers, as well as a few other embellishments from my stash.
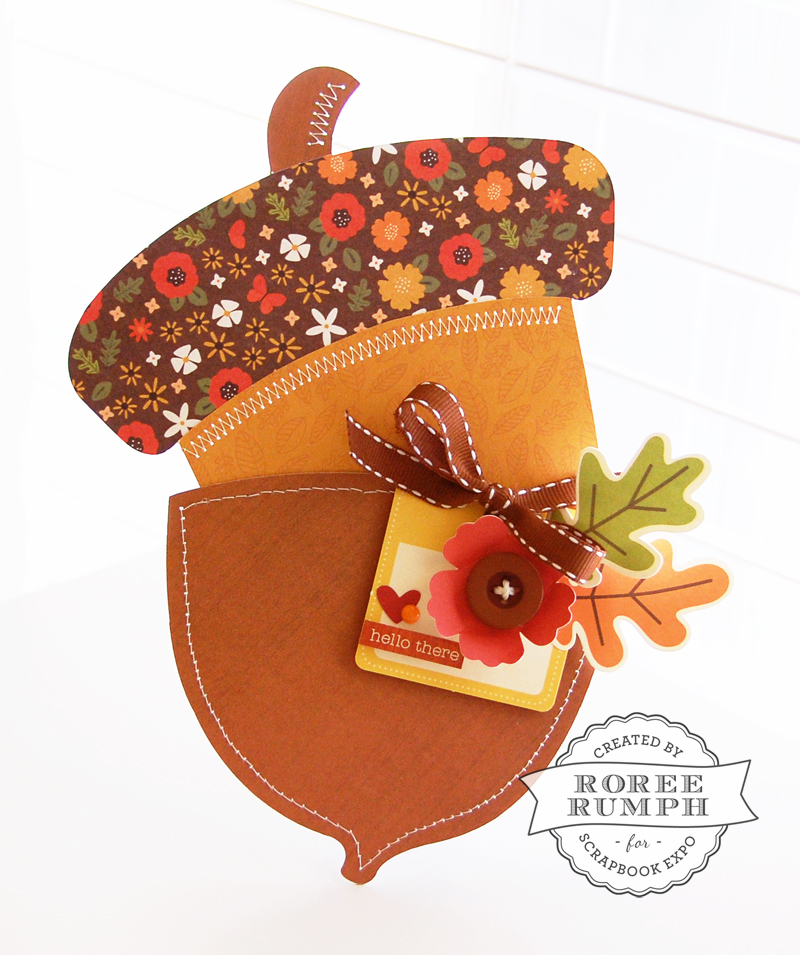
Such a fun shaped card for fall, don’t you think? I just love the colors and patterns in this wonderful Pebbles collection!
I hope you enjoyed today’s Make It! Monday project. Thanks so much for stopping by!
Save
Save