
Hey, everyone! Roree here with another Make It! Monday project. Today I am sharing a goodie bag I created with We R Memory Keepers‘ Oh Goodie! Goodie Bag Guide Tool and accessories.
First, I started with the Oh Goodie! Goodie Bag Guide Tool, the Glassine Paper pack, and the Starburst Closure pack.

The tool comes with an instruction sheet that features a guide for choosing the width of your bag. I chose to make my bag 3 1/2″ wide.
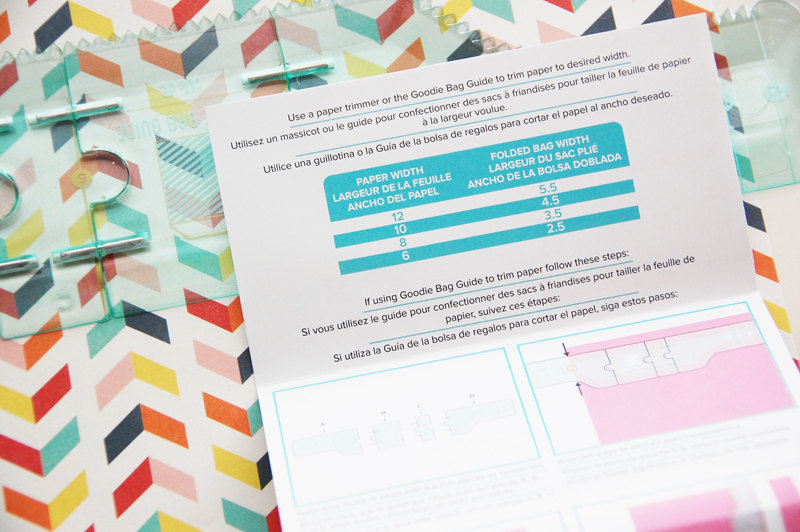
I placed the “8” mark (for a 3 1/2″ bag) on the guide at the edge of my 12 x 12″ glassine paper.
I folded the opposite end of the paper against the guide creating a crease. I did three times along the length of the paper.
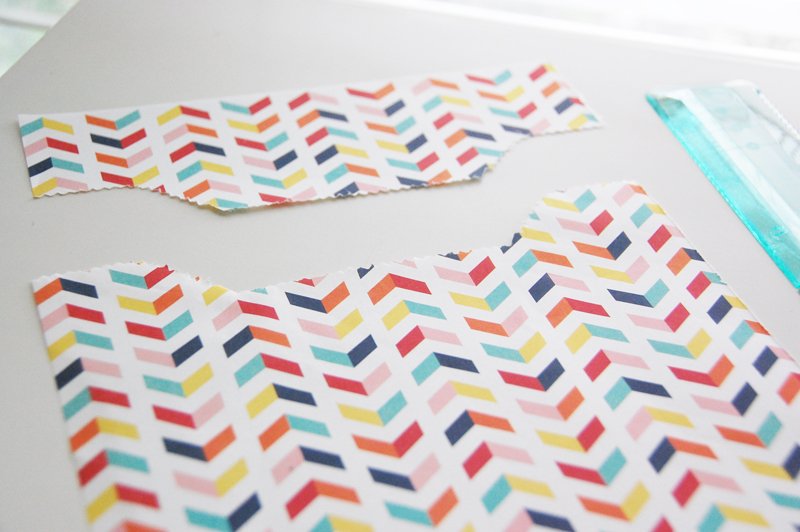
After creasing my paper, I used the straight edge of the guide to tear off the excess paper.
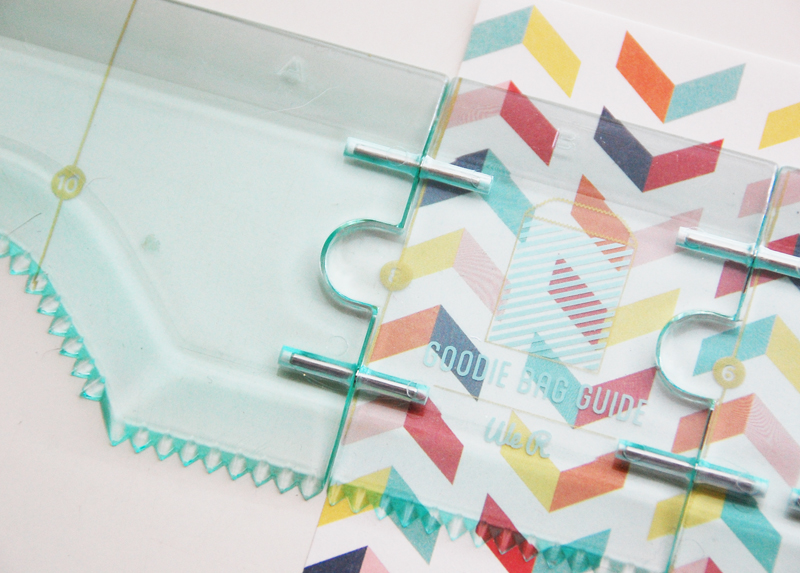
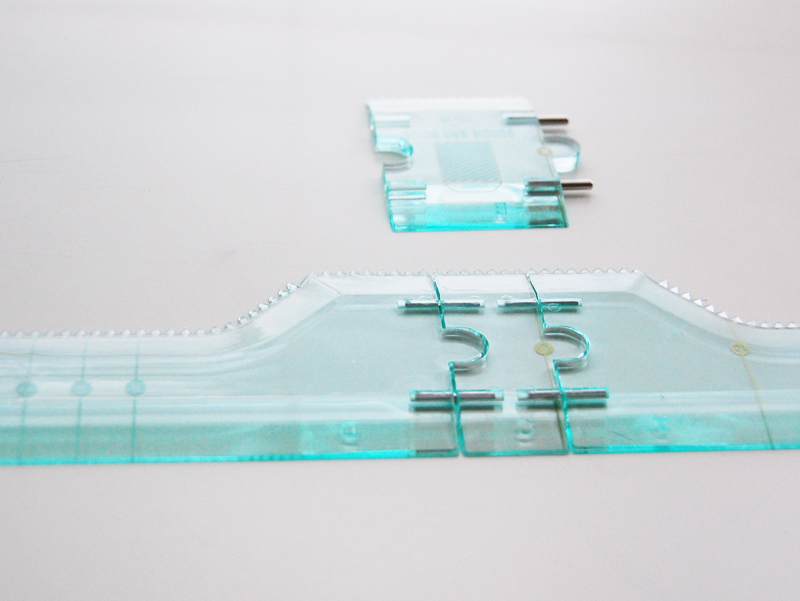
I then followed the instruction sheet for creating a 3 1/2″ wide bag and removed section B from the tool for the “8” length.
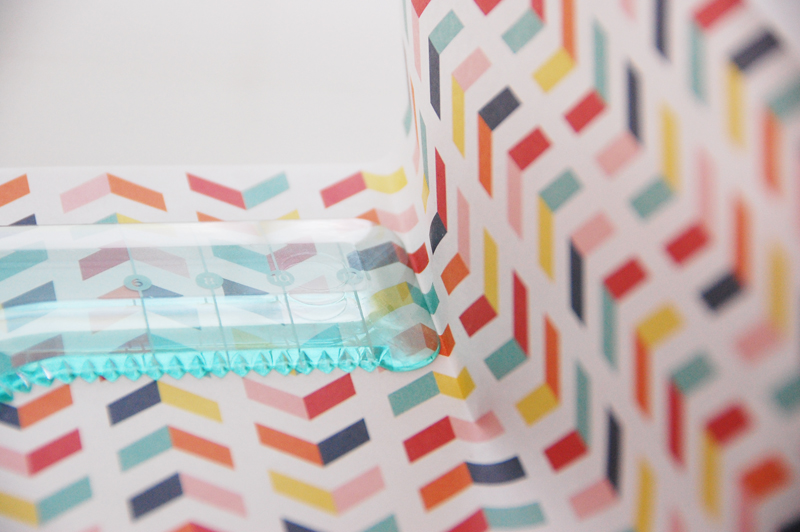
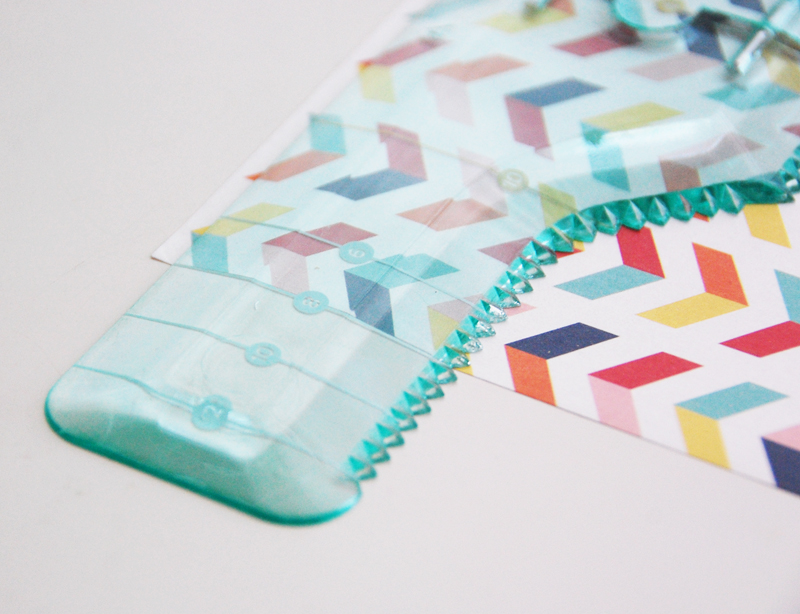
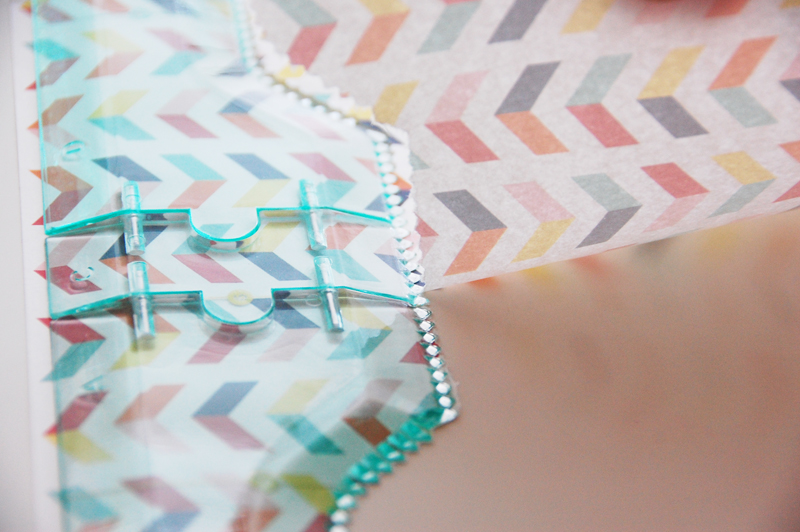
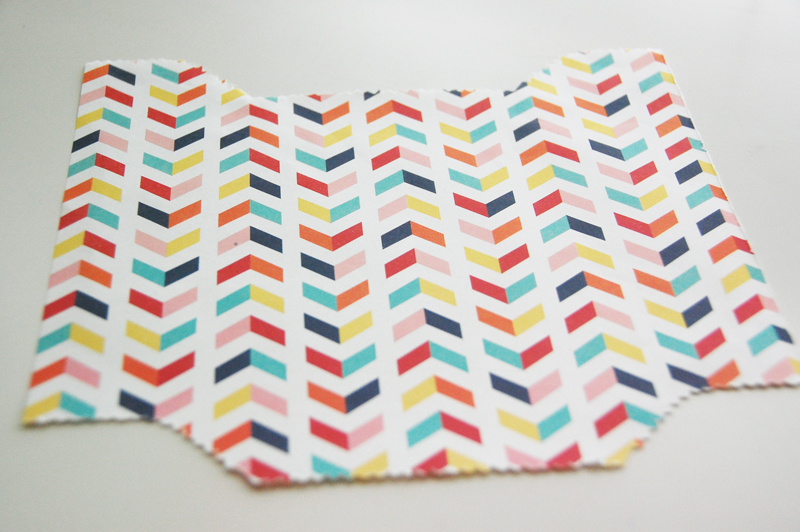
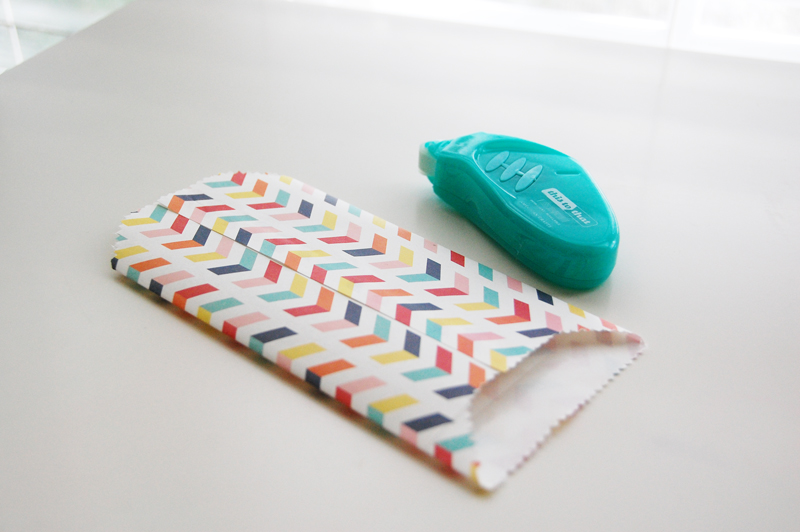
I placed the tool along the top edge of the paper and tore the paper along the toothed edge from the right to the center and then from the left to the center to give the bag a decorative edge.

I moved the guide down about 7″ and repeated the tearing step for the bottom of the bag. (The length of the bag is entirely up to you. You can make the bag as long or as short as your paper length allows.)

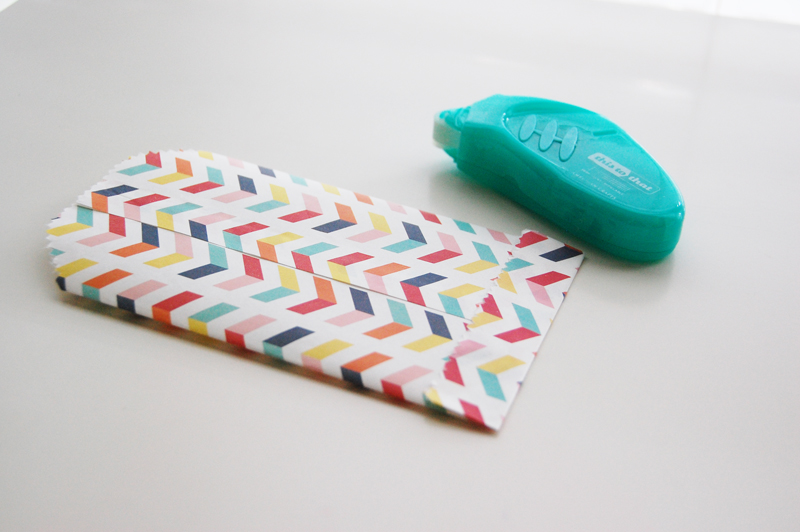
I used the straight edge of the guide to crease the side and bottom flaps.
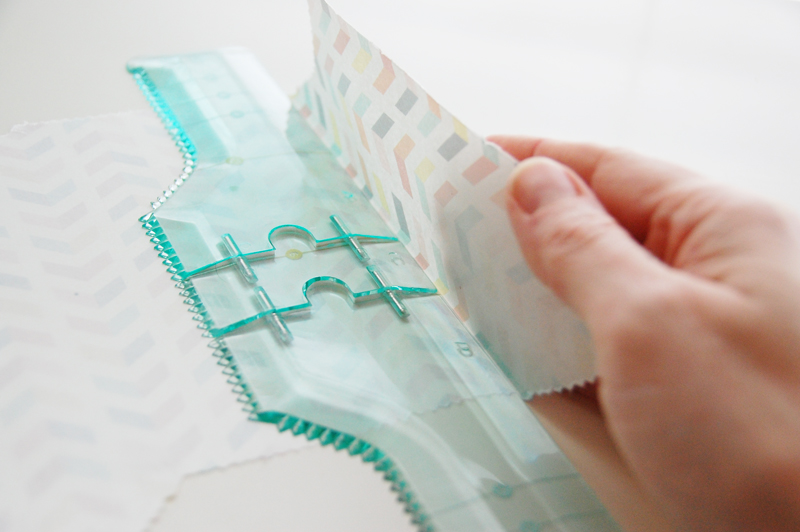
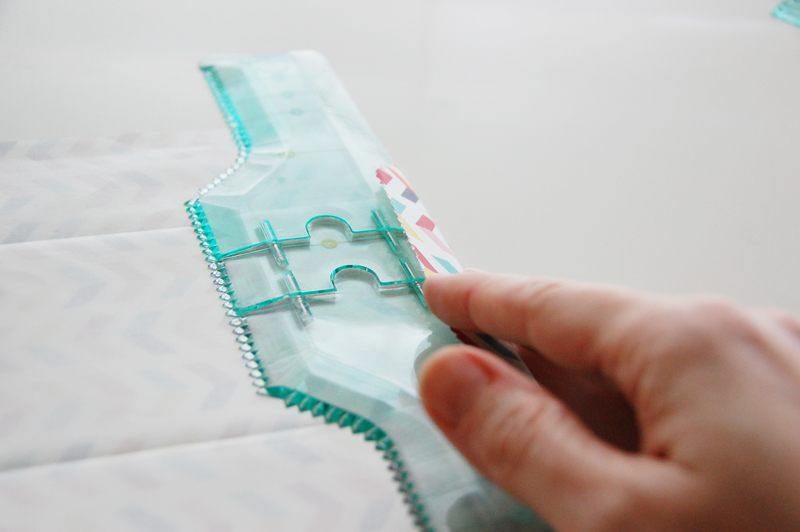

I then used a tape runner to adhere the overlapping flaps together and seal the bottom of the bag.

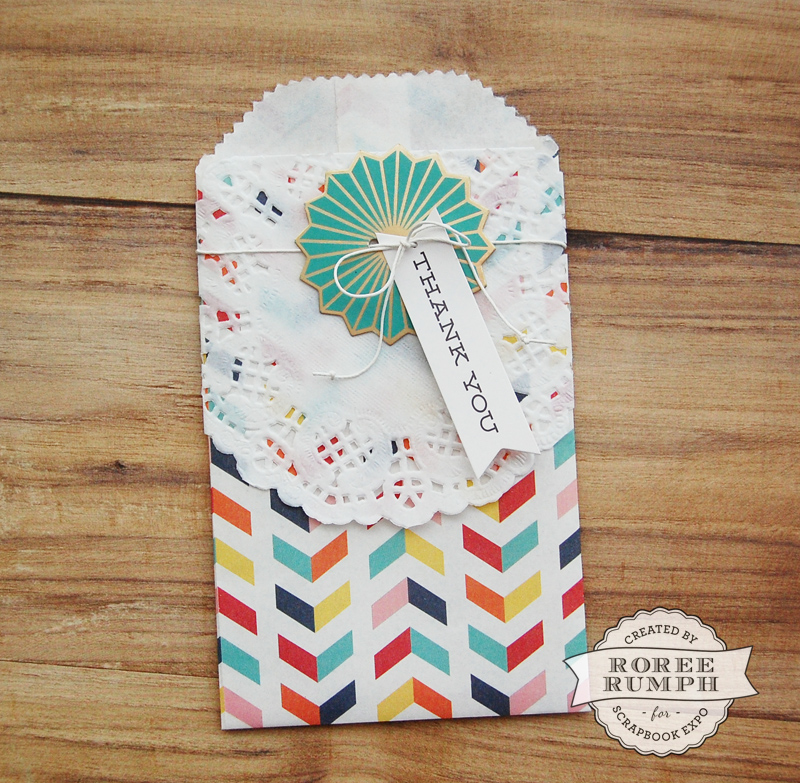
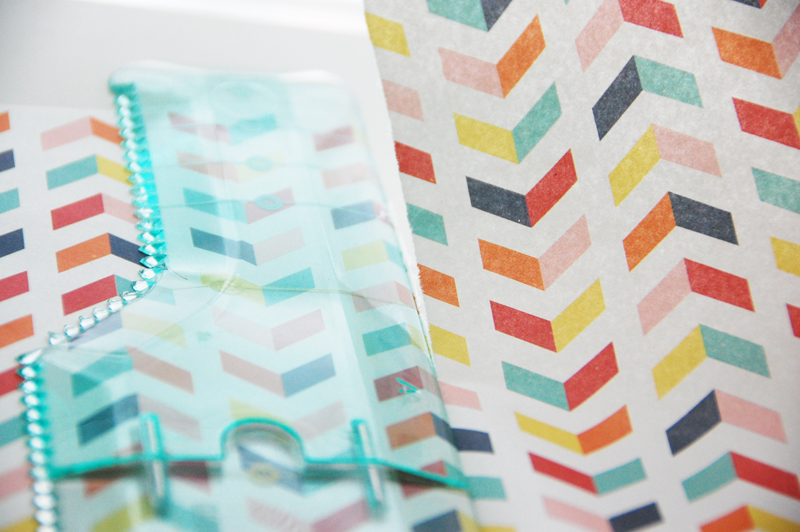
I decorated the bag with a paper doily, a Starburst Closure, string, and a sentiment sticker to finish.

I hope you enjoyed today’s Make It! Monday project. Thanks so much for stopping by!
Save
Save
Save