
Hello everyone, Michelle here today from Wandering Planners to share with you how I use our travel destination stamps to create unique tags. I have always loved using tags in all my projects. This is so simple it will have you creating all sorts of tags using the stamps you have on hand.
Let’s get started!
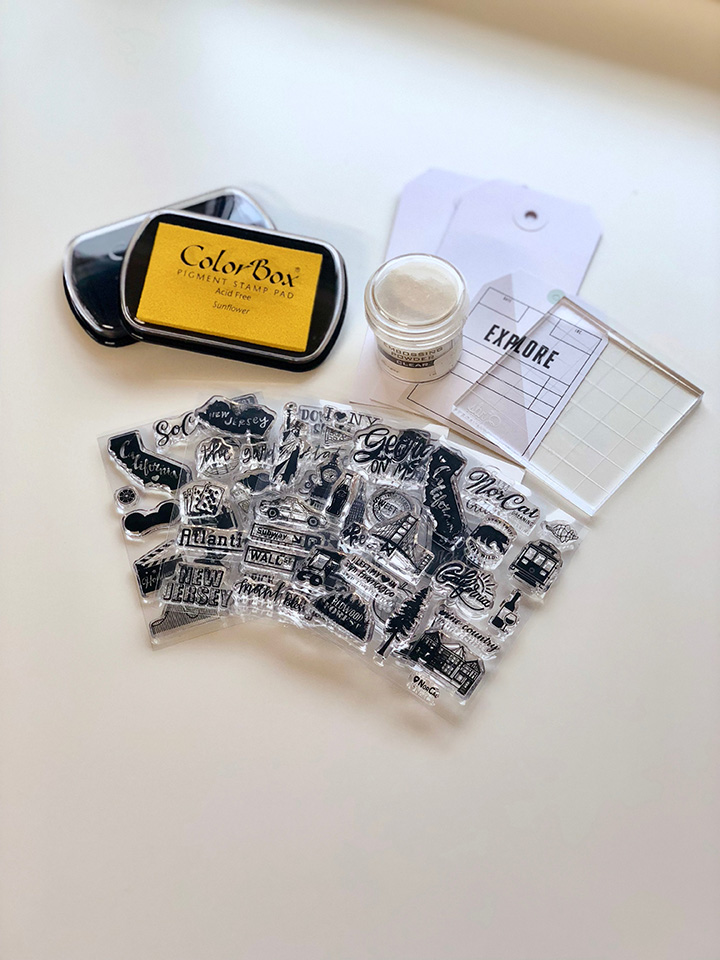
Gather up your supplies and get ready for some fun! I am using our Wandering Planners destination stamps but any stamp set will work. You will also need ink, a block, a tag, and embossing powder if you choose to emboss your tag.
Place your tag under the acrylic block so when you are placing your stamps you can see where it’s going to stamp. I like to have my stamps going off the tag a little. If you feel like there is too much open space, you can always add a small circle or star stamp in those spaces.
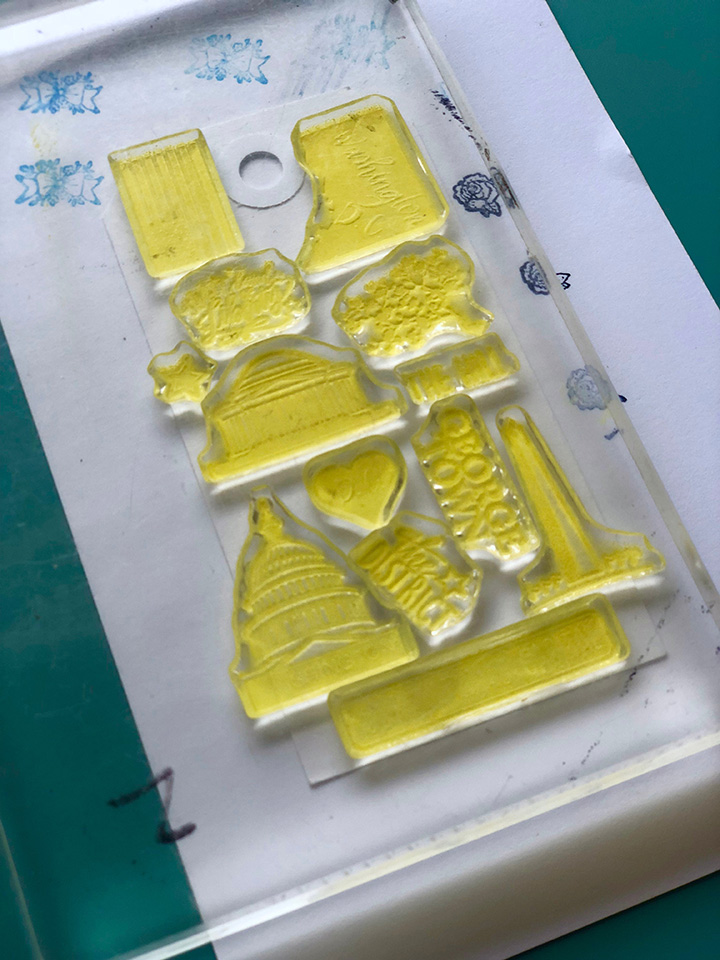
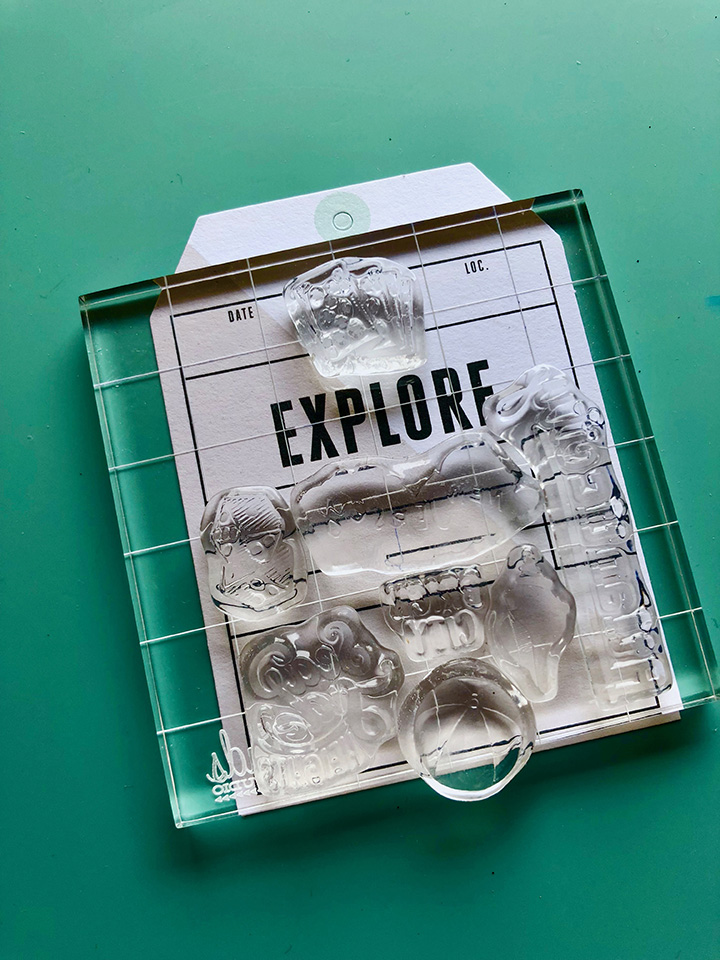
I did two examples so you would be able to see the arrangement. It’s so fun to try to get them all squeezed on. Then just add the ink and stamp your tag!

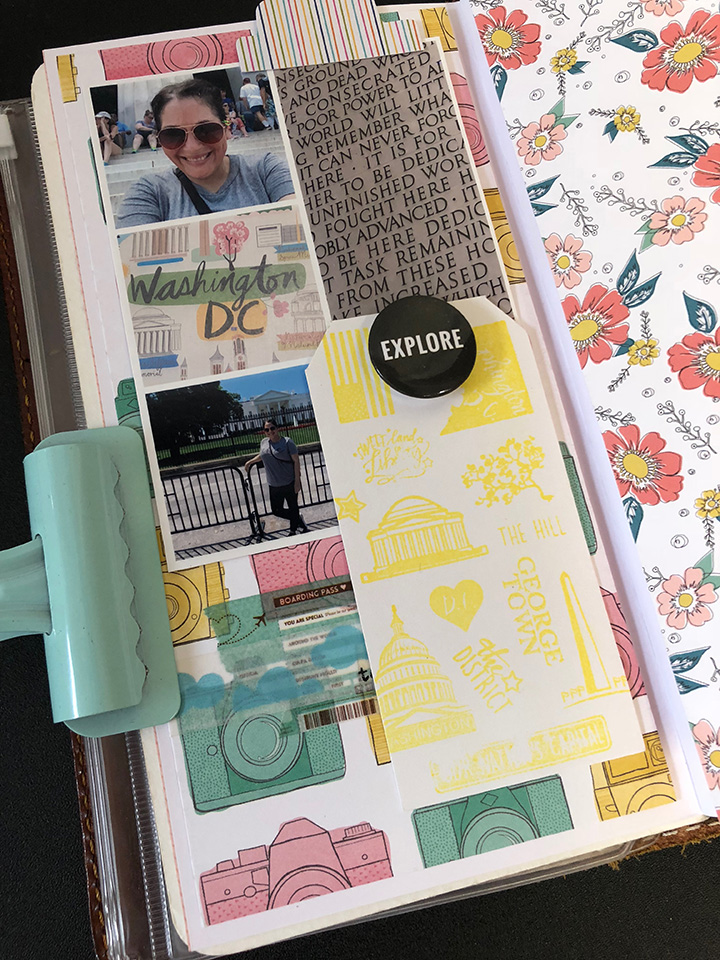
I did heat emboss these two tags, but the final tag that I added to my traveler’s notebook is simply solid ink without the embossing.
I hope you will give cluster stamping a try and be sure to share it with us over on our Facebook page.
I look forward to meeting all of you this year at our Wandering Planners Meet-ups. Click here to find a Meet-up to join – we’d love to have you!
You can see more of my planner and additional stamping on Instagram; I am polkadotwhimsy.
Michelle
The Wandering Planners
I love that planner/TN tips are now a part of Weekly Scrapper! (I used planner lingo – cool huh?? I’m learning!)
LOL!!!! Yes Sandy!!!! Look at you using lingo and all!!