Hi, Danielle here, and I’ve got several fun holiday cards for you today made with Simple Stories’ Claus & Co. line!
Supplies I’ll be using today are: Simple Stories – Claus & Co. 31 Chipboard Stickers, Chipboard Frames, Wood Veneer, Washi Paper Tape, Interactive Elements. Other: Super Star Borders die by Papertrey Ink, Wet Paint Holiday stamps and dies by Papertrey Ink, twine by the Twinery, clear 6 MM sequins by Pretty Pink Posh and gray cardstock from the craft store. Let’s get started!
Card #1 – Oh Joy:
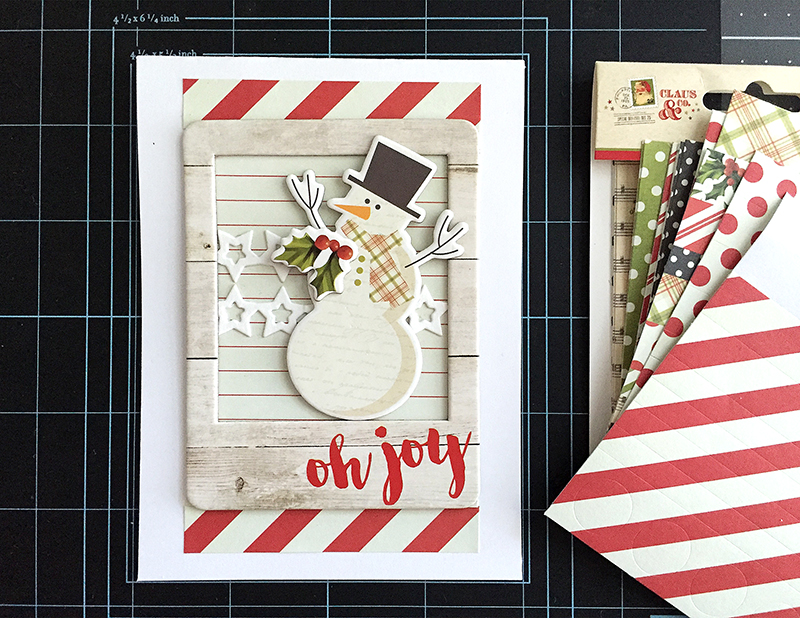
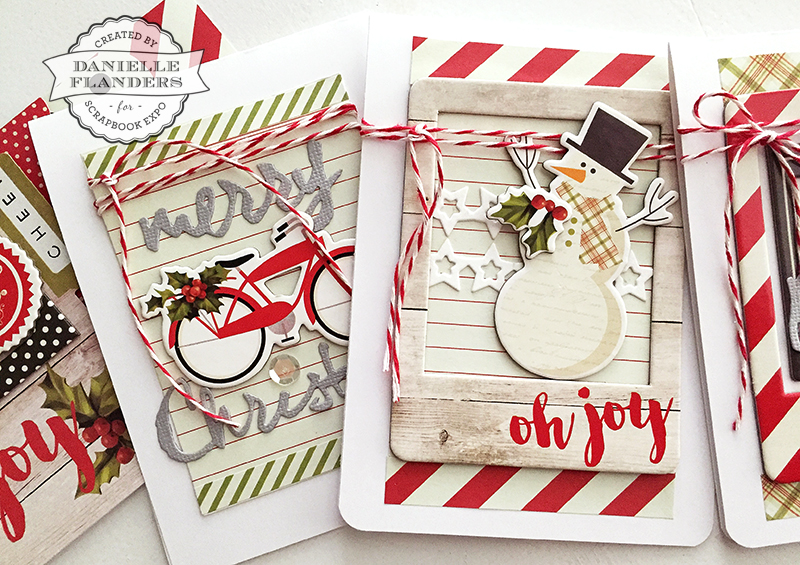
First, I started with an A2 size card base in white. I trimmed a paper out from the Interactive Elements to use behind the chipboard frame, added a piece of paper washi tape (the red stripe) above and below the frame. I die cut a star border from white cardstock. The chipboard snowman and holly are from the Chipboard Stickers.
I layered the star borders behind the snowman, adhered the snowman, and the chipboard holly over the top.
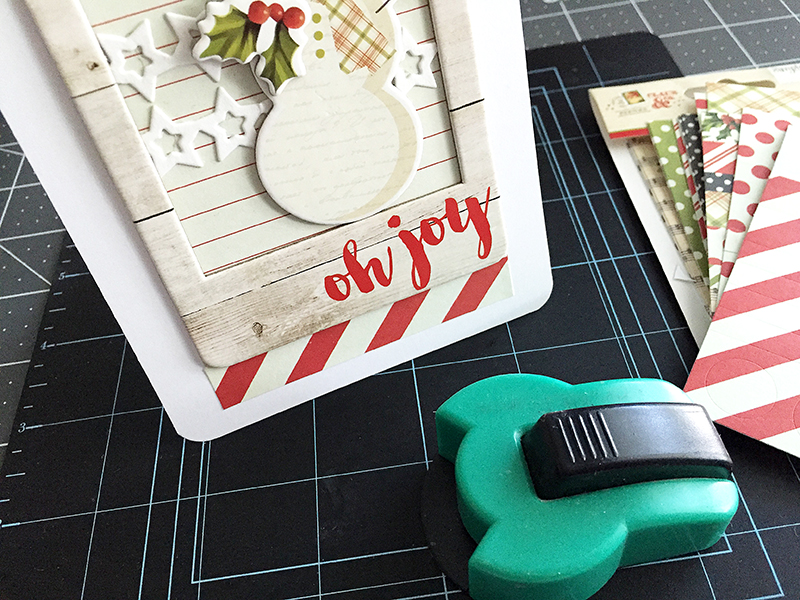
The bottom corners of the card were rounded.
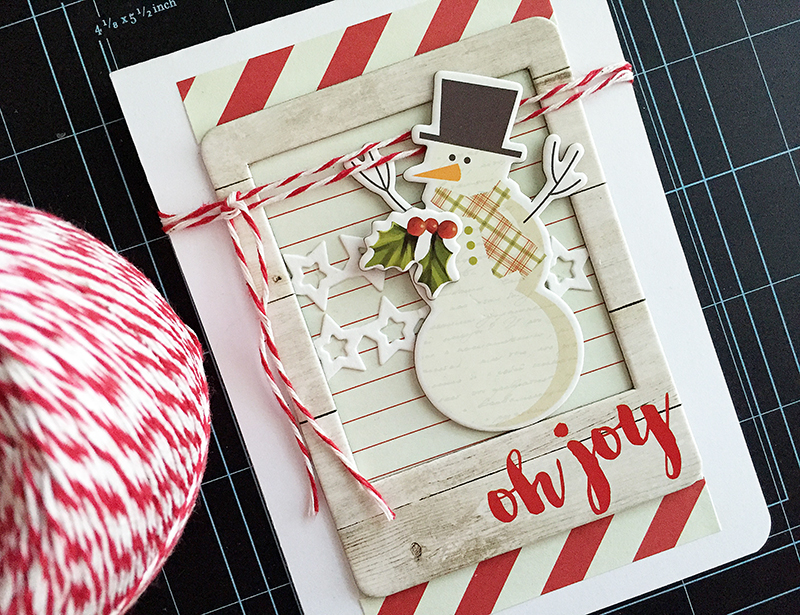
Last, I added a piece of twine wrapped around the front of the card. I did end up trimming the sides of the card down a bit. With the dimension of the chipboard, I wanted the card to fit into an A2 sized envelope. This one is done!
Card #2 – Merry card:
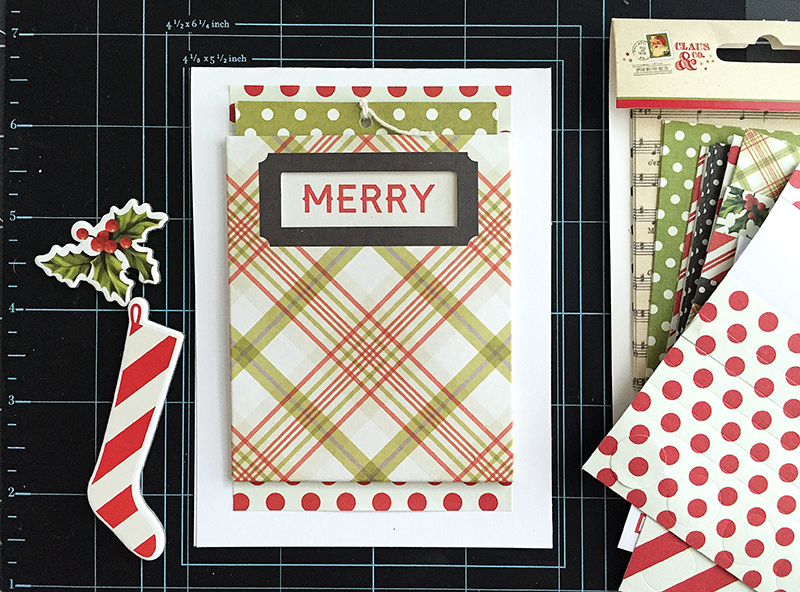
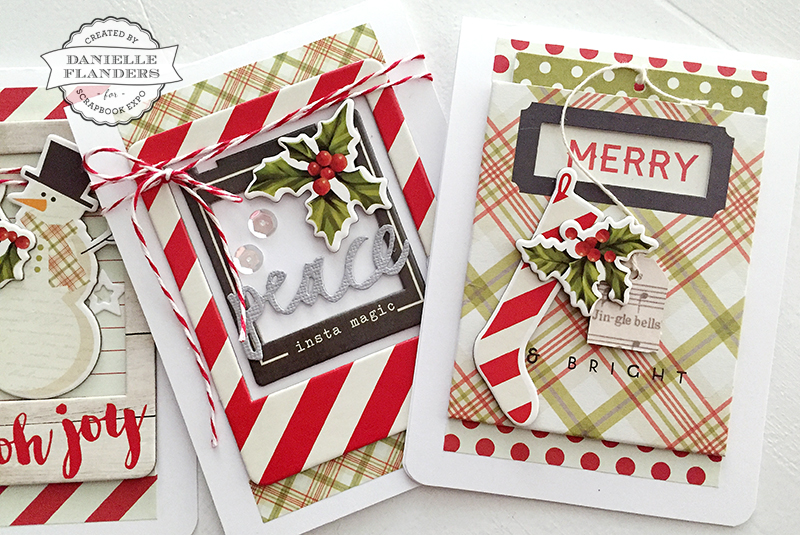
Here I have a white card base. I’ve adhered a strip of the polkadot washi tape at the top and the bottom under the Interactive Element (the pre-made pocket).
The chipboard stocking and holly were attached to the front of the pocket, and I left room to stamp “& bright” with the Wet Paint Holiday stamps.
Very simple and easy! The bottom corners were rounded again. I wanted to keep all of the cards in the set very similar. The slide out tag in the pocket has a cute mini tag attached that came with it.
Card #3 – Peace card:
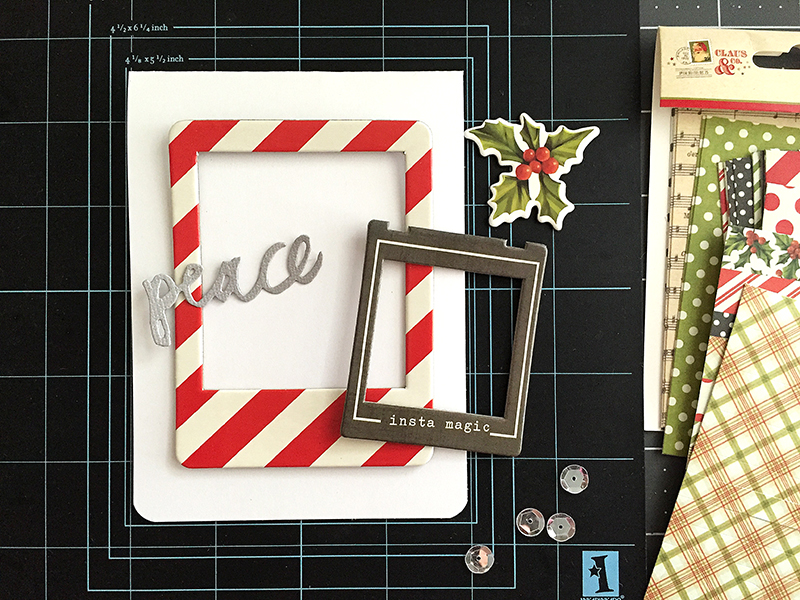
I began with an A2 sized white card base trimmed down slightly. I found two chipboard frames that I liked together, another chipboard holly, and I’ve die cut a “peace” word out of gray cardstock with the Wet Paint Holiday dies. The bottom corners of the card are rounded once again.
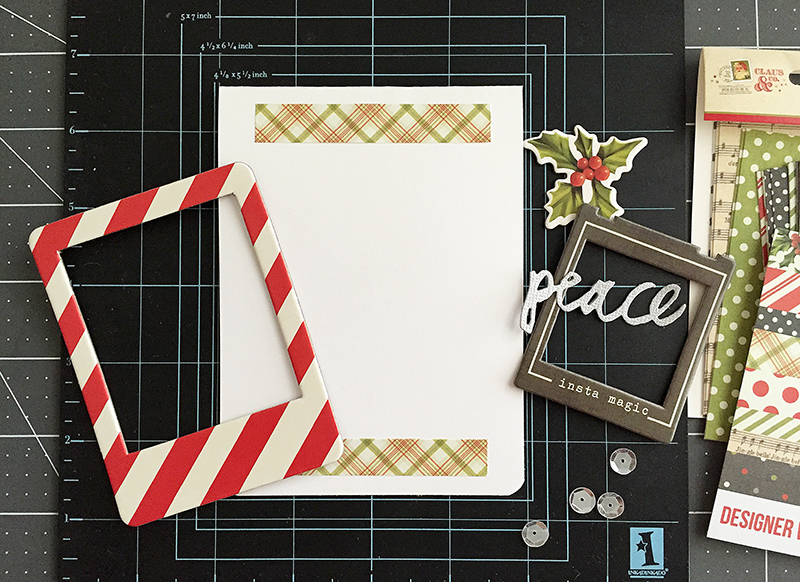
Two strips of the plaid washi tape were adhered toward the top and bottom of the card.
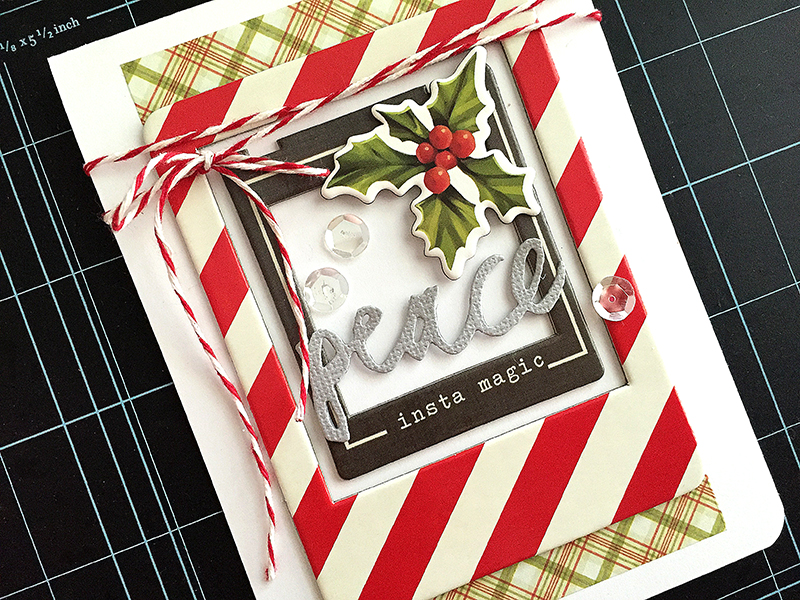
The chipboard frames were nestled together and adhered to the card. A chipboard holly is attached over the top, along with the “peace” die cut word. Last, I’ve adhered some clear sequins with Glossy Accents and wrapped a piece of twine around the front of the card.
Card #4 – Joy card:
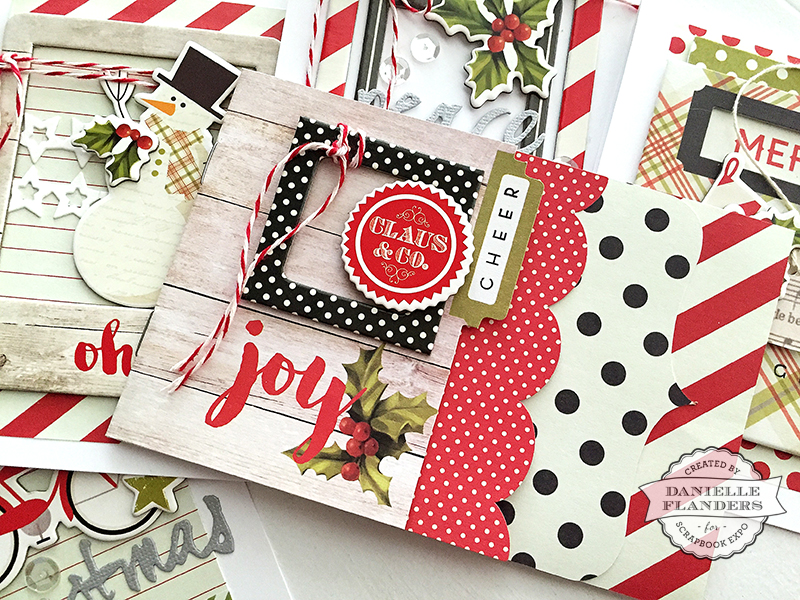
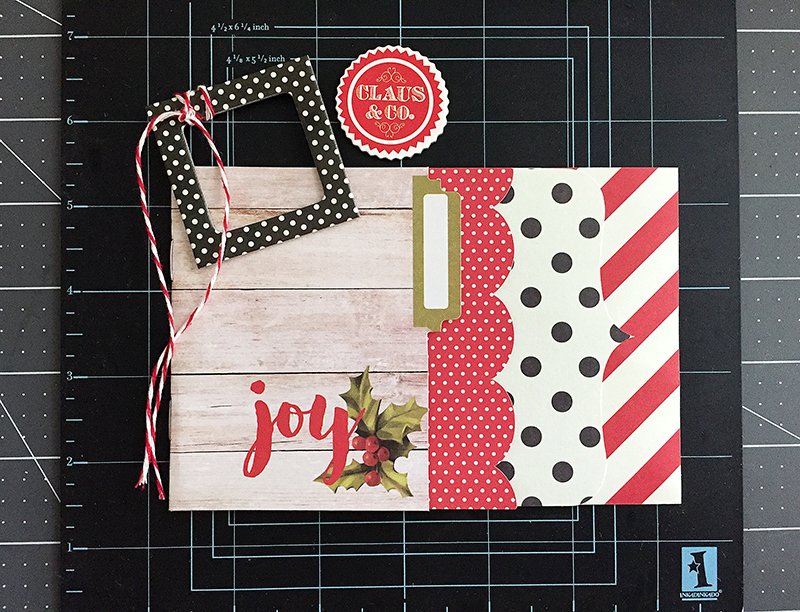
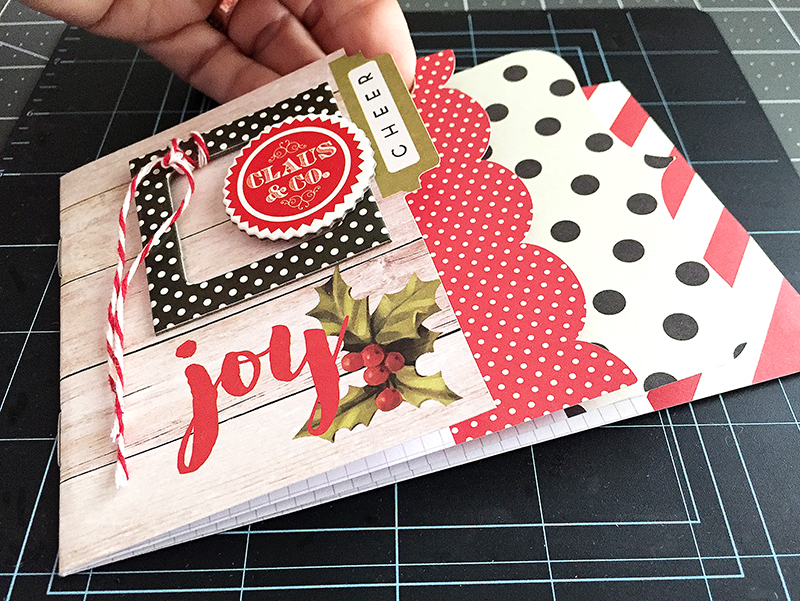
This cute layered piece is an Interactive Element and came this way with many cute pages. I thought it would be a fun Christmas card to add a few pictures inside on each of the pages, maybe Instagram pics? I grabbed a black and white polkadot frame and wrapped some twine around it. I also have a Claus & Co. chipboard piece.
All I did on this card was attach the chipboard pieces and stamped “cheer” on the tab with Papertrey Ink’s Wet Paint Holiday stamps.
Card #5 – Merry Christmas card:
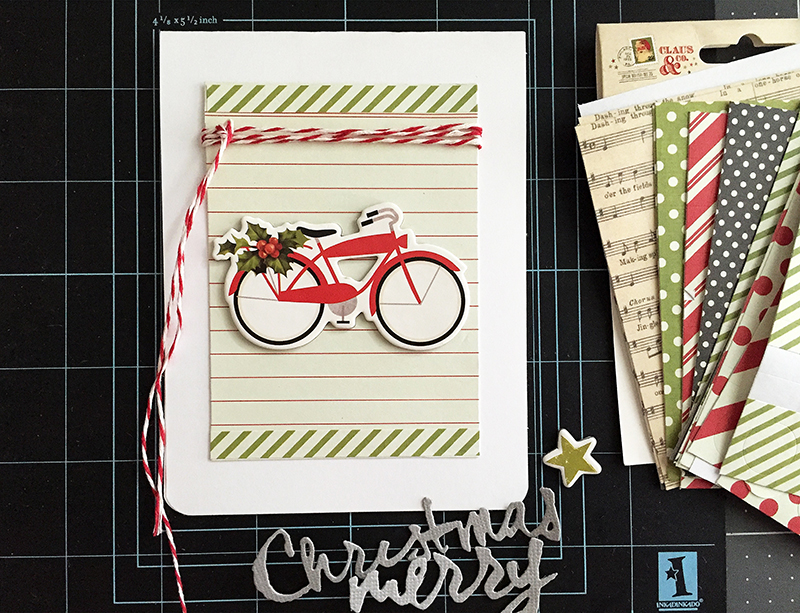
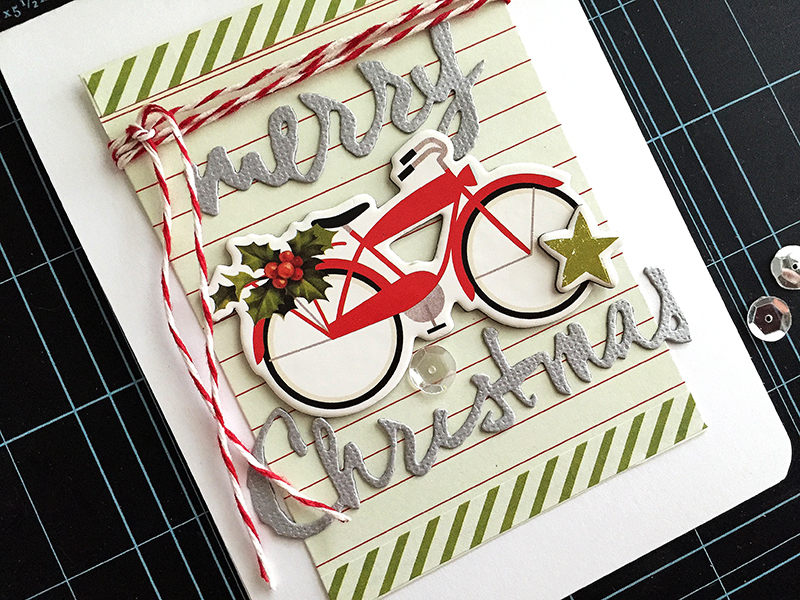
On this card, I’ve rounded the bottom corners of my card base again. I cut a piece of one of the Interactive Elements to use as the background (lined paper). I added two skinny strips of the paper washi tape (green stripe), the twine tied around it into a knot and attached the paper to the card. A chipboard bike was attached from the Chipboard Elements.
I’ve die cut a “merry” and “Christmas” from the Wet Paint Holiday dies in gray cardstock, adhered them and a green chipboard star on top.
There you have five simple and super cute cards for the holidays! Or you can assemble them and use them on scrapbook layouts! Here are a few more photos of the cards.
Are you getting a head start on your holiday cards?
Danielle






Pure inspiration and eye candy! Thank you so much, Danielle!
These are all so wonderful! Love how you used the colorful tapes!
Thank you, ladies!
Perfect cards for the holiday season!
Just purchased this line to make an album but maybe with the left over papers, I can make cards, too – love all these card inspirations. Thank you.
You have the magic touch Danielle!