Welcome to “Inspiration Station!” I’m designer Jen Gallacher, and I’m always looking for new ways to be inspired. Whether it’s cruising through Pinterest trying to find something to create for my home, or browsing through an online gallery, or reading one of my favorite blogs, most of my projects start with some kind of inspiration. I’ll bet you’re the same. You might be looking for a jumpstart for your next layout, or perhaps you’re interested in a new approach to card design, or maybe you need a fresh idea for creating framed art for your son’s bedroom. Whatever the case may be, we’re all here to inspire one another. In these Thursday blog posts, I’ll be sharing cards, layouts, and home décor projects. We’ll work together to learn how to make beautiful things. You can contribute by leaving questions or comments on how you might use the inspiration to create something on your own. I’d love to hear and see what you’re making!
Mark your calendars for the last Thursday of each month as I will be sharing tutorial videos via our Scrapbook Expo YouTube channel. Be sure to subscribe so you’re notified of when these videos are available. It’s going to be a great way to talk you through my creative process and help you look at designing in a whole new way.
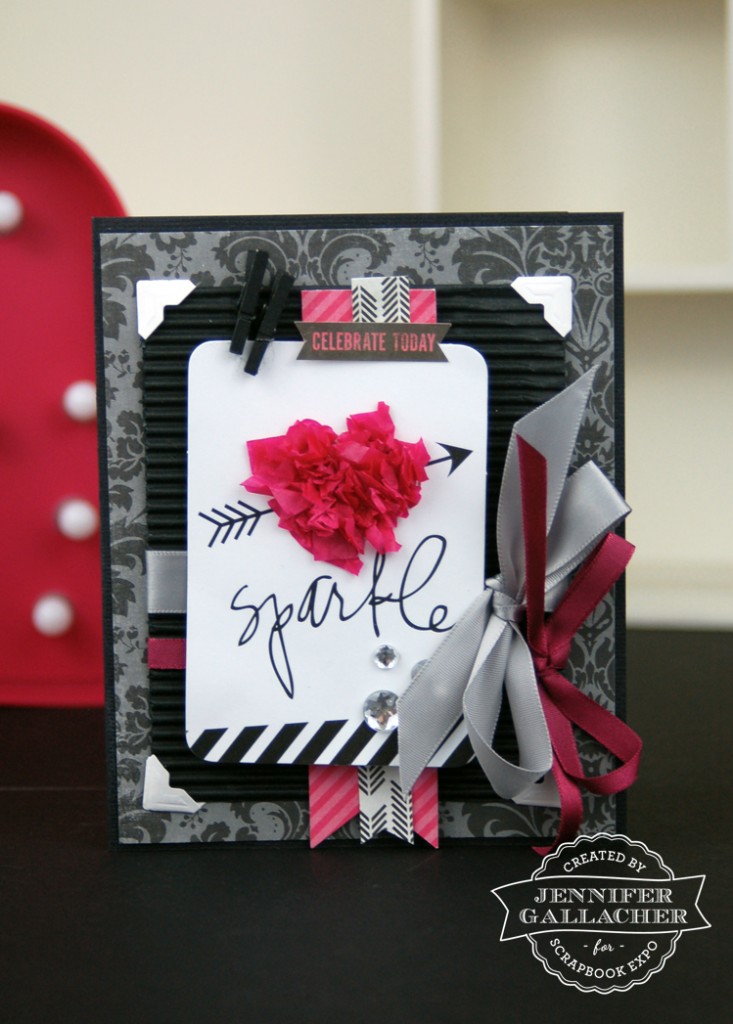
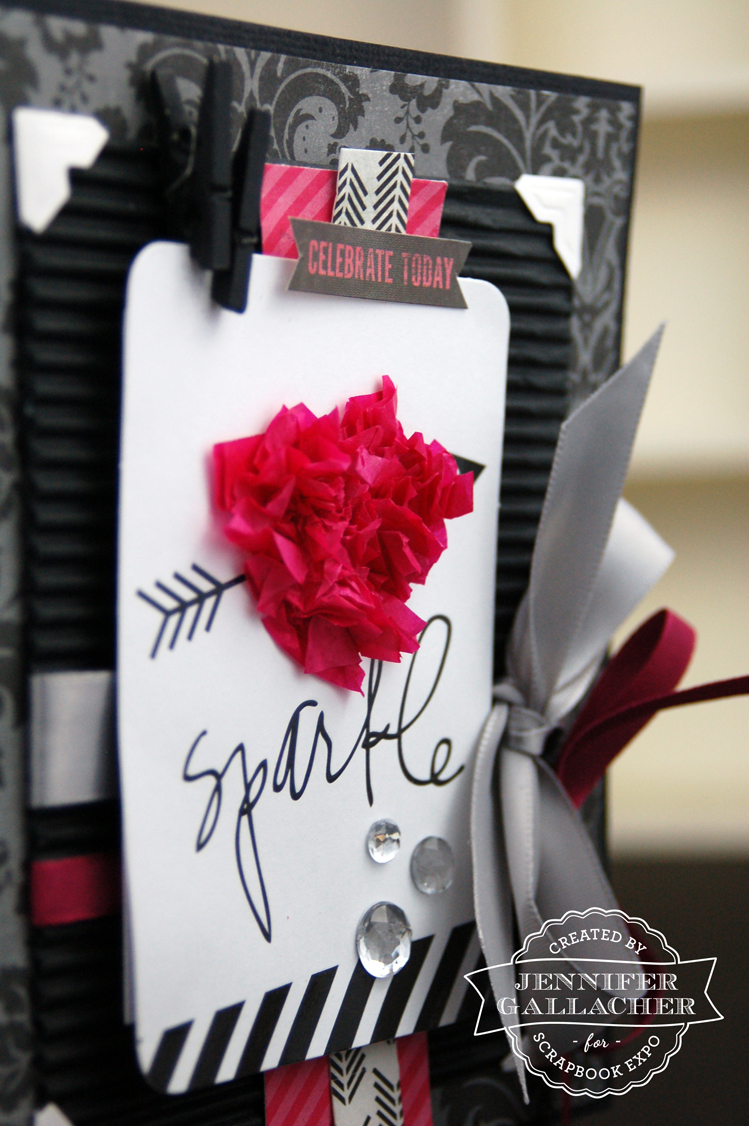
Today’s project involves using tissue paper to create a heart card. This is a perfect technique for Valentine’s cards. Here’s the card I created for today’s project:
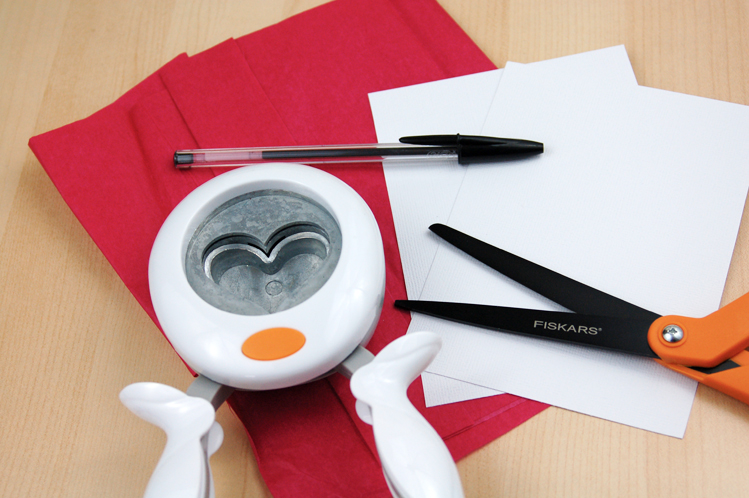
Remember your days in Kindergarten? We’re going to use one of those memorable tissue paper crafts to create the raised heart shape on this card. You will need:
– a sheet of white cardstock (cut into two rectangle shapes)
– a heart punch or die cut shape
– tissue paper in whatever color you’d like to use
– a pen with a pointed lid
– glue dots or your preferred wet adhesive
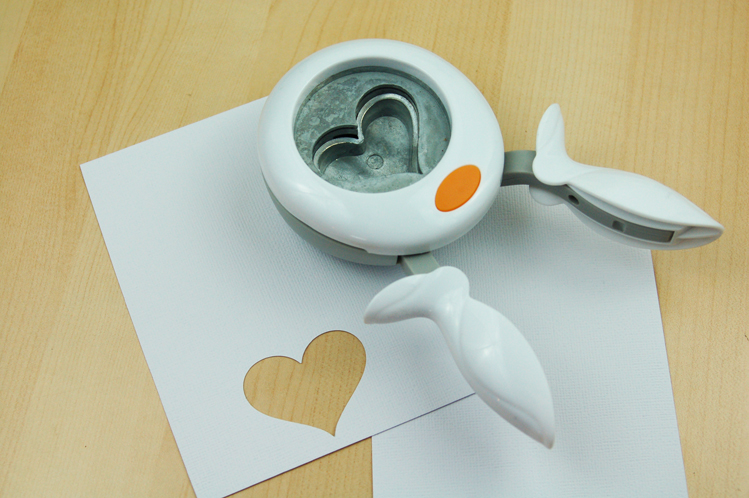
Step 1: Use the heart punch or die cut shape to cut a heart from the first white cardstock rectangle shape. Then mount the cut rectangle onto the second sheet of white cardstock.
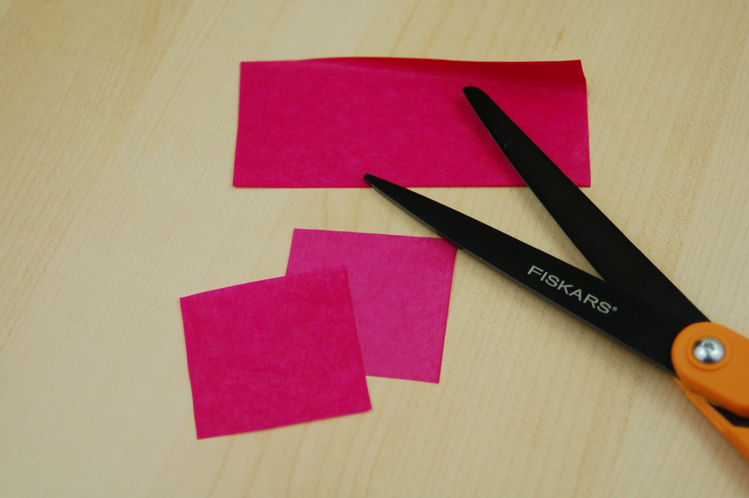
Step 2: Cut the tissue paper into 3/4″ squares.
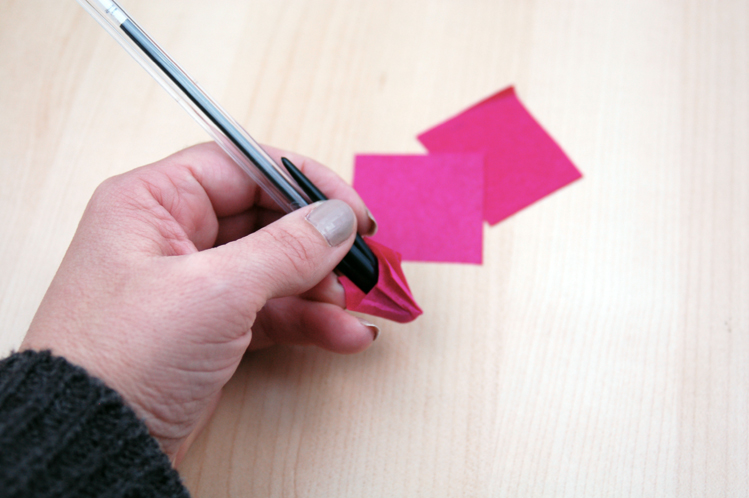
Step 3: Place the pen with the lid face down into the center of one of the tissue paper squares and fold up the sides of the square around the pen tip.
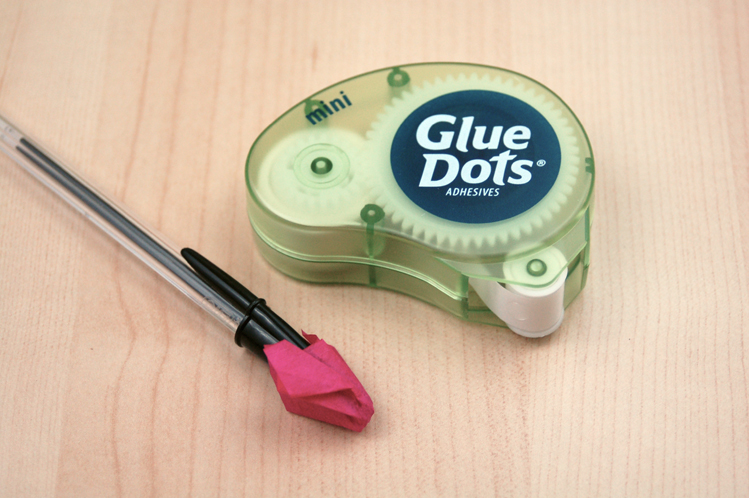
Step 4: Place the point of the pen tip with the tissue paper into the adhesive.
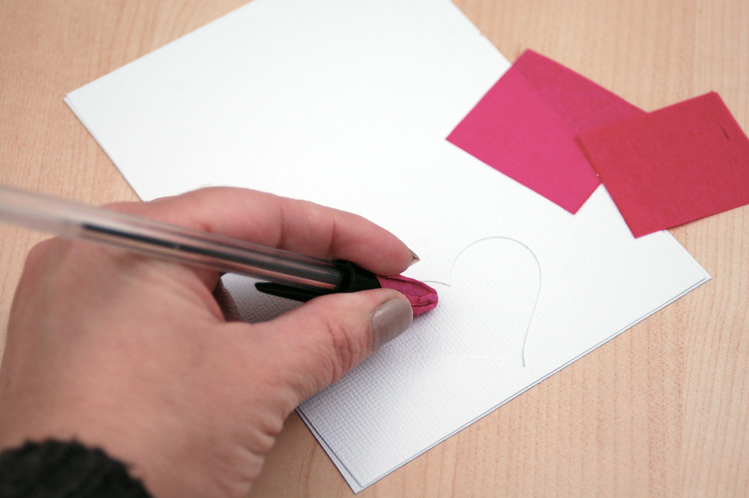
Step 5: Place the tissue paper onto the card shape. Continue to fill in the shape with the rest of the tissue paper. When the adhesive is dry, use your fingers to “fluff” up the tissue paper.
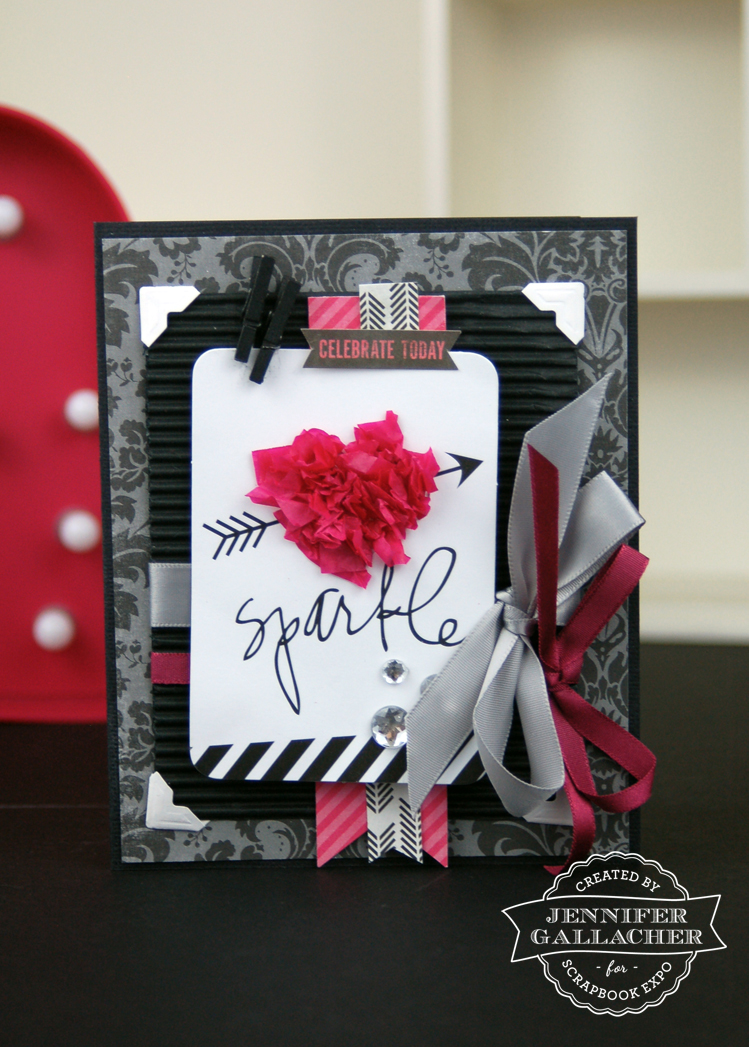
Here’s a close-up look of how the heart will look when completed:
Think of all the ways you could use this technique: shamrocks for St. Patrick’s Day, Easter eggs for Easter. The ideas are endless! And you can make this project large for a frame to hang in your home, smaller for a card, or even use it on a layout (although it may get squished a bit in your albums).
Have another idea on how to use this technique? I’d love to hear it. Simply leave a comment in the comments section below to share your best idea for using this layout or include a link to your completed project so I can see how this technique inspired you.
Here’s a little more information about myself:
I’m a maker, a doer, a creator. I clearly enjoy the creative process of crafting. It soothes my soul and speaks to my heart. For the past 17 years, I’ve been blessed to be a part of and work in the paper-crafting industry. That means for over 17 years I’ve been neck deep in paper, stickers, and glue. It’s been an incredible adventure. I’ve worked as a sample designer, a teacher, a magazine editor, a video instructor, a product designer, a writer, and more. Each of these jobs has stretched me creatively and helped me fall even more in love with crafting.
I’m inspired by the world around me. As the daughter of an Interior Designer I’m drawn to texture, color, and great design. As a writer, I find I have lots to say. As a teacher, I feel happiest when I get to share those ideas with others. As a parent of three children, I recognize that I want to spend my time doing meaningful things and that means making things for people I care about.
Whether I’m documenting our latest family outing, or creating a card for a family member or friend, or even if it’s creating something beautiful for my home, I’m expressing my love for those around me. That’s important to me. I want people to know that they matter to me and spending time being creative both makes me happy and helps me share those feelings with others.
So let’s make something meaningful together. Let’s create beautiful things. And let’s include those we care about in the process.
Creativity matters!
Looking for additional inspiration? You can also find me here:
Blog: http://jengallacher.blogspot.com/
Youtube: https://www.youtube.com/user/TheJenGallacher
Instagram: http://instagram.com/jengallacher1
Twitter: https://twitter.com/JenGallacher
Facebook: https://www.facebook.com/jennifer.gallacher.10
Pinterest: http://www.pinterest.com/jengallacher/



What a fun idea.
I’m so glad you like it!
Thanks, Corri! 🙂
Very cute! Love this idea.
Your post brought back memories of grade school for me. When spring time came, we used to make cherry blossoms using a similar technique. We would take pieces of pink crepe paper, and use the ends of our pencils to shape them and glue them onto “trees.” Thanks for sharing!
That’s exactly the type of craft that inspired me. Thanks for sharing!
Mahalo for sharing a memory of elementary art class, middle school poster making and high school display projects. Love this idea for cards.