Glitter!
Hi! It’s Kimberly with a fun way to use glitter, cardstock and Adhesive Sheets!
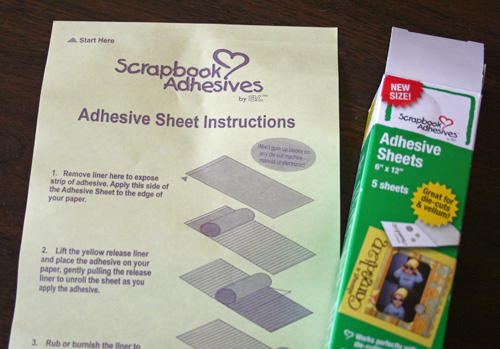
For this project, I used 6×12” sheets. These Adhesive Sheets turn a piece of cardstock into something sticky and wonderful!
The sheets each have fantastic directions on the back, but I am going to show you just how easy they are to use.
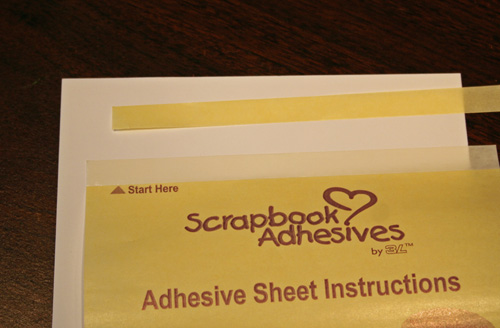
Start by removing the small yellow strip of backing from the Adhesive Sheet.
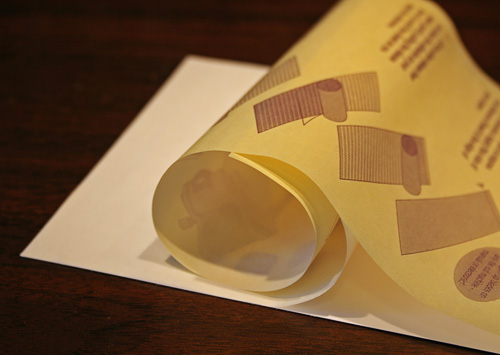
Apply the top of the Adhesive Sheet to the top of your cardstock, sticky side down. Slowly peel the yellow backing off the Adhesive Sheet. Smooth the sheet out as you go. Once you reach the end, the cardstock is ready.
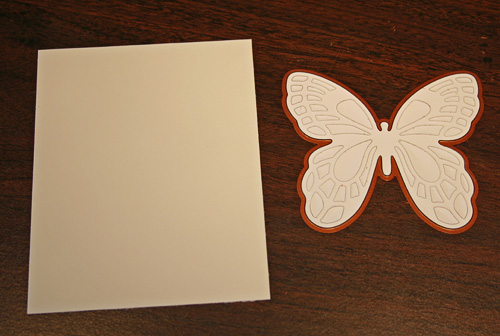
Cut the background piece to size and die cut another piece with a butterfly. A fantastic feature of these Adhesive Sheets is, they do not gum up your paper trimmer or manual die cutting machine and dies!
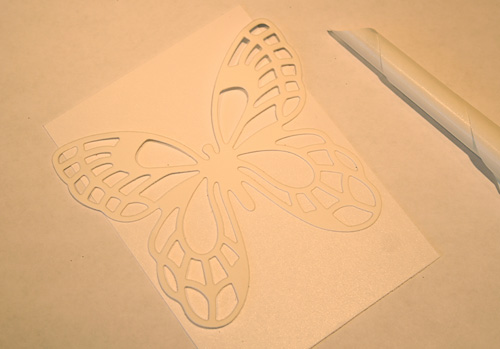
Peel the backing from the rectangular piece of cardstock. Then place the die cut butterfly down. DO NOT remove the backing from the front of the butterfly.
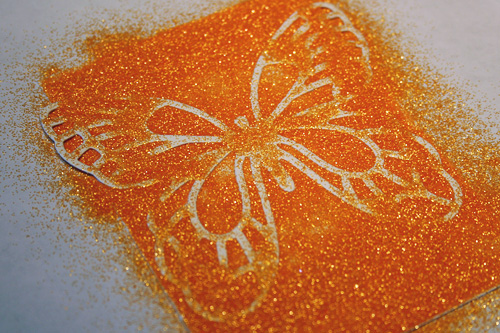
Generously sprinkle glitter over the entire piece of cardstock. Gently push and rub the glitter into the adhesive. Remove the excess. NOW you can remove the backing of the Adhesive Sheet from the butterfly.
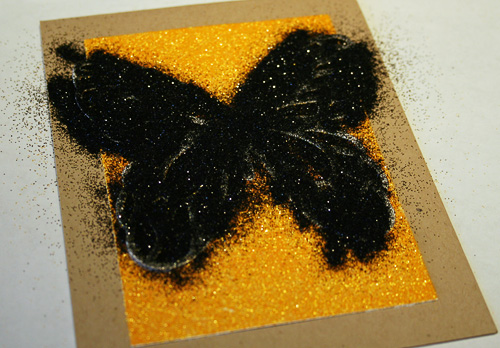
Sprinkle another color of glitter over the butterfly. Again, very gently, rub the glitter into the adhesive. Remove the excess glitter.
To adhere the background to the card base, you will need to apply adhesive to the cardstock because you used the sticky side to hold the glitter.
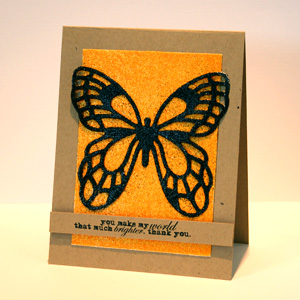
There you have it, a very cool way to use Adhesive Sheets and glitter to create a beautiful card. Imagine this idea with Fun Flock too!
Supplies: Adhesive Sheets 6×12, EZ Runner, Spellbinders Paper Arts-Flying Beauties, Stamps-Technique Tuesday (Simply You), Glitter-Stampendous! (Black, Tiger Lily), Cardstock-Bazzill (Kraft, Simply Smooth White)
Blog Post: http://www.scrapbook-adhesives.com/blog/2012/05/25/glitter/