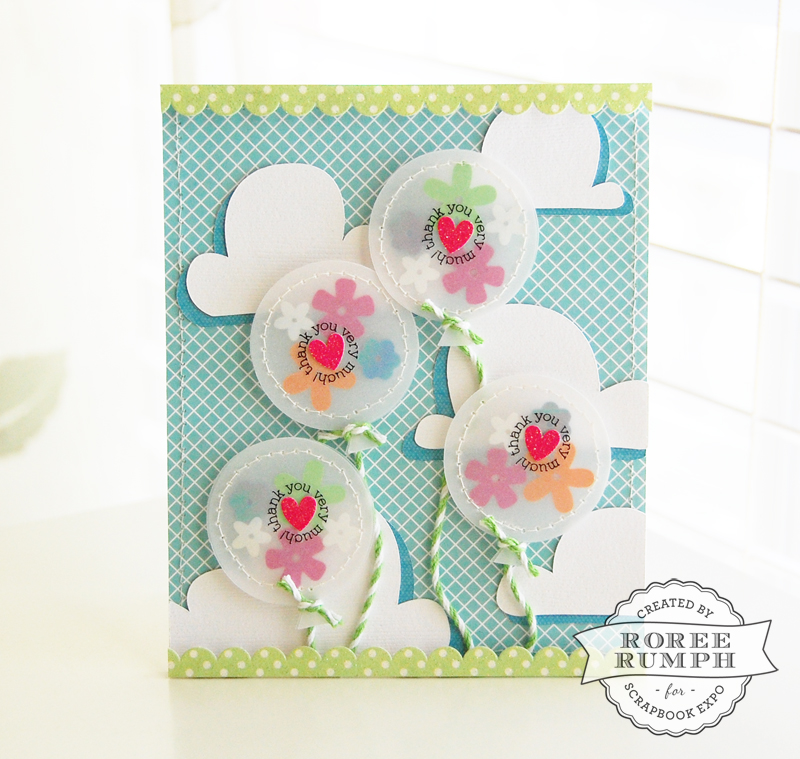
Hey, everyone! Roree here with another Make It! Monday project. Today I am going to show you how to create confetti balloons for a fun and festive card.
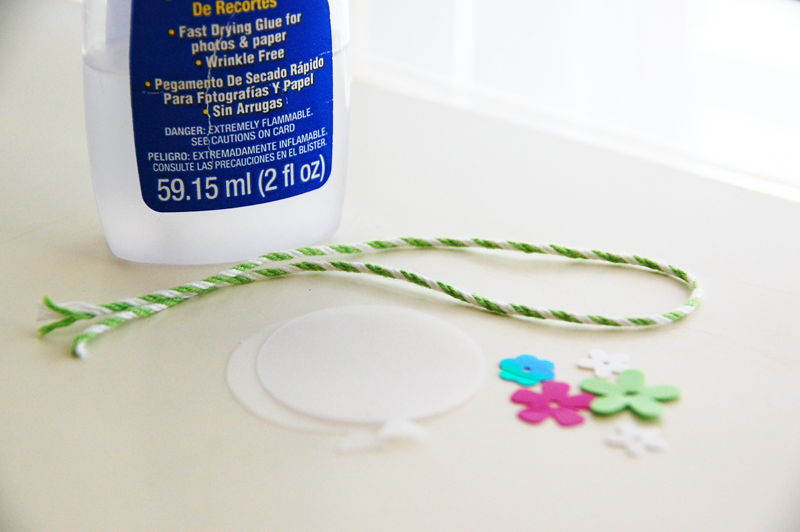
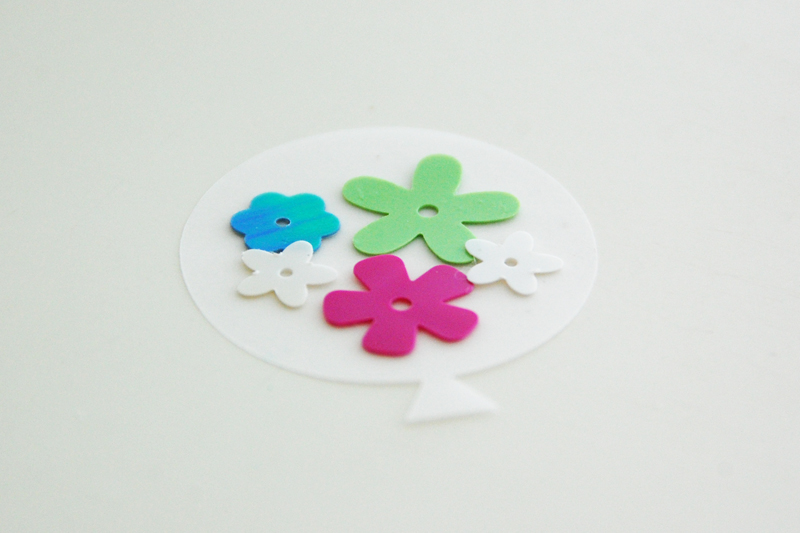
First off, you will need some die cut balloon shapes cut from vellum (I used my Cricut Explore® and Create a Critter cartridge), some colorful confetti or sequins, a little bit of baker’s twine, and your favorite adhesive.
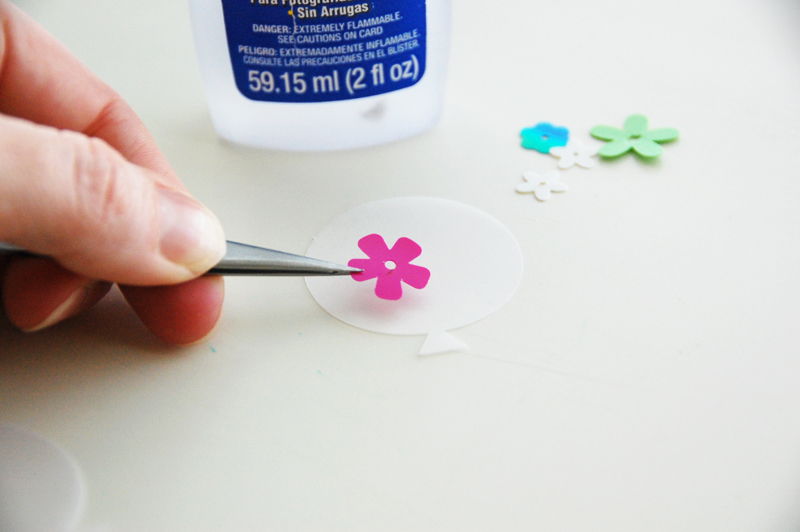
Add a touch of adhesive to the back of your confetti or sequins and adhere them to one of your balloon die cuts.
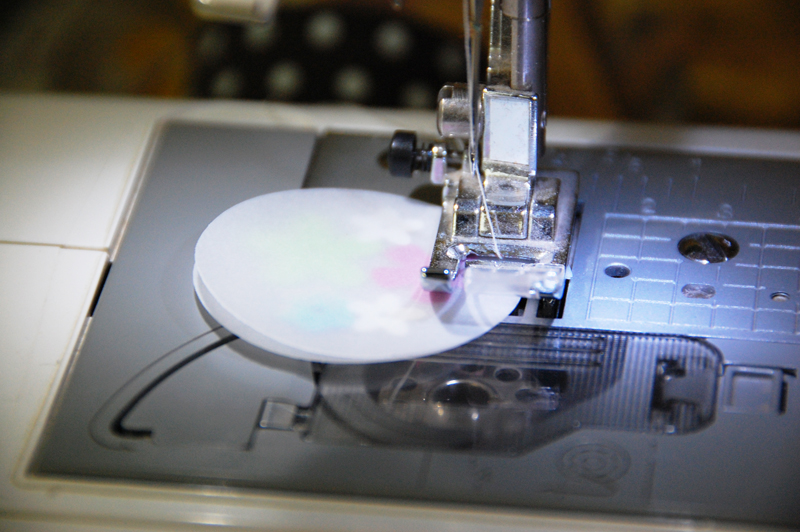
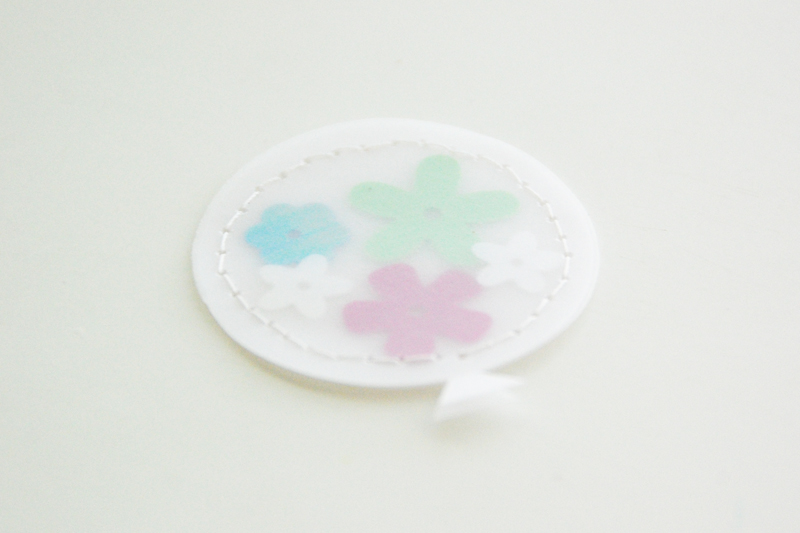
Layer the second balloon die cut onto the first and machine stitch around the outside edge.
Wrap the baker’s twine around the bottom of the stitched balloon die cuts and knot it.
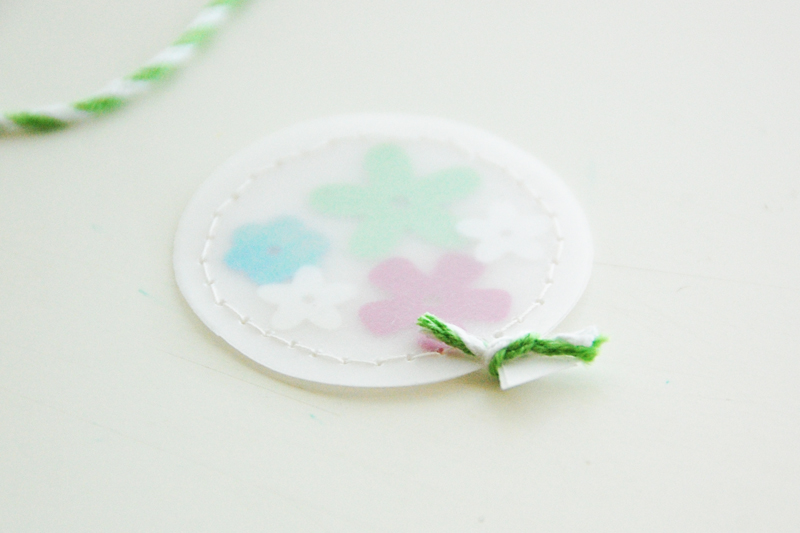
If you like, add a sentiment to your balloons or leave them as is.

All that is left is to add the balloons to your card or project.
I hope you enjoyed today’s Make It! Monday project. Thanks so much for stopping by!
Those are adorable!!!!
Thanks so much, Rachael!
super cute thanks for the quick instructions
You’re so welcome, Alyse!