
Hey, everyone! Roree here with this week’s Make It! Monday project.
One trend that I have been seeing everywhere lately is the use of watercolors in paper crafting. I just love the look of it on cards and layouts. But since I am not always the quickest to run out and grab product for the newest trends, I decided to try achieving a similar look with something I already have in my stash.
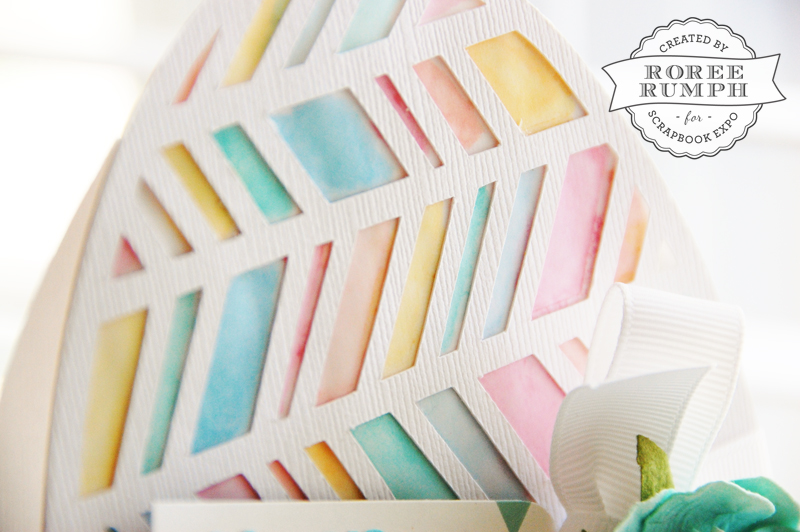
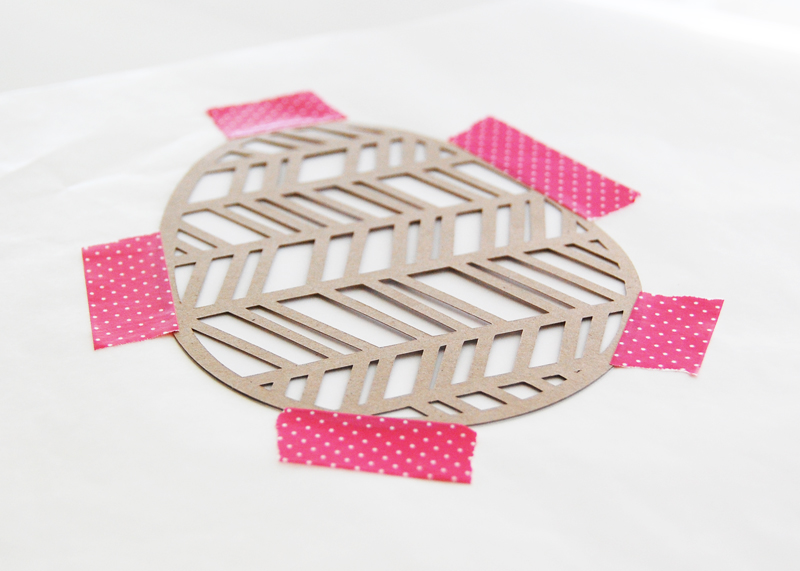
I do not have any watercolor paints, but I do have a LOT of spray inks. And since they are water-based, I thought they might help me achieve a similar effect to that of watercolors. To create this card, I pulled out multiple colors of Heidi Swapp Color Shine Iridescent Spritzes from my stash and cut out an egg shape from vellum and chevron egg shape from cardstock using my Cricut Explore® and Home for the Holidays – Spring & Summer cartridge.
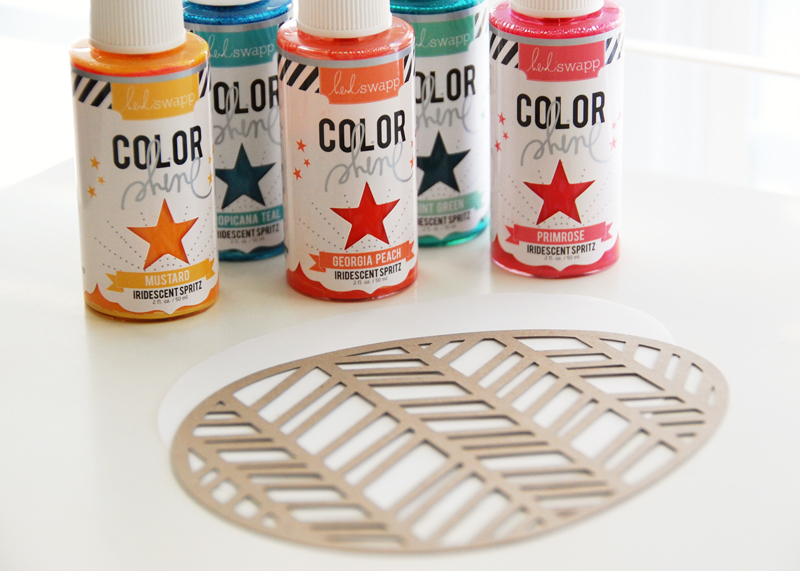
I adhered the cardstock cut over the vellum cut with some Washi tape to hold the cuts in place.
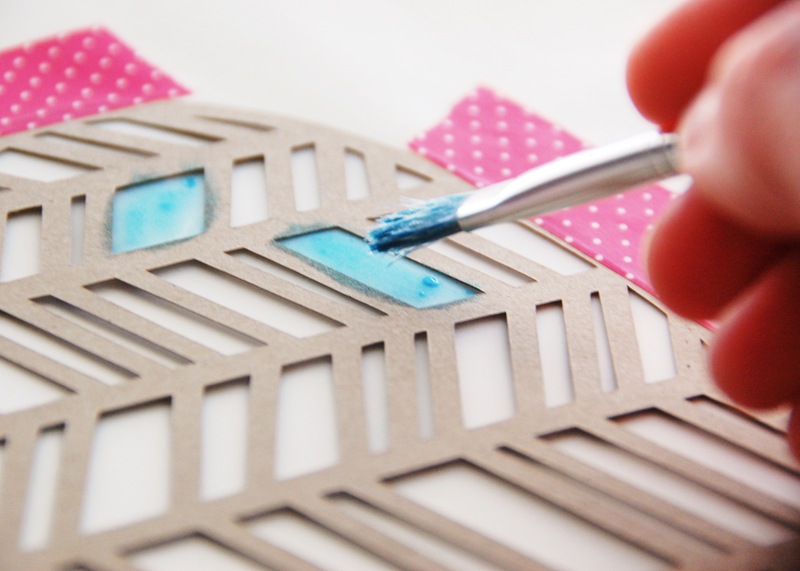
In between colors, I blotted the paint with a paper towel to quicken the drying time.
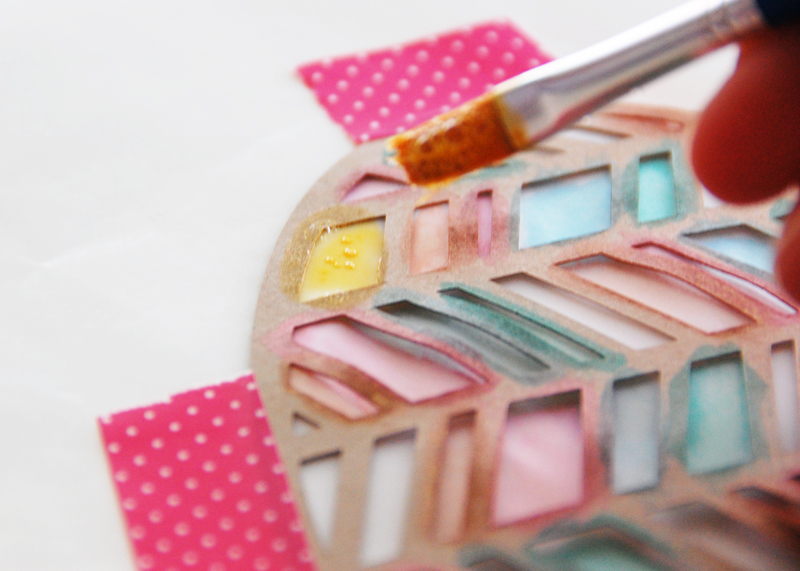
My painting turned out a little messy, but I wasn’t really worried about that because I was planning to add another die cut over the top. (If you are worried about the colors running, try using a vinyl die cut stencil or using a semi-permanent adhesive on the the back side of your cardstock cut to keep the cut firmly in place while you are painting.)
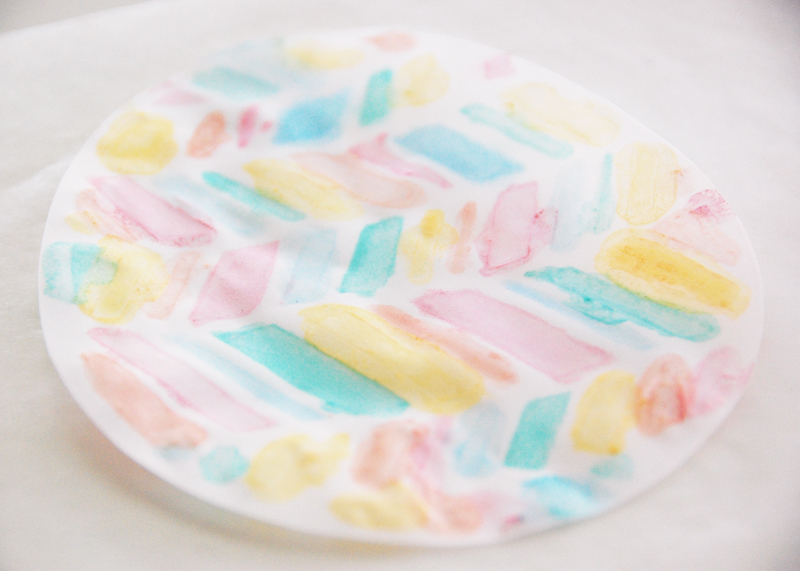
Also, because the vellum started to pucker just a bit, I ironed the back side of the cut with my iron on a dry heat setting to smooth it out.
I cut out another chevron egg shape from white cardstock, layering the painted shape in between the chevron cut and an egg-shaped card.
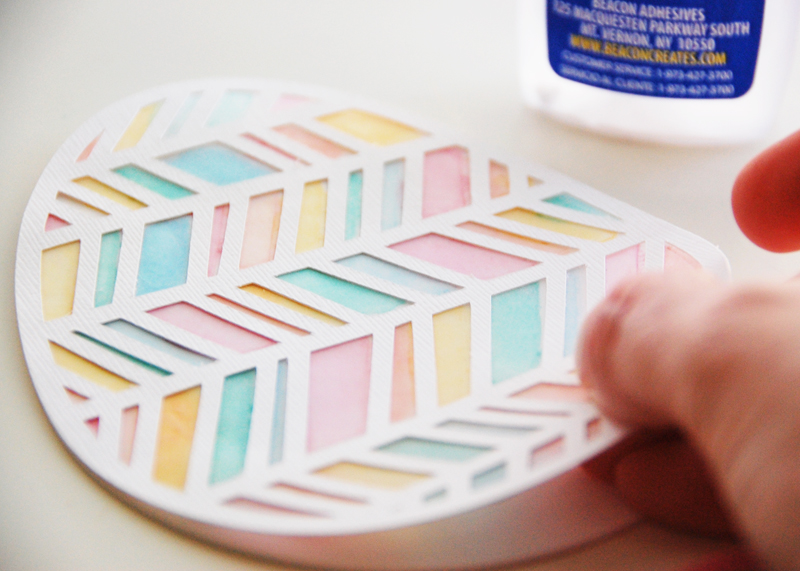
Lastly, I added some ribbon, a flower, and a tag with a sentiment to finish.
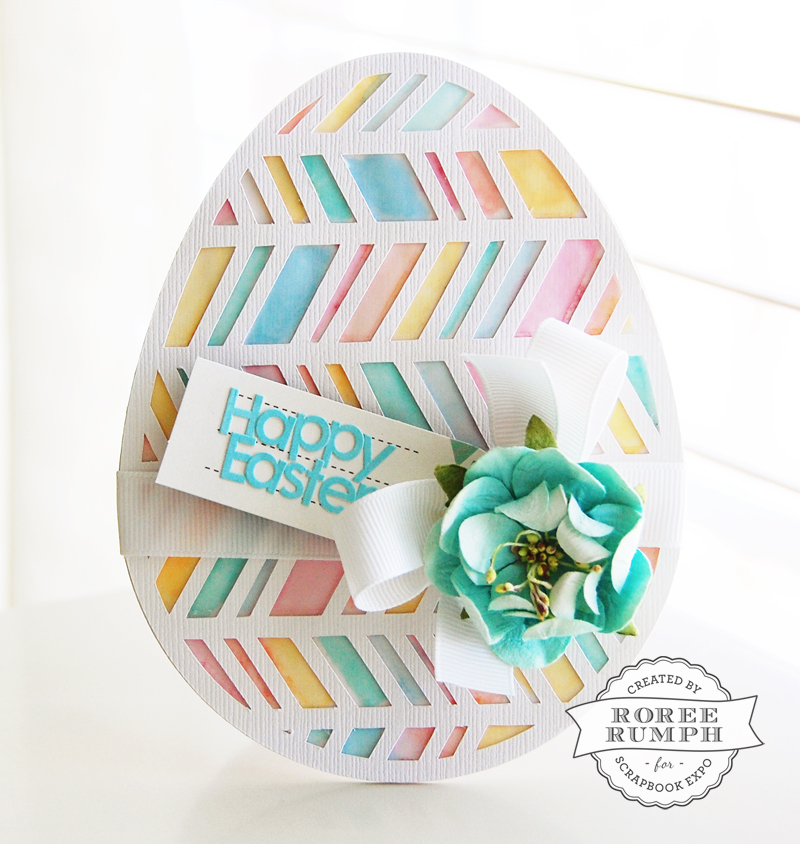
I am so happy with the result, and I am glad I didn’t have to buy any new products to achieve the look I was going for. Yay for being resourceful!
I hope you enjoyed today’s Make It ! Monday project. Thanks so much for stopping by!


This is absolutely adorable. Printed it out so I might use it next year. TFS!
Mstgane
Ann
Thanks, Ann, but don’t wait until next year. Try it on a fun spring or summer shape!