Hey, everyone! Roree here with another Make It! Monday project. Today I am sharing a shaped card I created with my Cricut Explore® machine, Cricut Design Space®, and the Sugar and Spice cartridge.
I love to use my Cricut Explore® machine and Cricut Design Space® to make cards, especially shaped cards. There are so many wonderful images in the Cricut Library to choose from even though not all images are created specifically with cards in mind. But, that’s okay. I am going to show you how I create my own shaped cards from scratch.
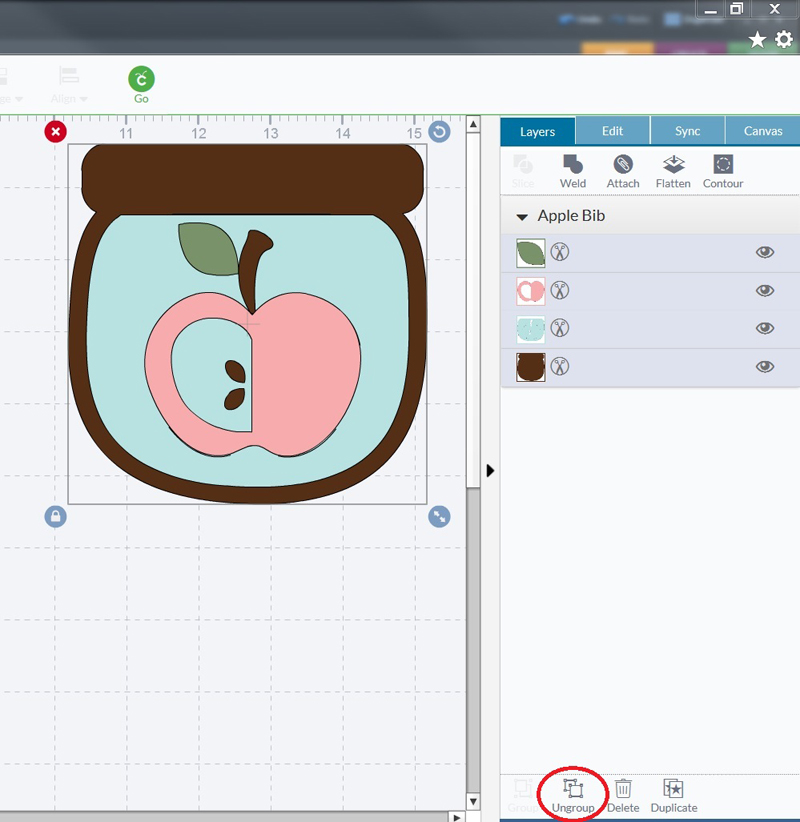
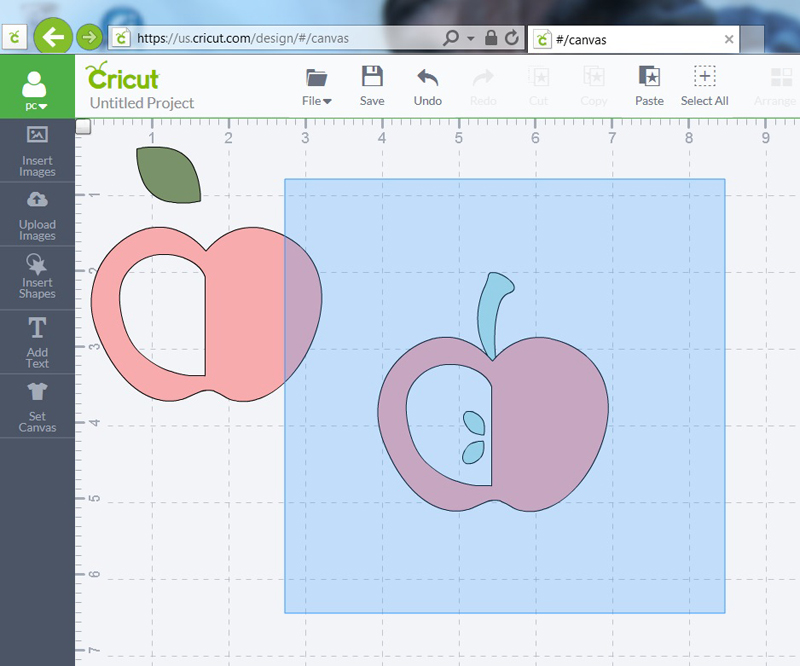
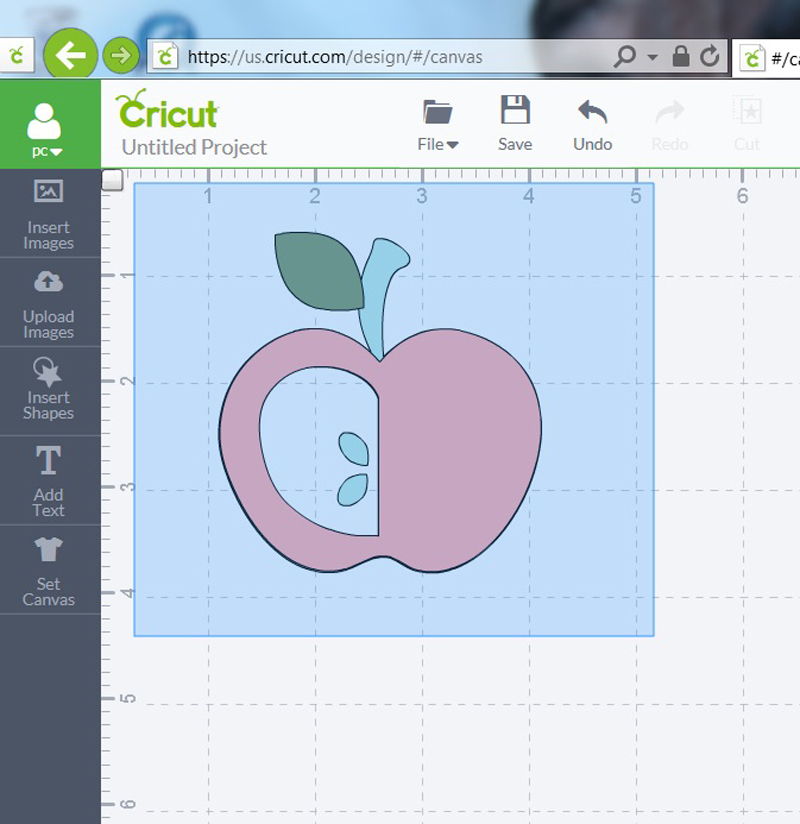
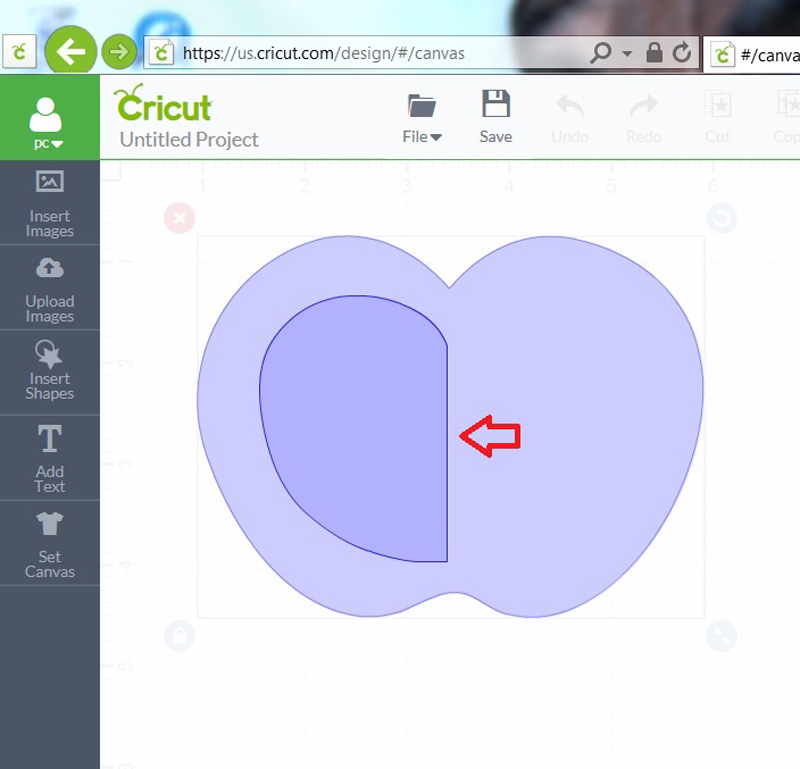
First, I start with an image I like. For today’s card, I chose the Apple Bib image from the Sugar and Spice cartridge. I didn’t want to use the bib shape, just the apple. So I ungrouped the image in the Layers tab of the Panel Menu, selected the image I wanted to remove, and then clicked the red X at the top left corner of the image to remove it from the mat.

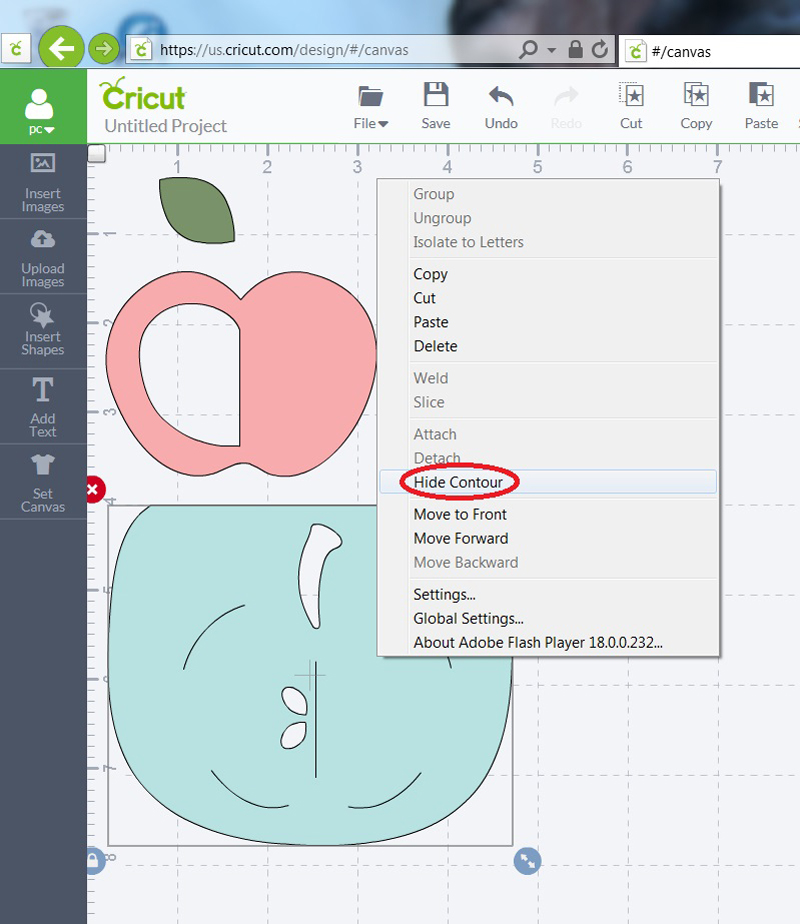
After removing the bib image, I was left with the inner bib that had the negative of the stem and seeds. I decided to create my own layered shape with an apple and stem. To do this, I right-clicked the blue image, chose the Hide Contour function, and started clicking on the lines I wanted to remove.
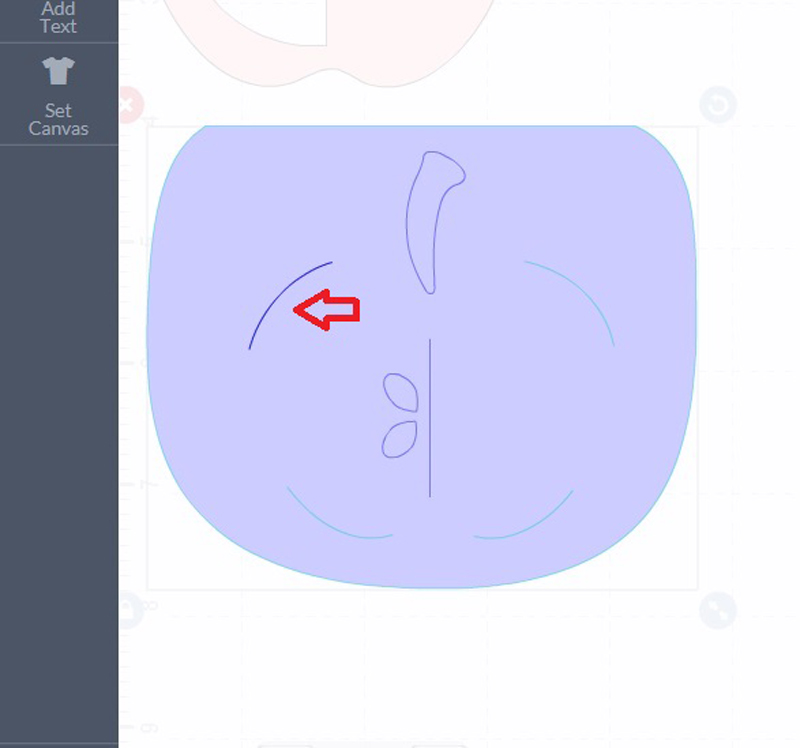
After I finished, I was left with the stem and the seeds from the image.
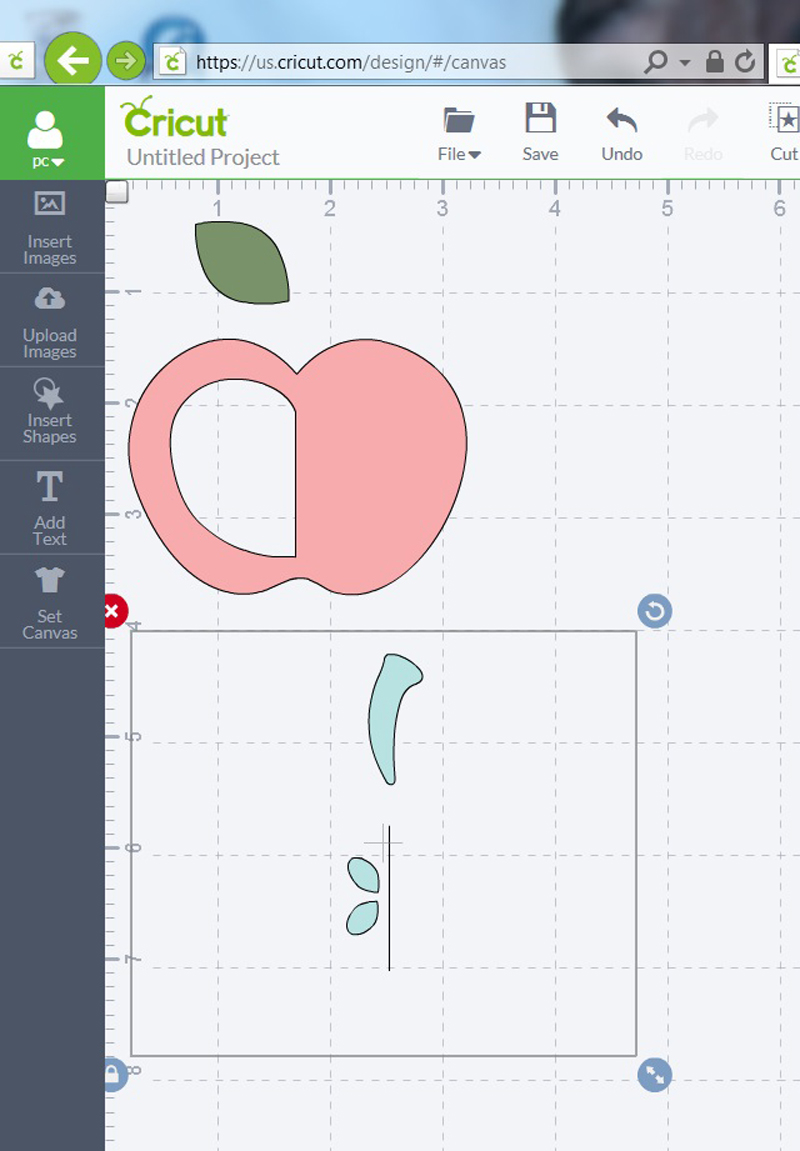
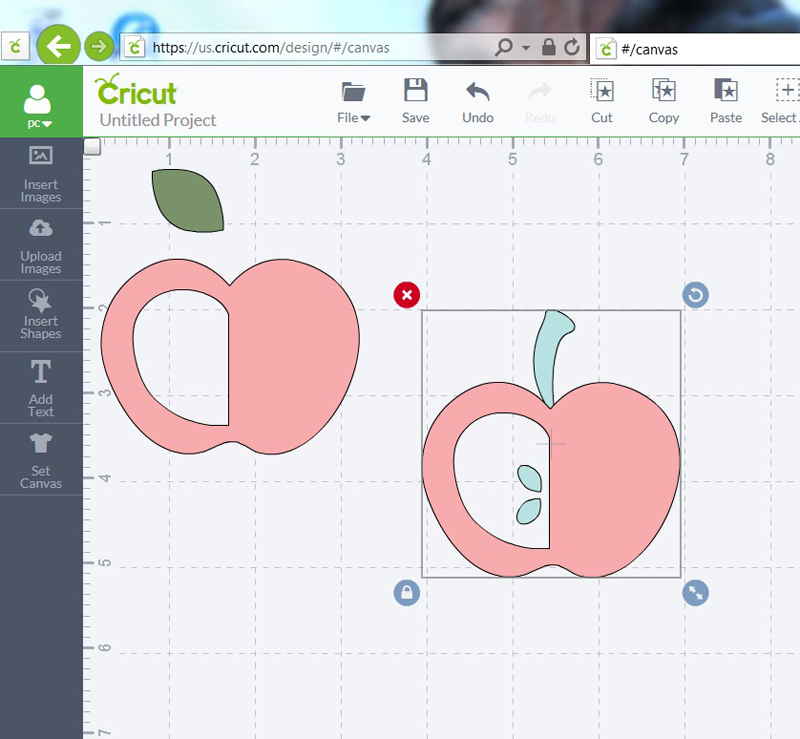
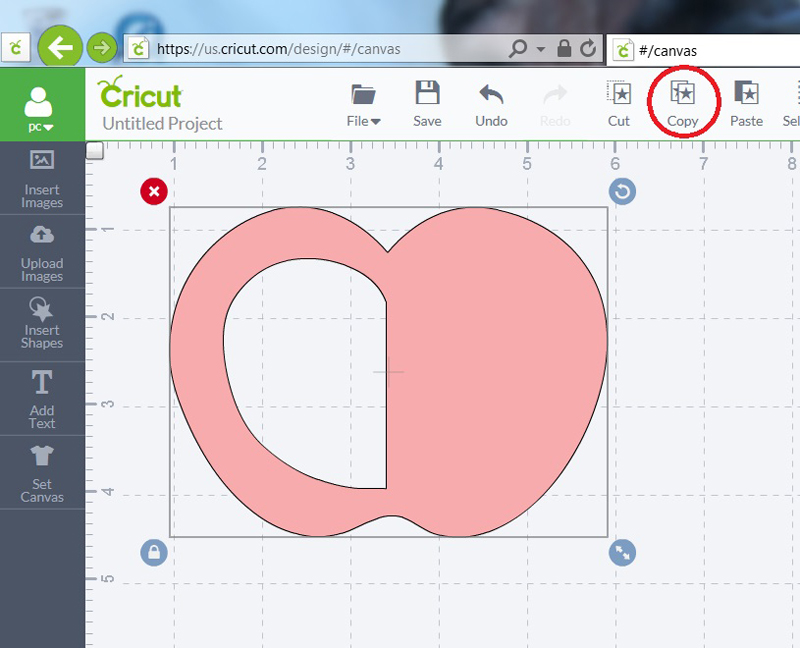
I then copied and pasted the apple image.
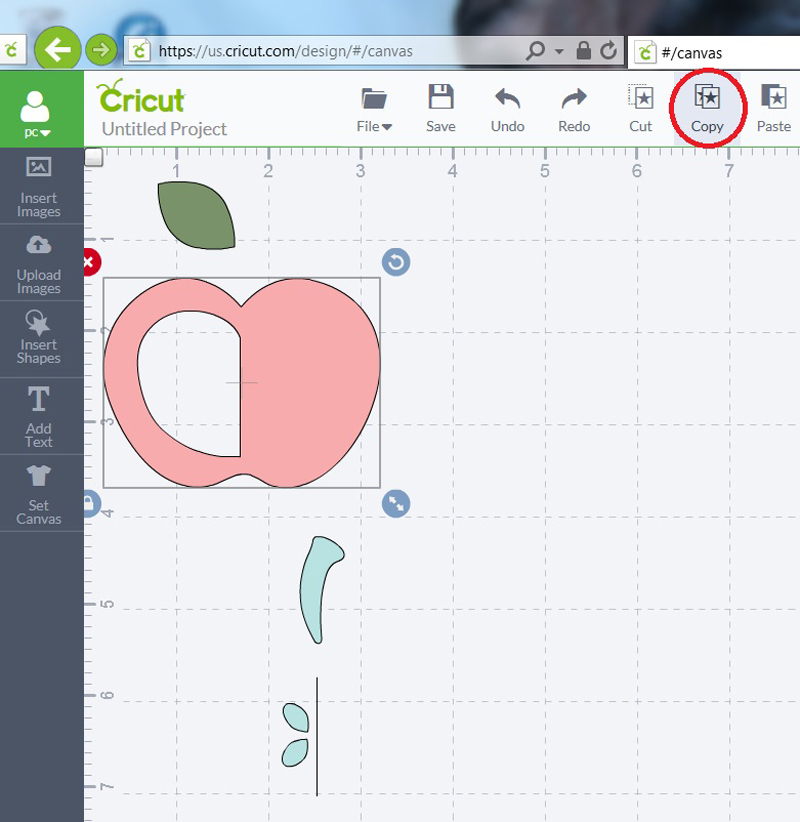
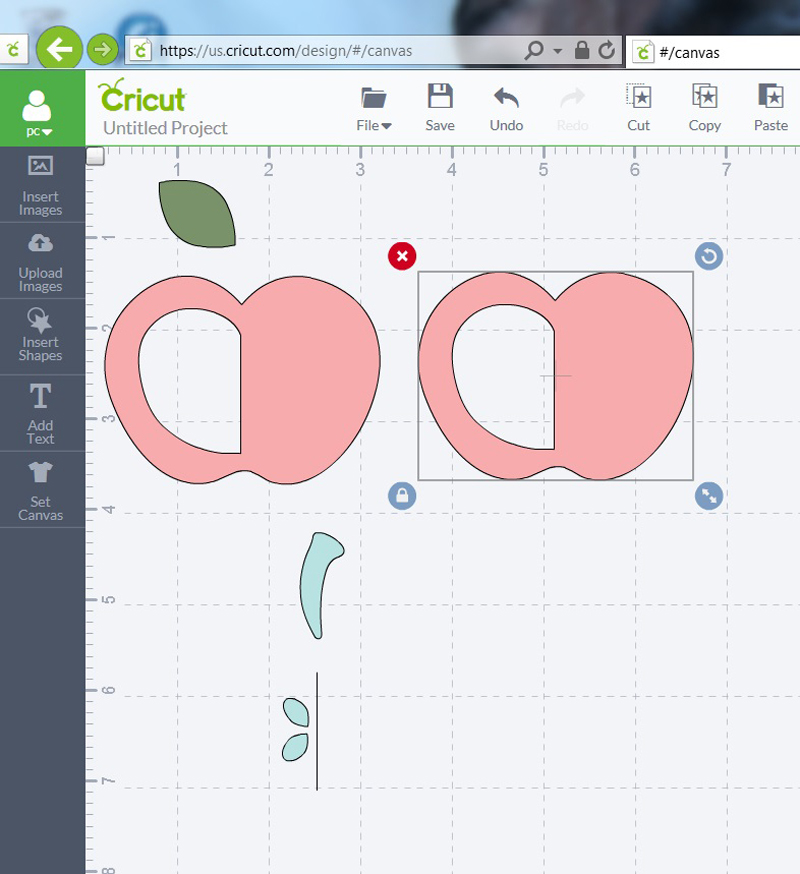
I dragged the stem/seeds image under the copied apple image, left-clicked my mouse, and dragged the box over the layered image, boxing the images together.
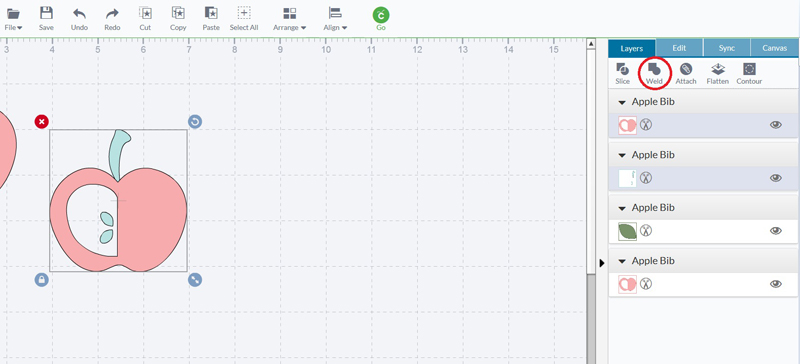
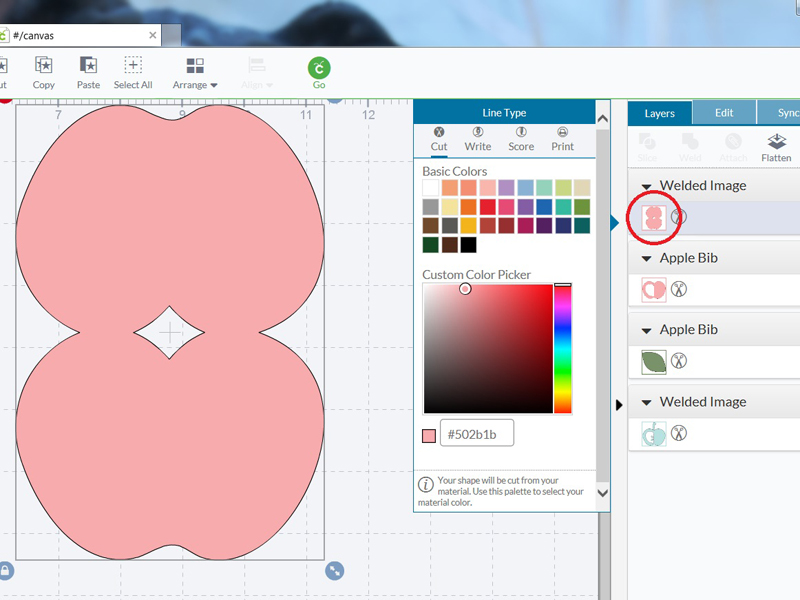
With the images selected, I clicked on the Weld button in the Layers tab in the Panel Menu to weld the images together.
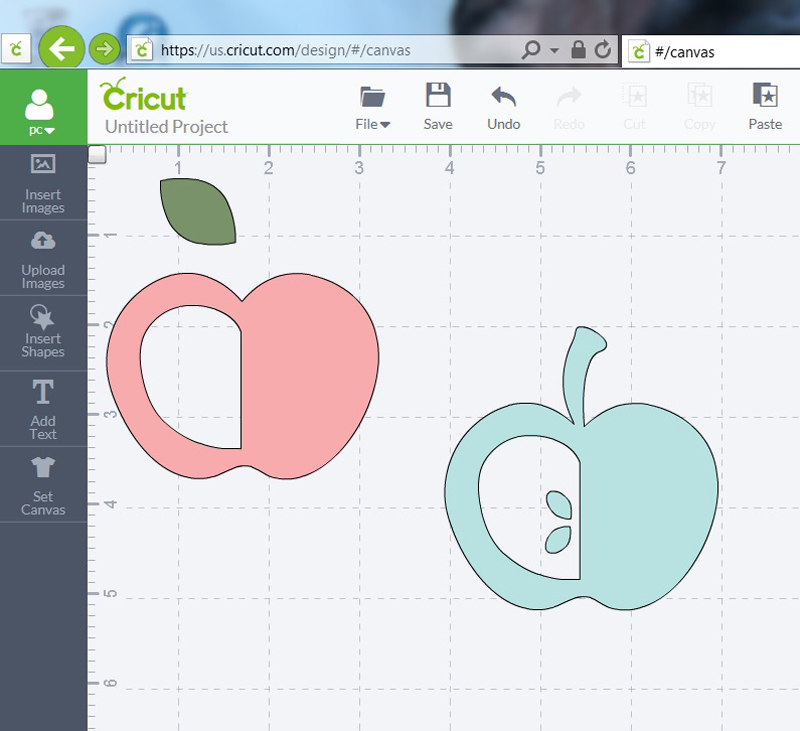
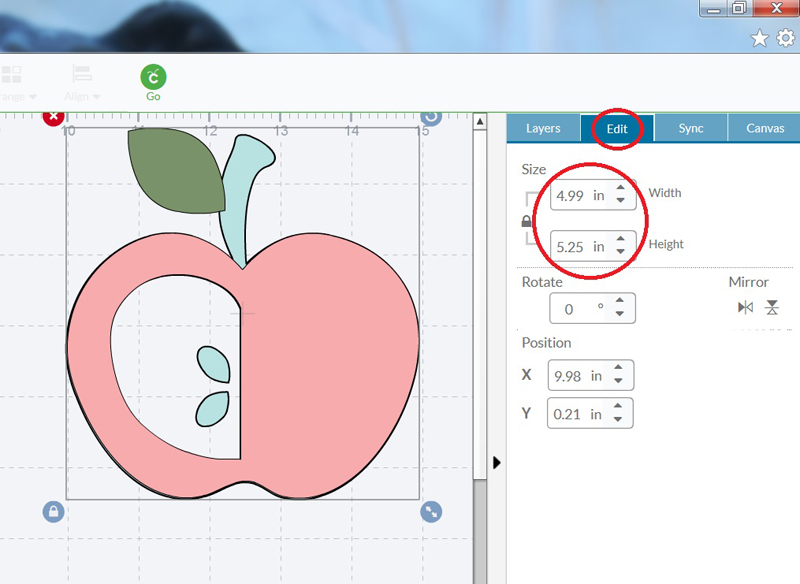
I then dragged the welded image under the pink apple and green leaf images, left-clicked the mouse, and dragged the box over the layered images, boxing the images together.
After the image was selected, I adjusted the size under the Edit tab in the Panel Menu to the size I wanted my finished card.
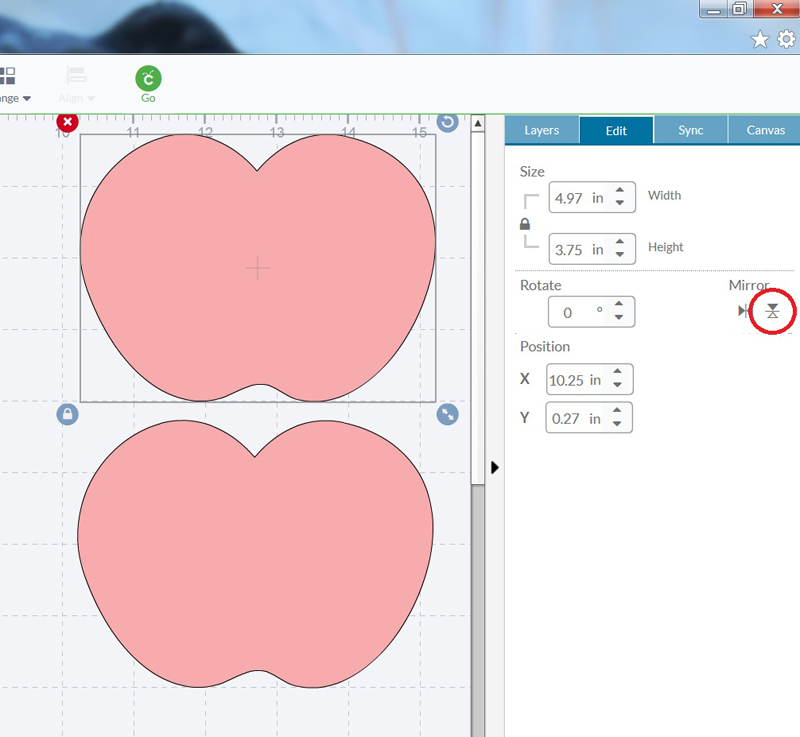
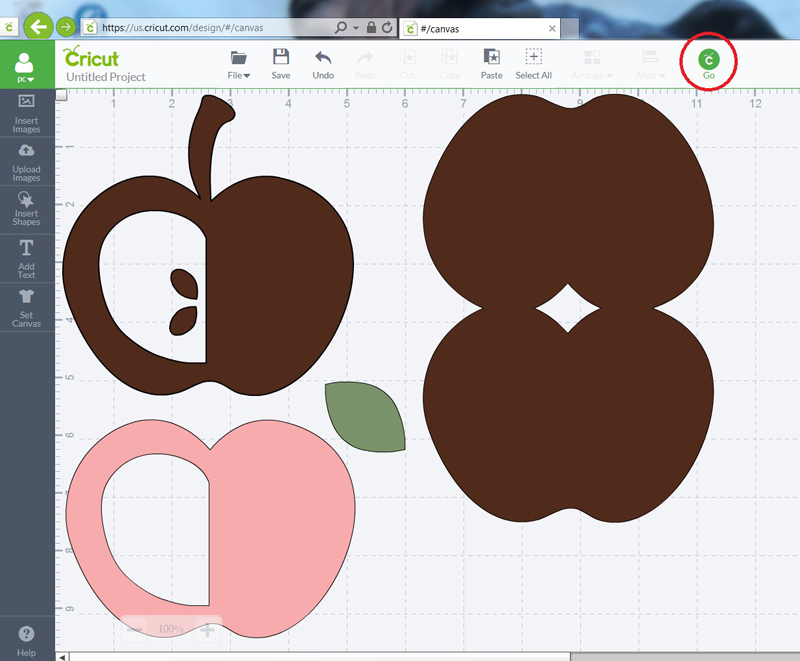
I then selected the pink apple shape and copied and pasted the image.
With the copied image, I right-clicked the shape, chose the Hide Contour function, and selected the lines I wanted to remove.
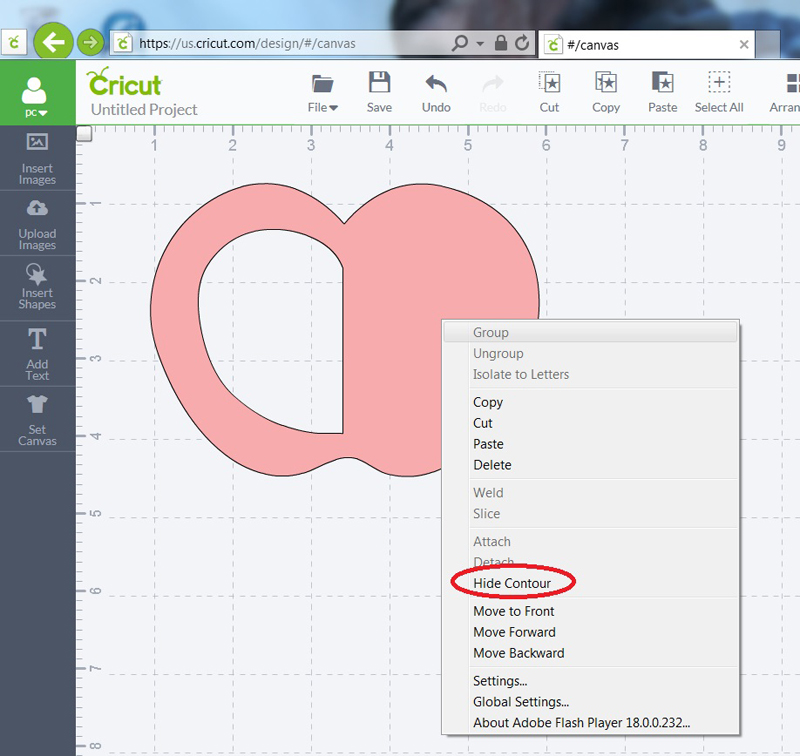
I was left with a solid apple shape. I copied and pasted that image, creating two solid apple shapes.

I selected the top apple shape and in the Edit tab in the Panel Menu, I clicked the vertical Mirror button to flip the shape vertically.
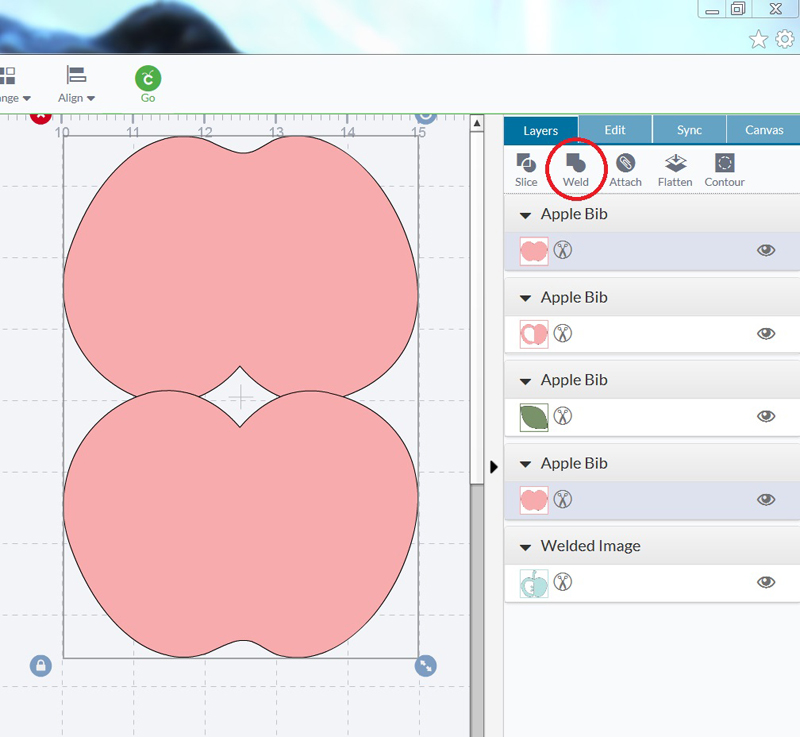
I slightly overlapped the shapes, left-clicked my mouse and dragged the box over the shapes, boxing them together.

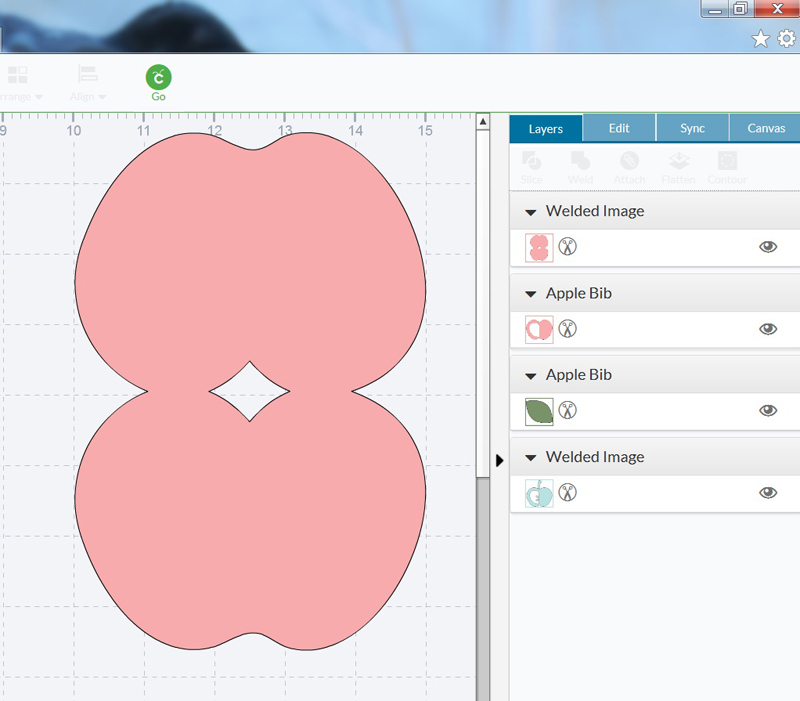
With both apple shapes selected, I clicked on the Weld button under the Layers tab in the Panel Menu and welded the two images together to create my card base.
I changed the color of the welded apple image and the welded apple/stem image to the same color (I chose brown) because both images were going to be cut from the same material (brown cardstock). (Cricut Design Space will group images of the same color together onto one mat in the Mat Preview Screen.)
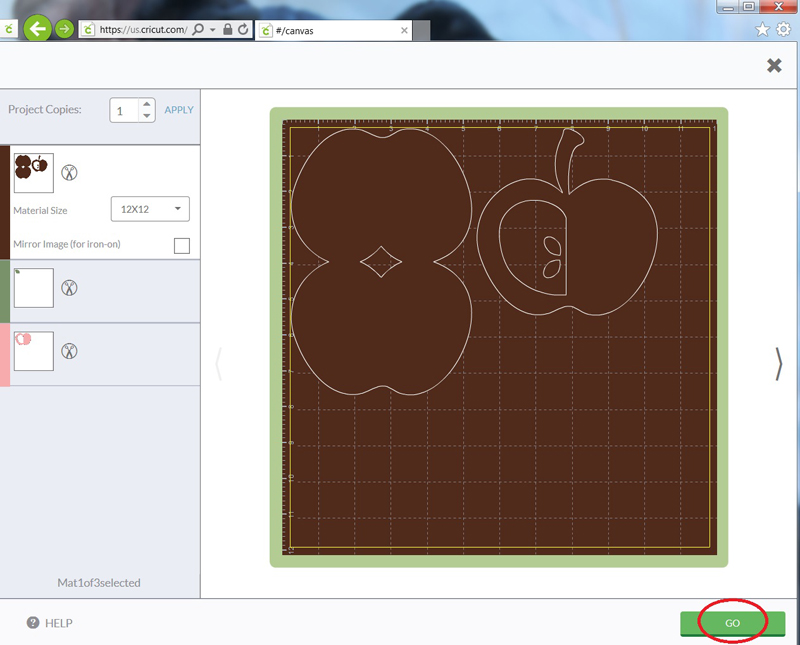
With all my images ready, I clicked the go button in the Top Menu, loaded my first mat, then clicked Go to start cutting my images.
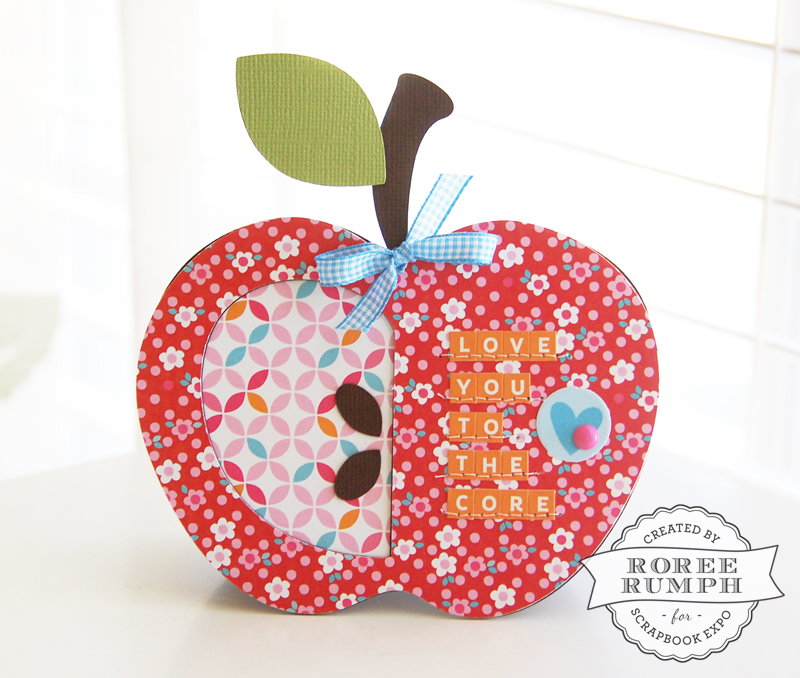
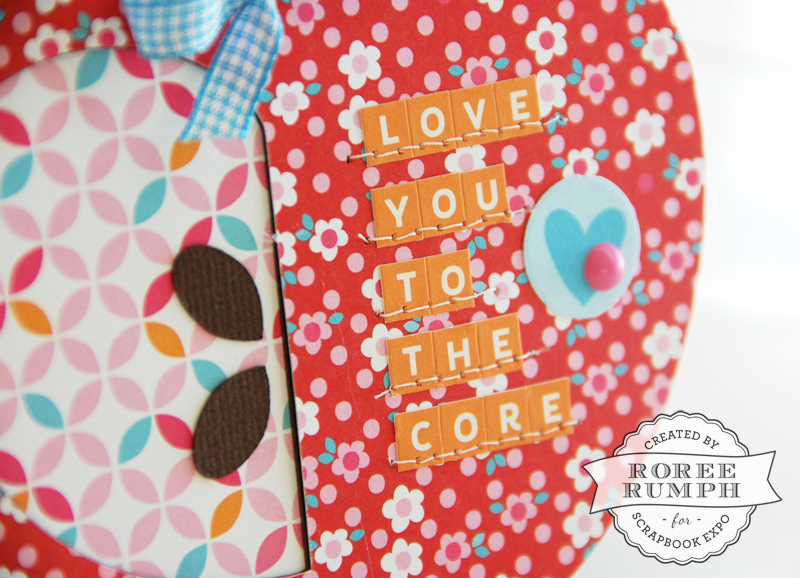
After all of my images were cut, I layered the shapes together, added embellishments, and ended up with a cute apple-shaped card.
I hope you enjoyed today’s Make It! Monday project. Thanks so much for stopping by!
Thank you for sharing!!!!
You are very welcome, Rebecca!
Adorable! Great for Teacher Appreciation week too! Thanks!
Thanks so much, Jodey!