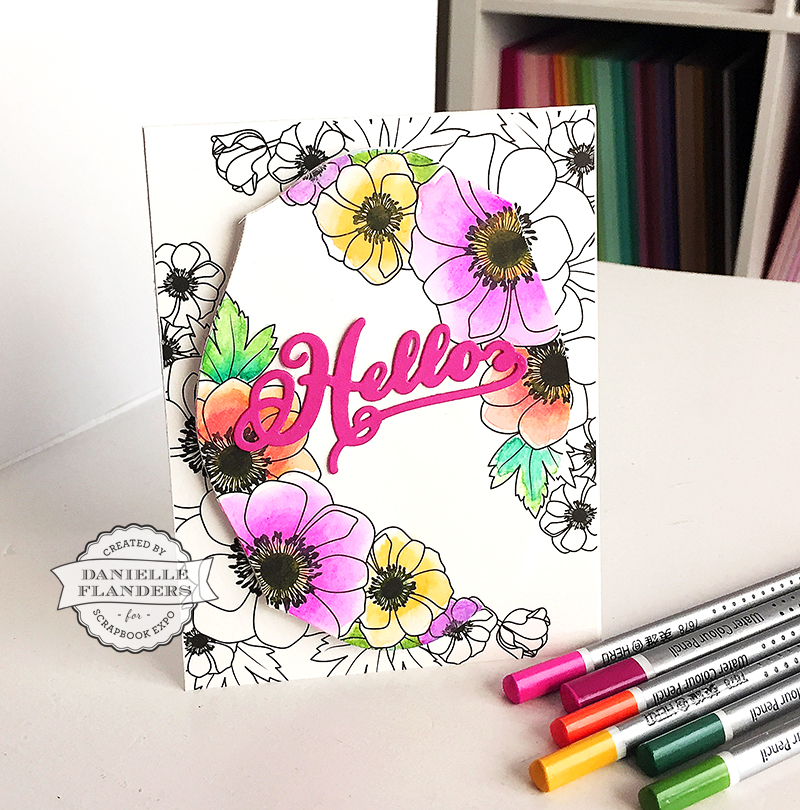
Well, that’s a long title, isn’t it? I guess you could call it “Selective Coloring” as well, but essentially in today’s tutorial, I’m going to show you how to start with a black and white background, then choose part of it as a focal point, adding color only to the focal point to make it stand out. I hope that makes sense! Let’s get started!
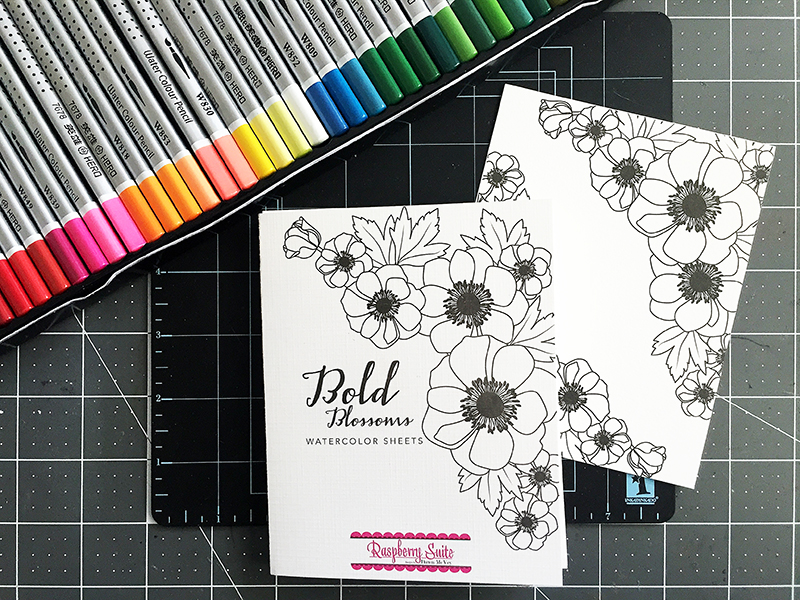
The first thing you’ll need are some stamps that are just “outline” stamps (by that, I mean stamps that will create an image that can be colored in, not a solid image), OR you can use a preprinted paper that has a black and white image on it like these Bold Blossom Watercolor Sheets by Papertrey Ink. You could even print out your own design! Papertrey Ink has watercolor sheets like these or regular sheets you can color in, if you are more of a person who likes to color in with Copic Markers. Any of those will work with this technique.
I am using a 72 count box of watercolor pencils by Hero to color in my design. I love the bright colors, and when coloring with them, they have deep color to them.
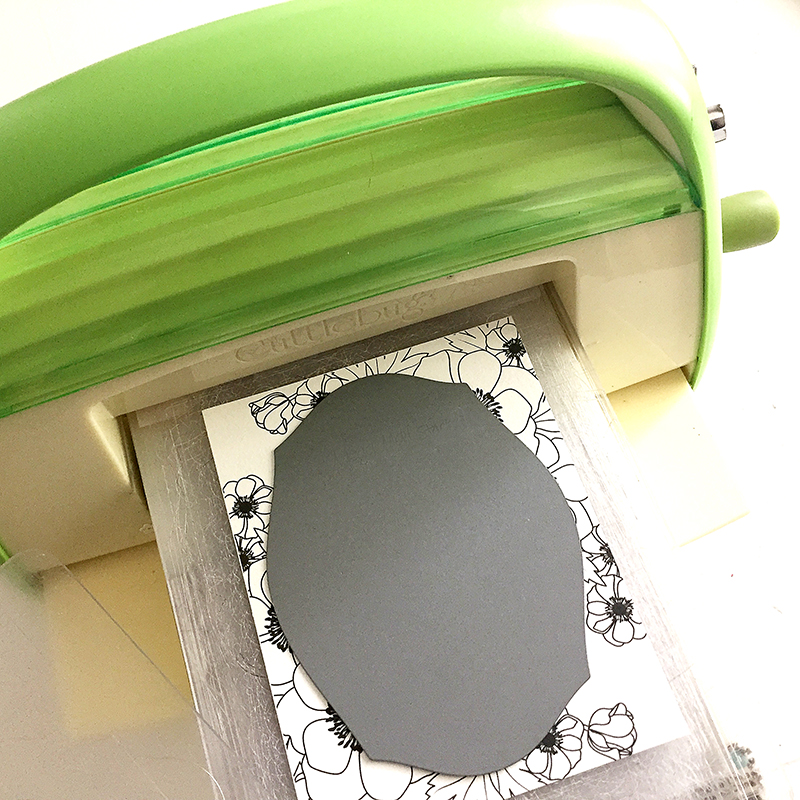
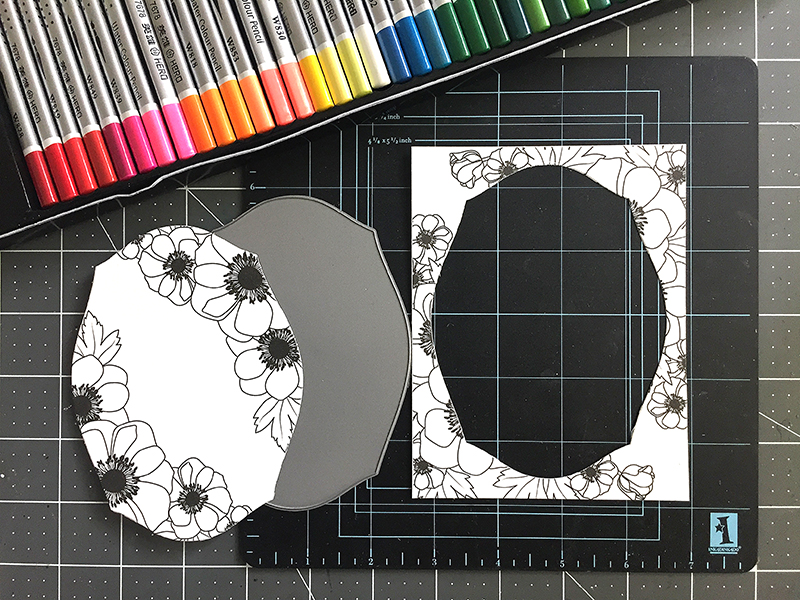
You’ll also need a frame die and a cutting machine to die cut the center of the background. The die I’ve used here is the Mega Mat Stack 1 die.
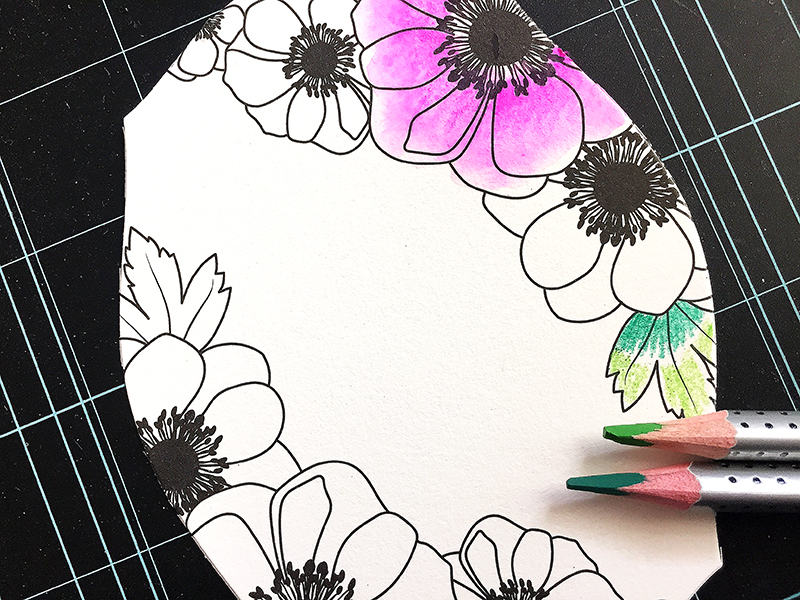
Now color in the frame, but NOT the background.
I sketched in the flowers with the watercolor pencils, then added a tiny bit of water over the top to blend the pencils.
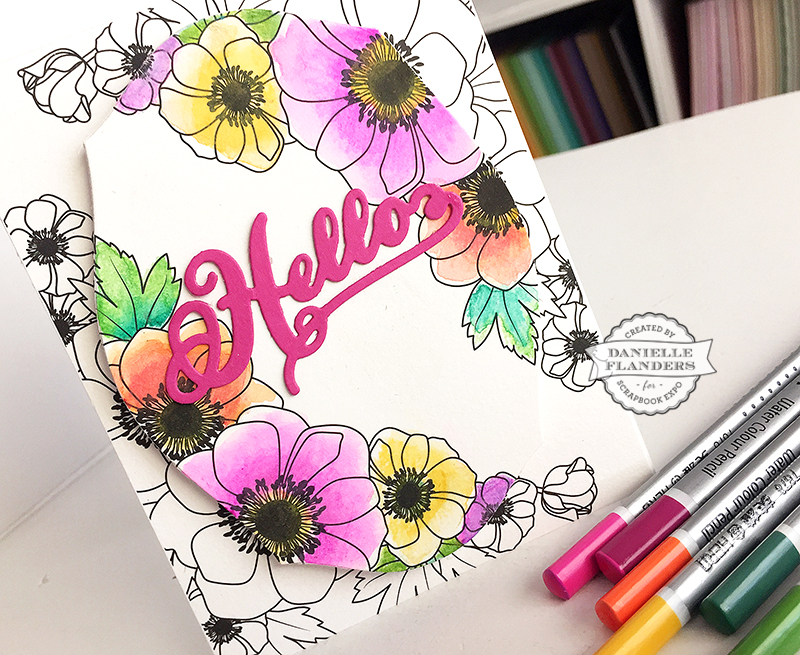
Last, I added everything back onto a card base, raising the center colored panel up with dimensional adhesive and adding a sentiment over the top. I lined up the middle piece with the flowers in the background. (It may not look like they are lined up well because of the angle of the photo, but I promise, it’s lined up!)
I have a video and two more samples made with this technique HERE if you’d like to take a peek. I hope you’ll give this fun technique a try, and let me know what you come up with! Happy crafting!
Danielle




Fantastic idea, thanks for sharing!