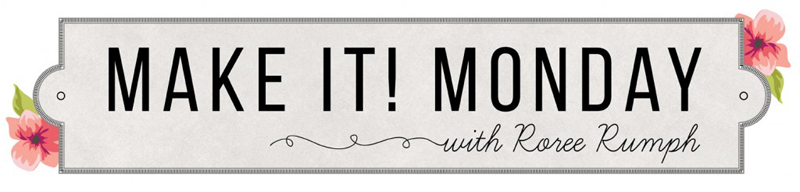
Hey, everyone! Roree here with another Make It! Monday project. Today I am sharing an accordion mini album I created using envelopes.
First I started with a handful of white A2 envelopes and some adhesive.
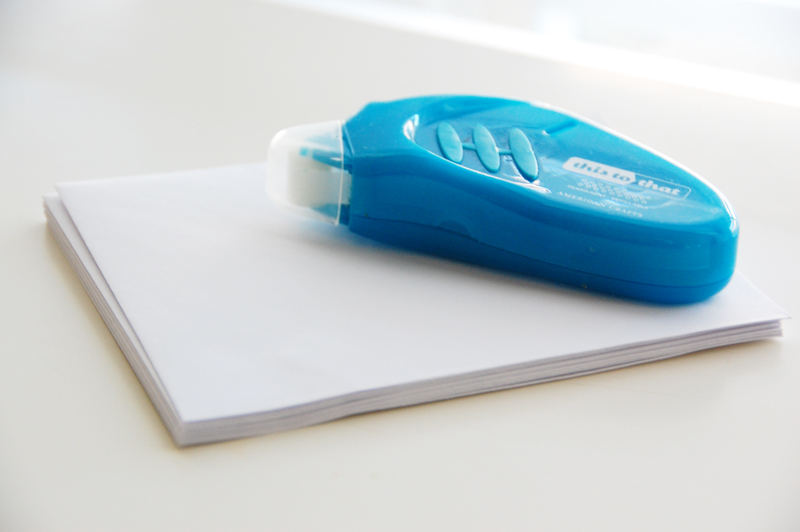
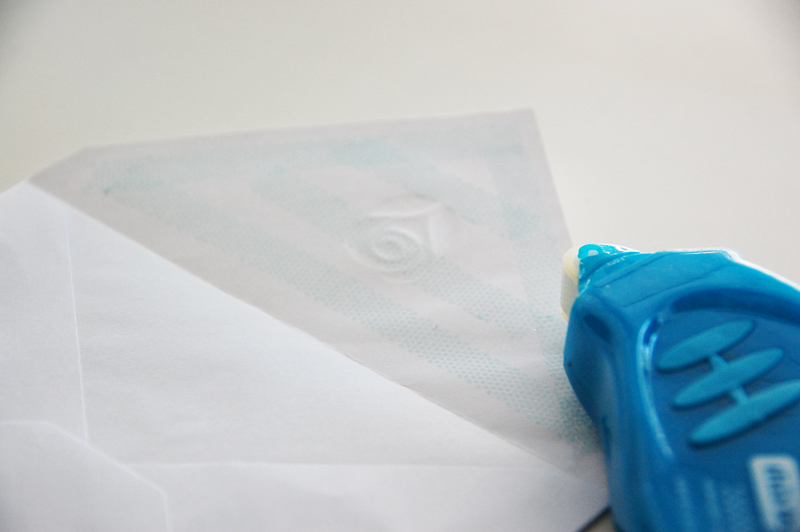
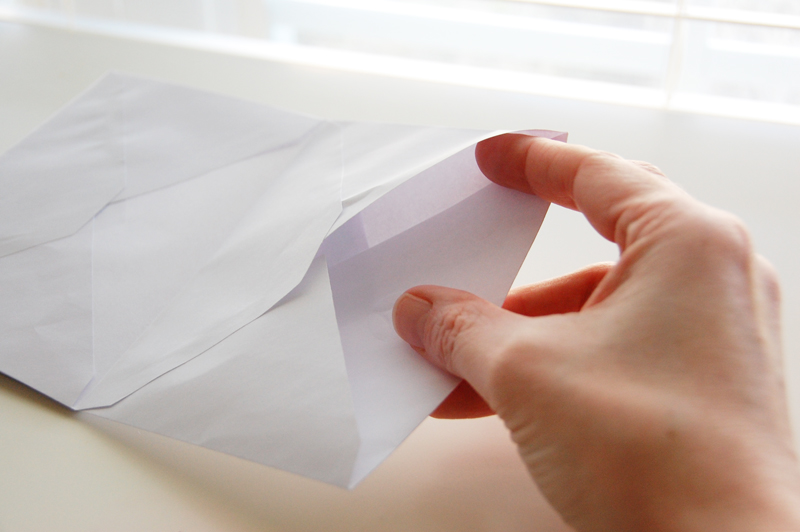
I added adhesive to the inside flap of the envelope and adhered that flap to the front side of another envelope.
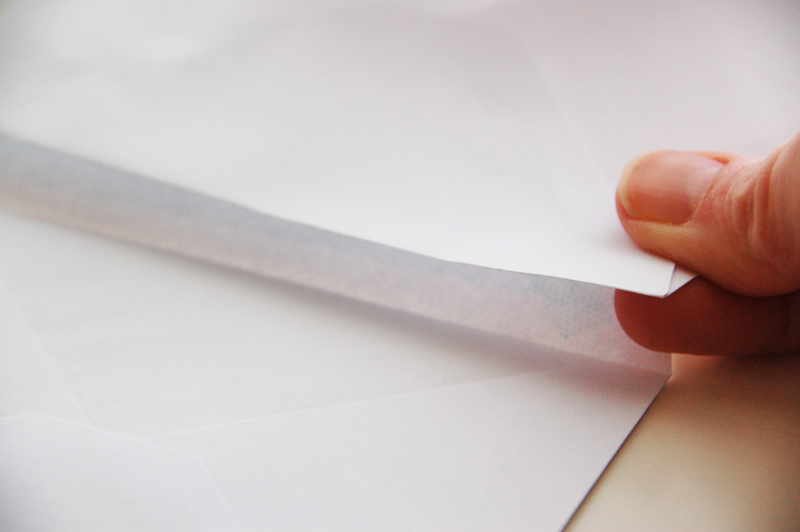
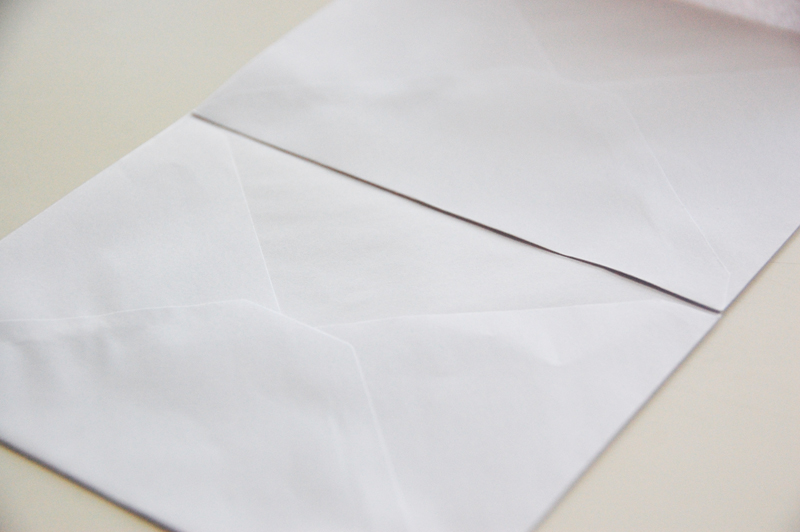
I repeated this step until I adhered all of my envelopes together.
I used six envelopes for my album, but you can use as many or as little as you like.
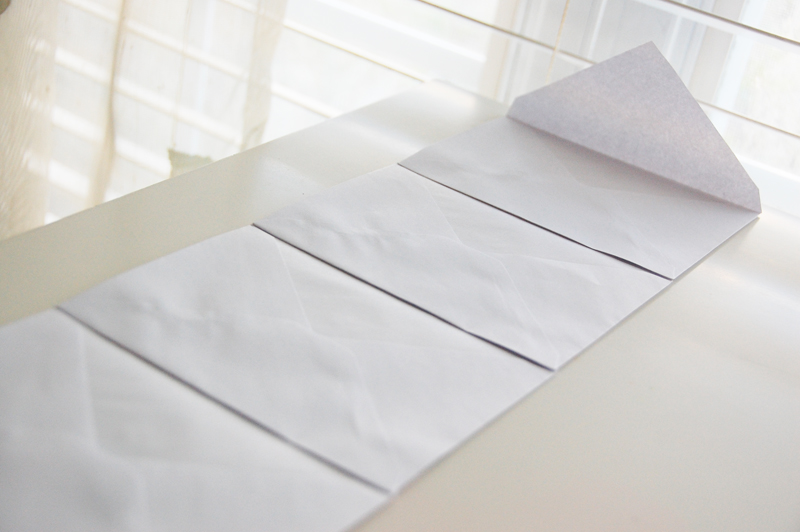
I folded the envelopes into an accordion shape.
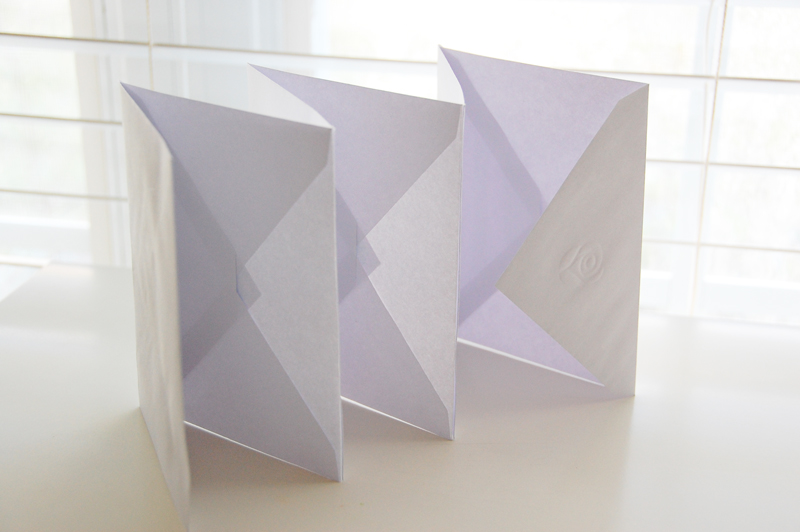
Because the last envelope flap doesn’t adhere to another envelope, I tucked the flap inside the envelope.
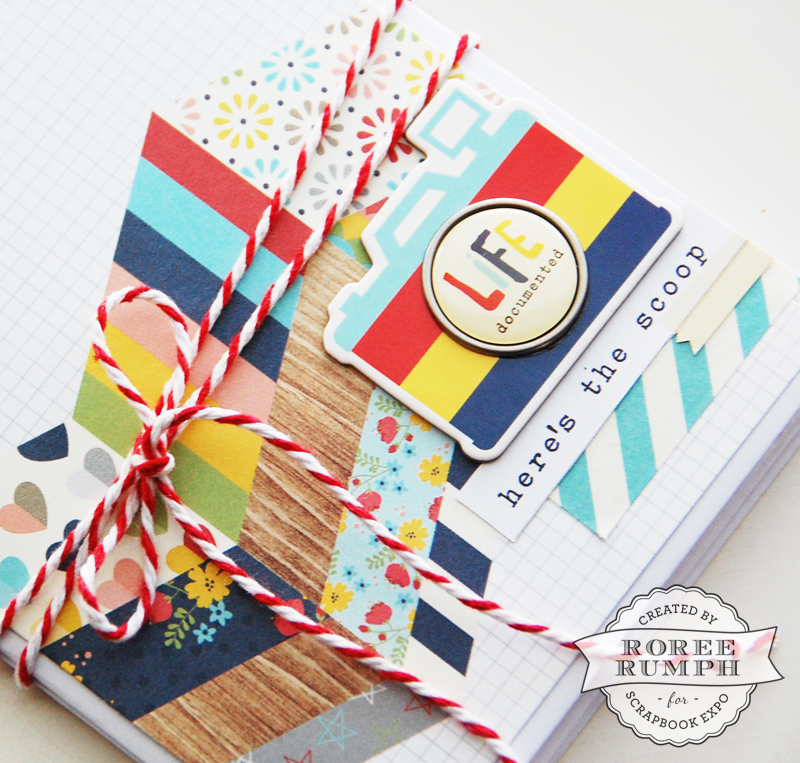
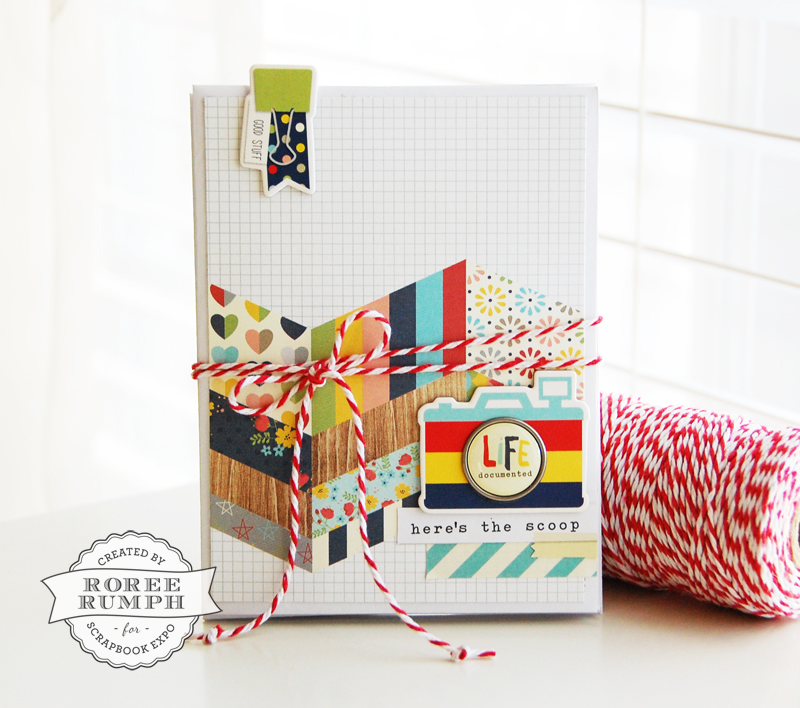
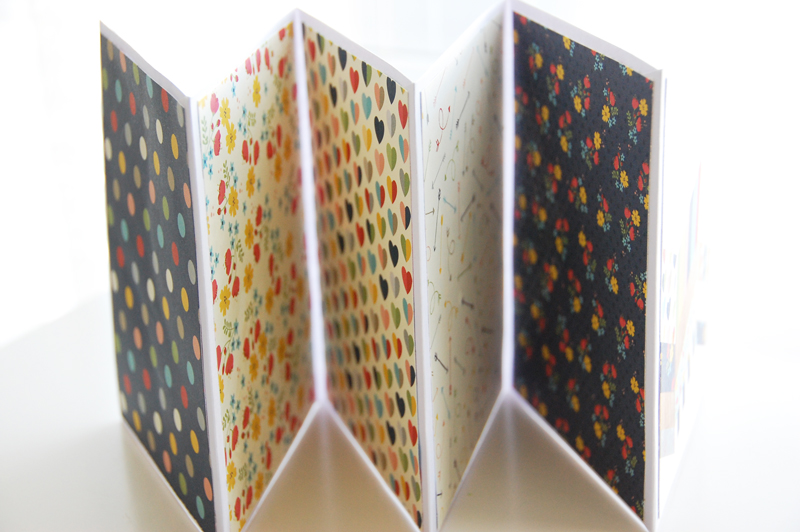
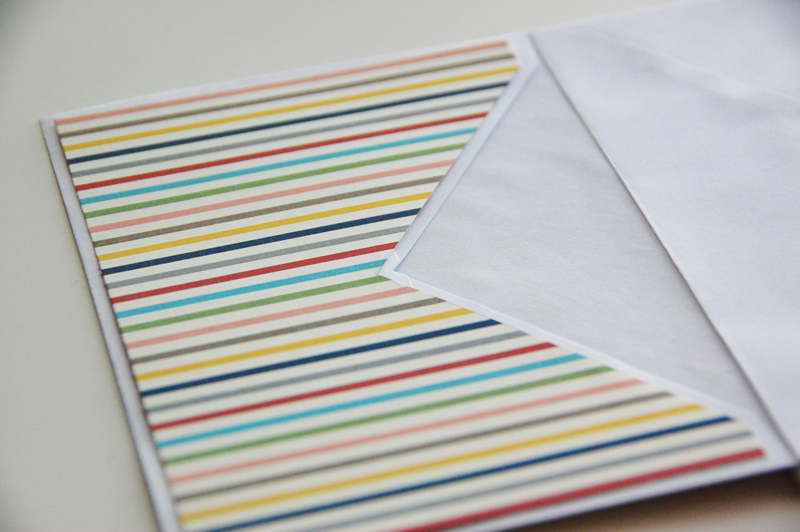
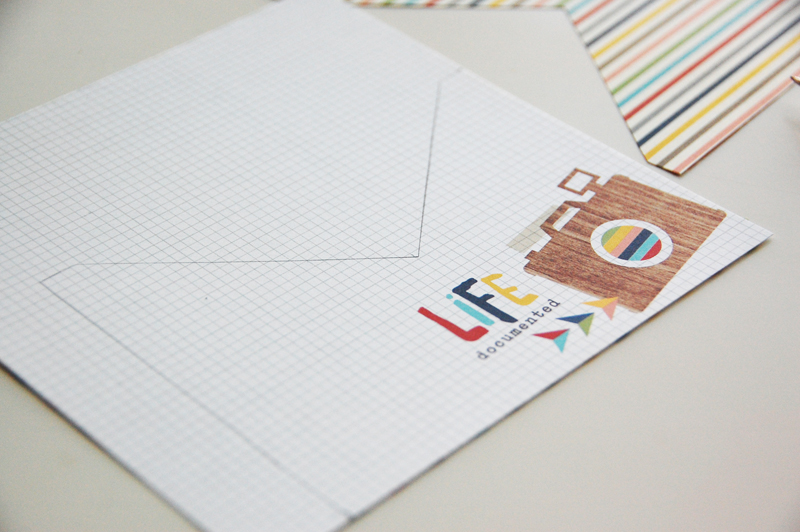
I adhered a solid panel of patterned paper to the front side of each envelopes. (I used Simple Stories Life Documented 6×6 Paper Pad.)
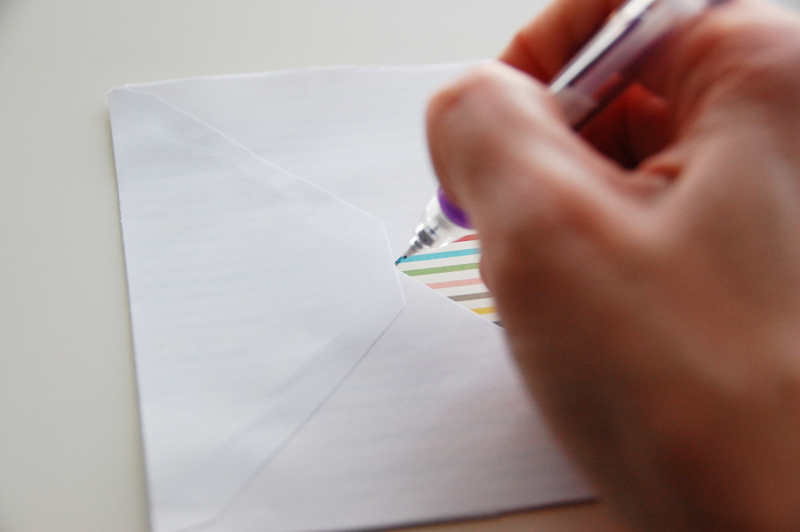
Covering the inside was a bit trickier. I cut apart an extra A2 envelope and used the back side of the envelope to create my template.
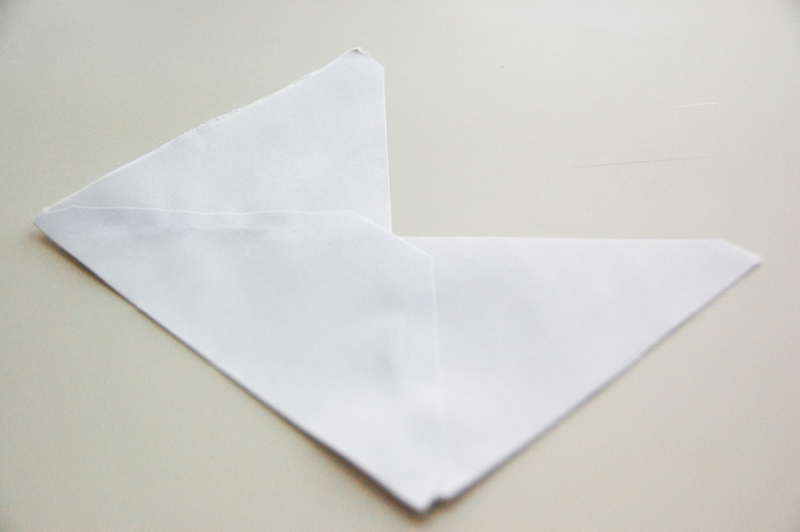
To do this, I set a piece of patterned paper that was just slightly smaller than the back side of the envelope and marked it just inside the point where the envelope angles in on both sides.
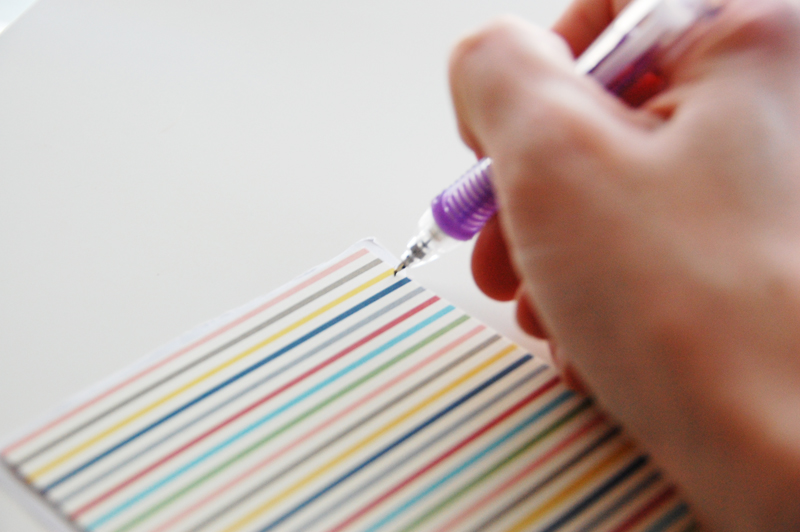
I then put the panel underneath the back side of the envelope and marked the spot where the angles came to a point.
I marked the paper 1/8 of an inch past that point on both sides.

I then used a ruler to mark my lines.
I cut the paper and placed it over my envelope to make sure my template was correct.
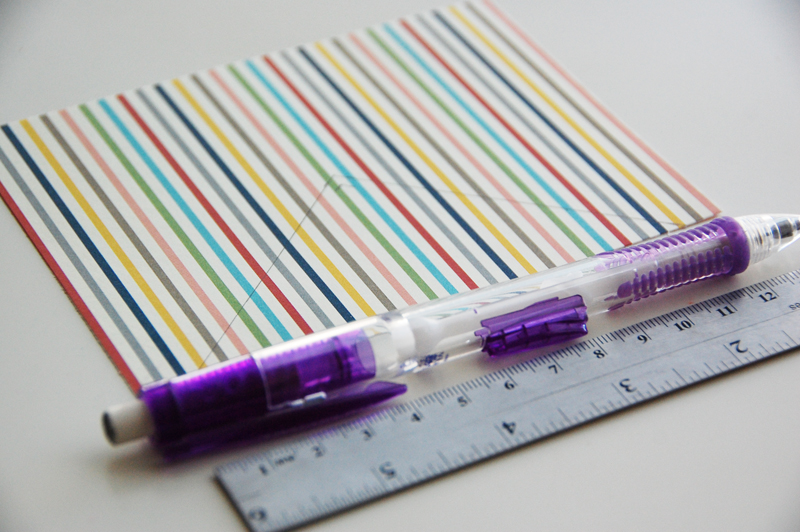
I used the template to cut out multiple patterned paper panels for the back side of each envelope.

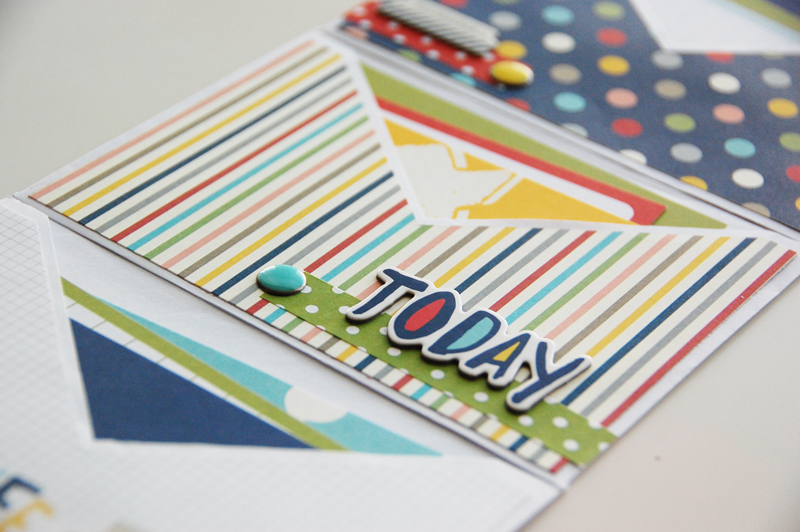
After covering both sides of each envelope, it was time to decorate and fill the pockets.
After that was finished, I tied the mini album closed with some baker’s twine.
This album is perfect for photos, journaling cards, trinkets, and more. And you can easily adjust the size of the album depending on what you want to document.
I hope you enjoyed today’s Make It! Monday project. Thanks so much for stopping by!
I love this idea I will be using it to make small books for the children my class. I need to make at least one per month. Thanks for the idea
What a clever idea-:)
What a fun album Roree! Great use of the envelopes!
Very nice……loved it ……will make one !!
Wow, terrific mini album, gonna try making one of these right now 🙂 Thanks for the inspiration!!!!