 Hey friends, welcome to Inspiration Station with Becki Adams. I’m here on the Weekly Scrapper blog every Thursday. Today I’m SO excited to share with you a quick tutorial on making stamps with the Silhouette™ Mint. I want you to know how easy it is to make stamps with this little machine. This is the very first stamp I made with the Silhouette Mint, and I was really impressed with how easy it was to make a stamp and with the quality of the stamp.
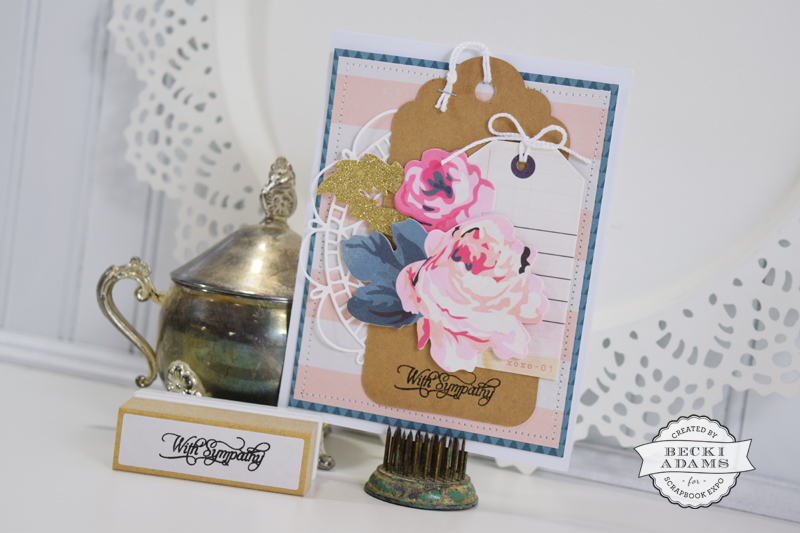
The stamp I made is a sympathy stamp. I like to keep a variety of handmade cards on hand (birthday, congratulations, good luck, baby, and sympathy cards). I’ve found that products for sympathy projects aren’t very easy to find. I decided to make my own stamp so I’ll always have it on hand.
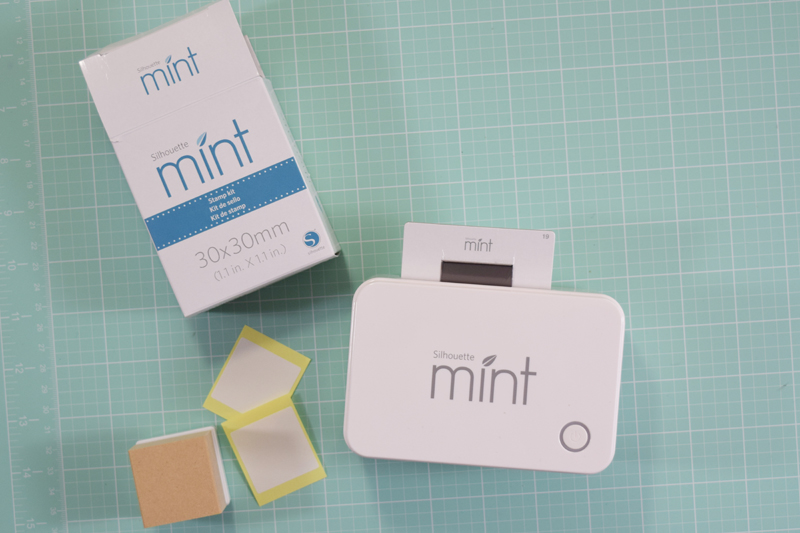
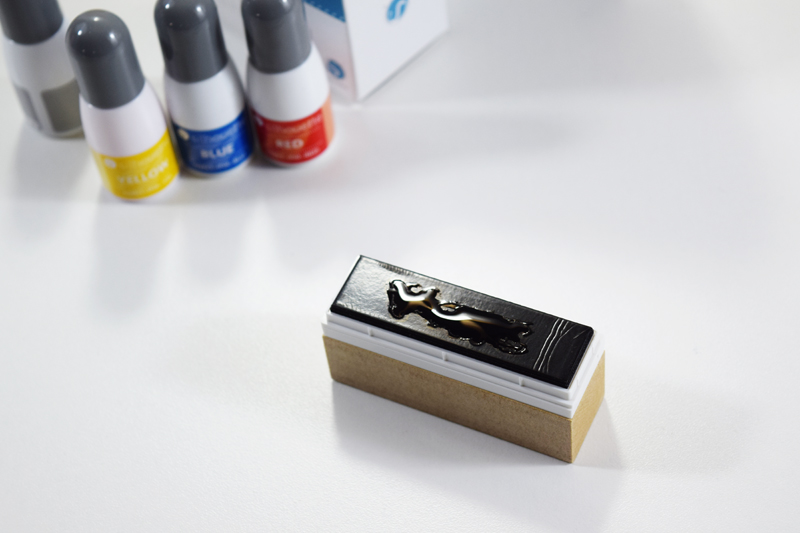
This is all you need to make your own stamp. *Note: I used a 15mm x 60mm stamp kit to create my stamp. The stamp in this photo is a 30mm x 30mm.
I started by choosing a cut file from the Silhouette store. I chose a file that says “With Sympathy” in a fancy font. I opened the file in the Silhouette Mint software and sized it down to fit within my stamp size. When I chose this file I was worried that it wouldn’t stamp well because of all the tiny flourishes, but I was wrong. It looks great!
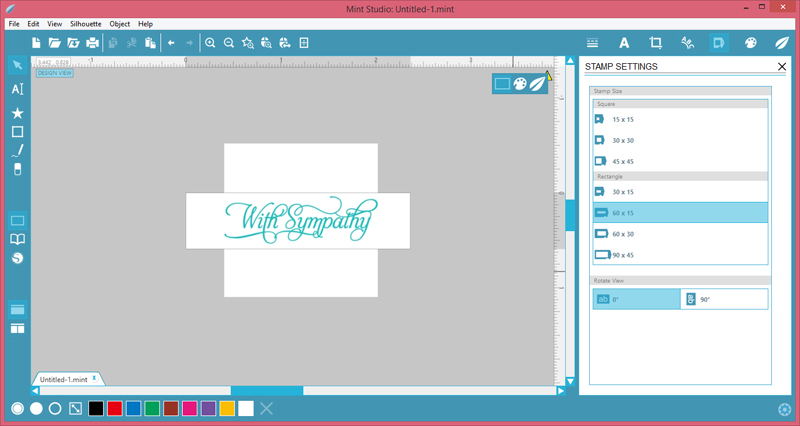
My favorite feature in the Silhouette Mint software (this software comes with the machine) is that when you click the “send to Mint button” it automatically flips the design. I love that I don’t have to remember to flip the image so that it will stamp correctly.
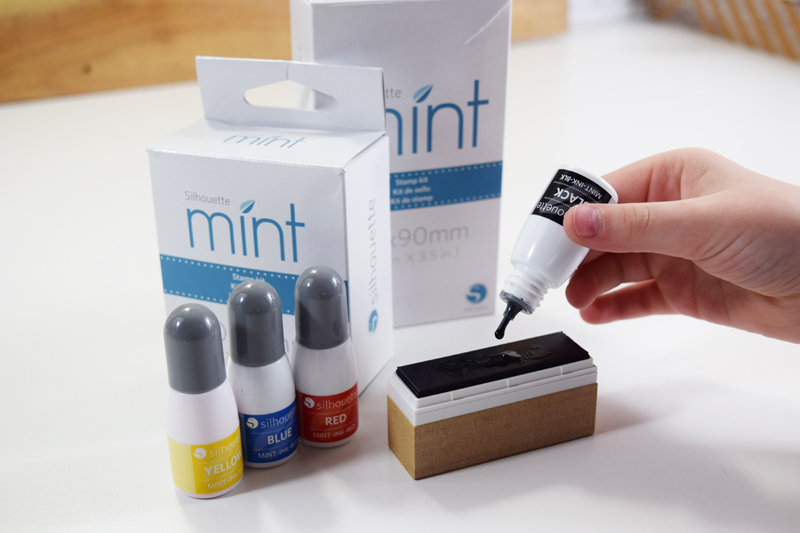
When the stamp comes out of the machine you simply put the stamp on the block and add ink. I chose a simple black ink for this stamp so that it will be versatile and match any of my supplies. There are TONS of colors to choose from though, and it only takes a few drops of ink.
This is what your stamp will look like after you add ink (I actually added a couple drops more than I needed in this photo). After you put ink on the stamp it needs to sit for 5-10 minutes to let the ink soak into the stamp. I did let mine sit for about 30 minutes while I created the rest of the card.
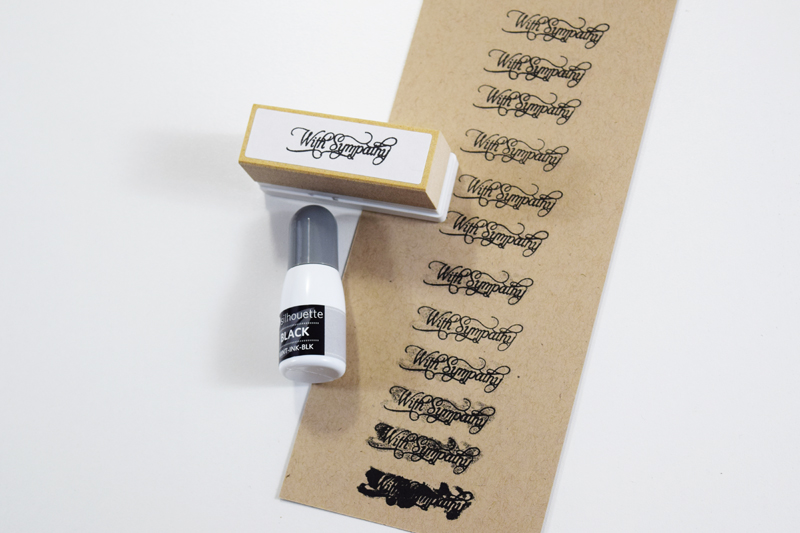
Before you stamp on your project you need to stamp on a piece of scratch paper a few times to remove the excess ink. As you can see, the bottom of this piece of paper is where I started and as I stamped toward the top of the page the excess ink wore off and I was left with a perfect, custom image.

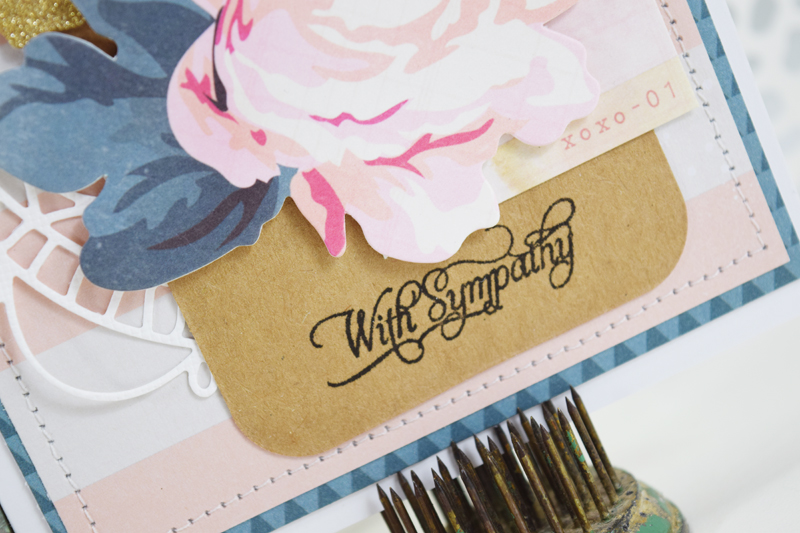
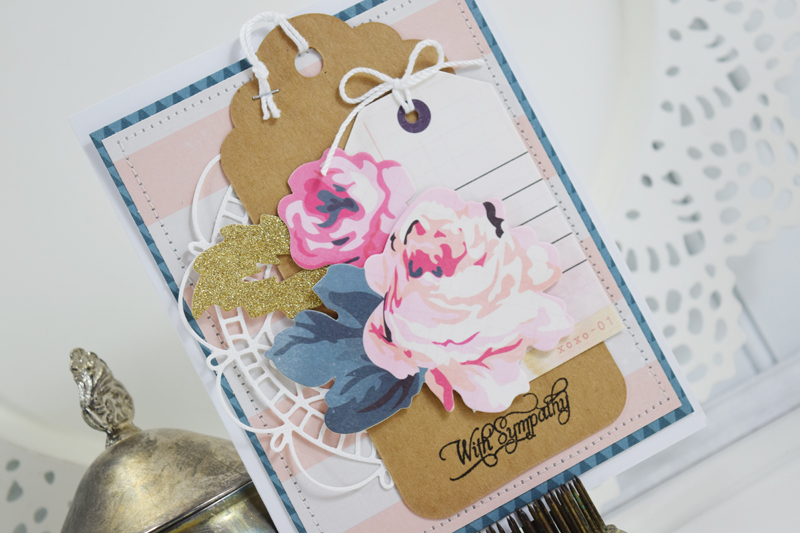
This is the card I created with my custom stamp. I simply stamped the “With Sympathy” sentiment at the bottom of a kraft tag and used it on my card.
I used the Bloom collection from Crate Paper and Maggie Holmes to finish the rest of this card. I thought the florals in this collection were perfect for an elegant sympathy card. The frilly white doily that is on the left side of the card is cut from a Waffle Flower die. Isn’t it gorgeous?
Now, are you ready to make your own stamps with the Silhouette Mint? I think you’ll fall in love with that little machine, just like I did. I’ll see you next week with a home décor project that I know you’ll love!