
Hello, fellow cardmakers! My name is Danielle Flanders, and I am new to the Weekly Scrapper blog! I’m so excited to be here with you each week from now on to share new cardmaking inspiration for you, with special tips and techniques, videos and other tutorials and ideas that will hopefully inspire you to try something exciting and refreshing in your cardmaking!
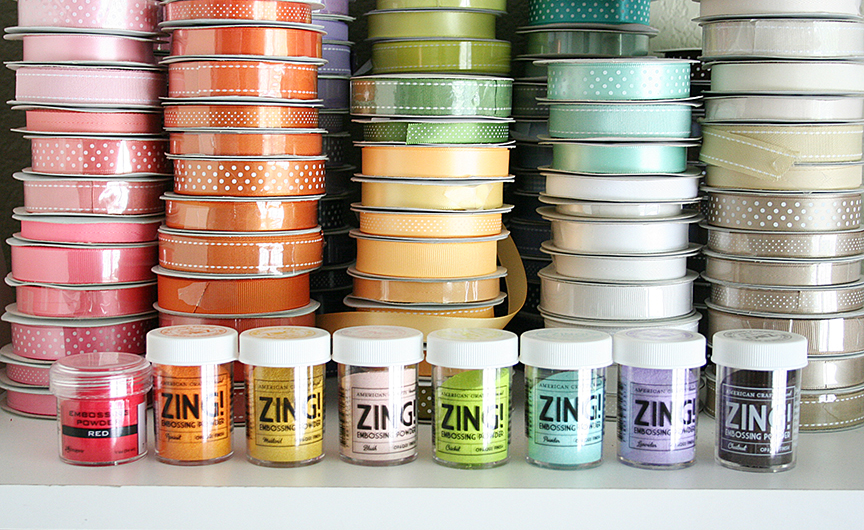
I love color. I keep most of my supplies hidden in my closet and drawers, as I’m somewhat of a neat freak, but I can’t help but to set out my MOST colorful supplies, including the Zing! Embossing Powders. And of course, they are set out in rainbow order! I’ll show you a fun way to create multi-colored sentiments on your cards using multiple embossing powders.
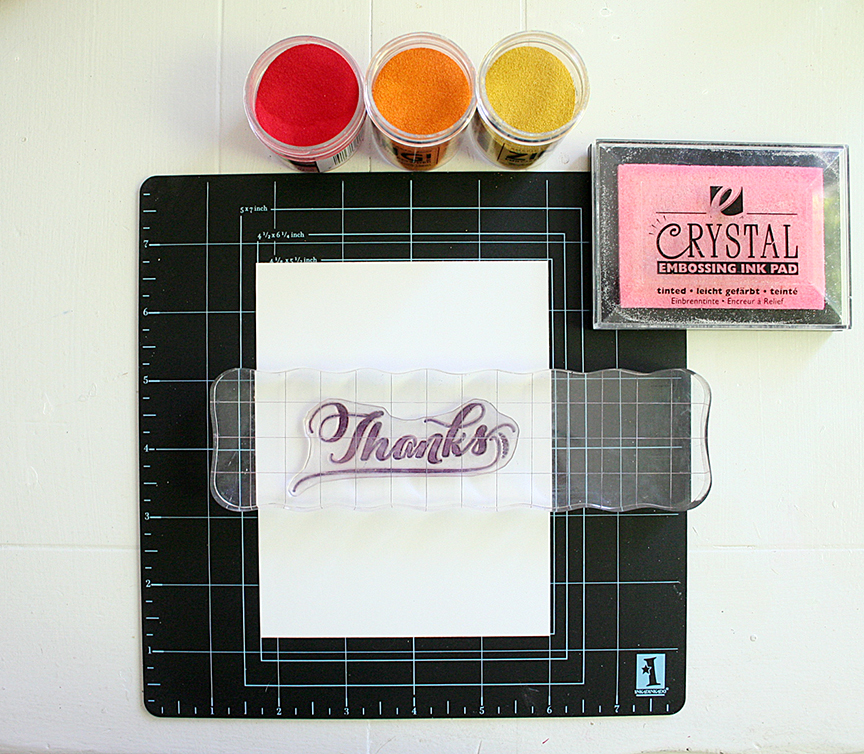
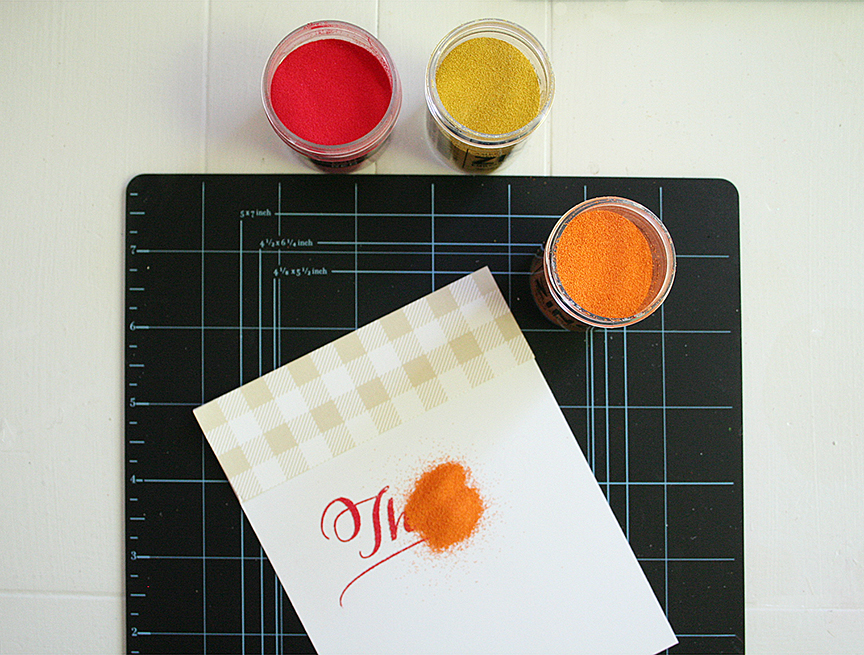
First, choose 2-3 colors of embossing powders that go together. Blues/greens/purples work well together, but for my example today, I chose red/orange/yellow. Large sentiment stamps work well for this technique like this one by Papertrey Ink from their Graceful Greetings stamp set. Load the stamp onto a clear stamping block and dip it into an embossing ink pad, which is clear ink that the embossing powders will stick to. Stamp the sentiment in the center of the card.
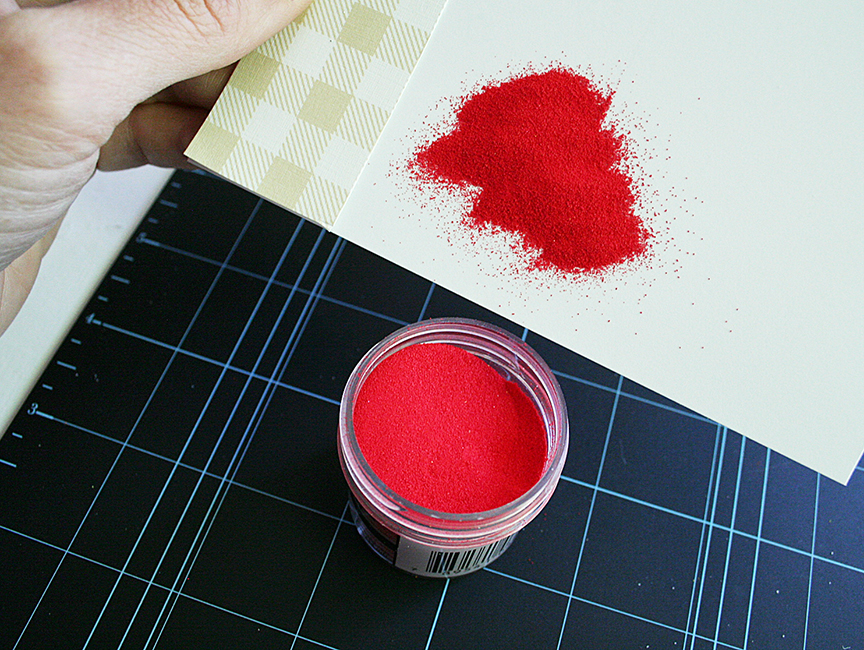
Next, pour red embossing powder on part of the word. Since I’m splitting the word up in three colors, I’ll try to pour the red powder over the first third of the word.

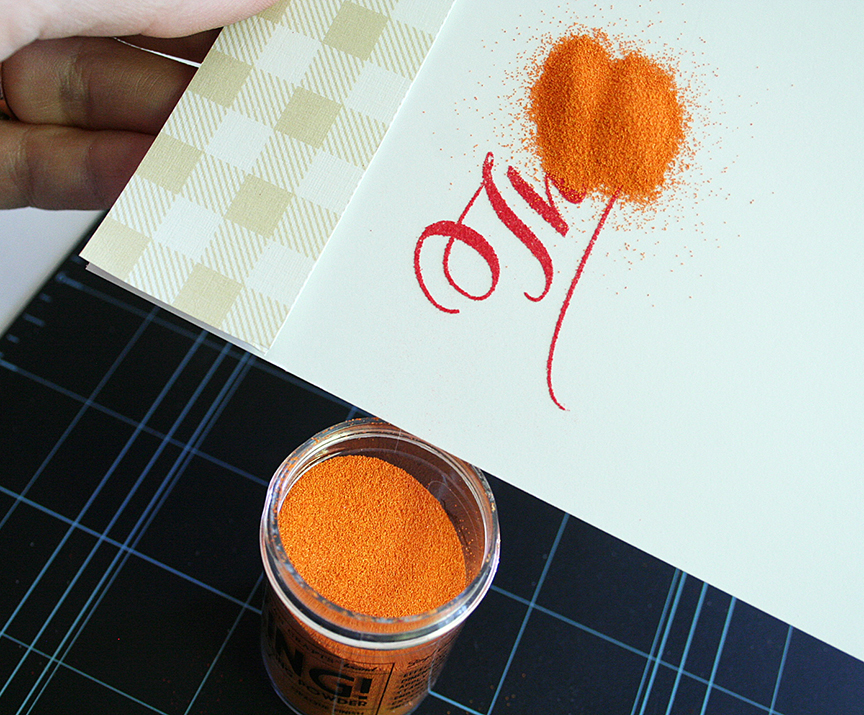
The trick to this technique is…. and this is very important… tip the card to the LEFT to pour off the extra embossing powder. If you tip it to the right, the red powder will stick to the rest of the word.
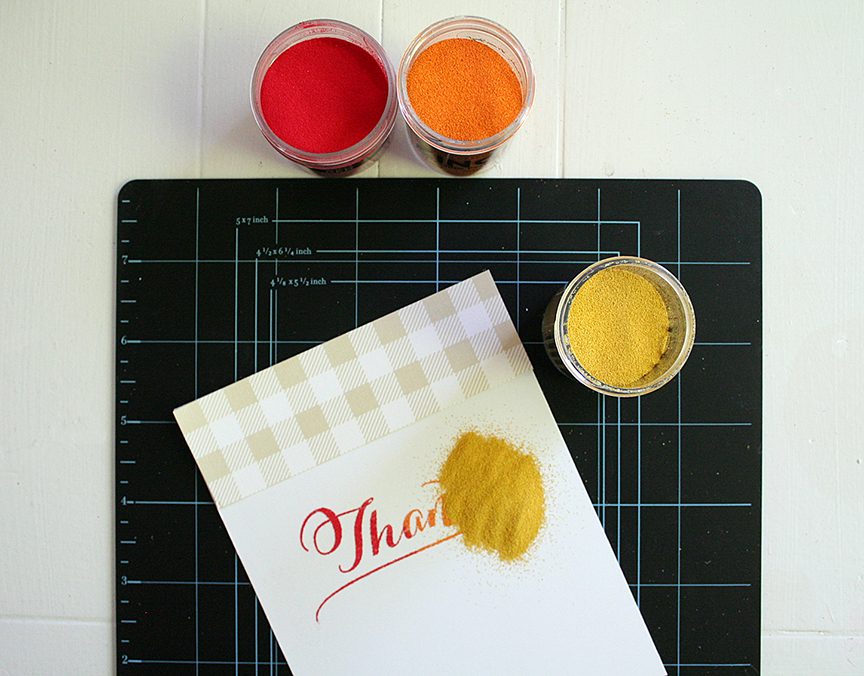
Now pour the orange embossing powder onto the second portion of the word. Be sure to tip the card to the left again to dump off the extra orange embossing powder, so it won’t stick to the rest of the word where we will be adding the yellow powder.
Last, pour on the yellow embossing powder and pour the excess back into the yellow Zing! jar.
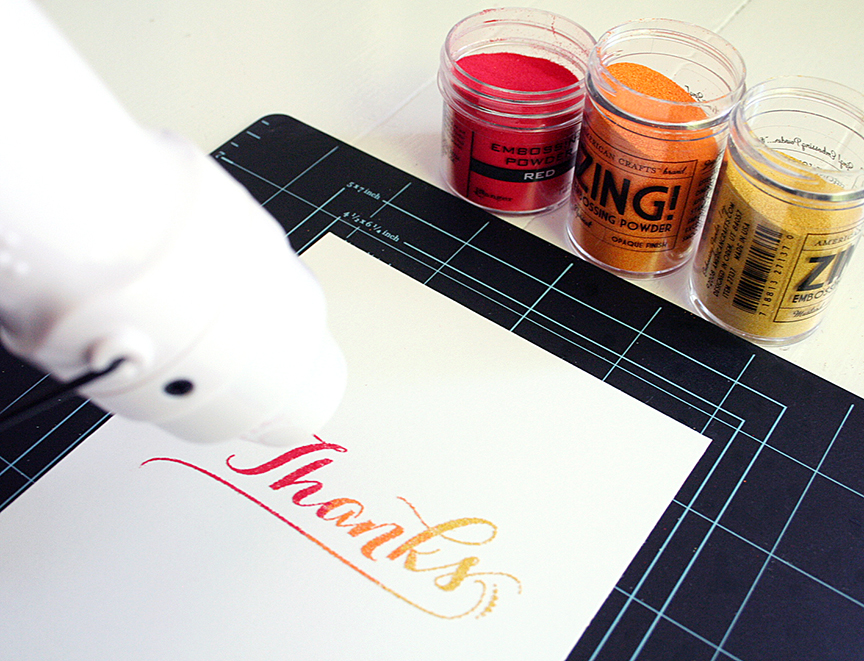
Heat the image with an embossing heat tool until the powder is melted. Let cool.
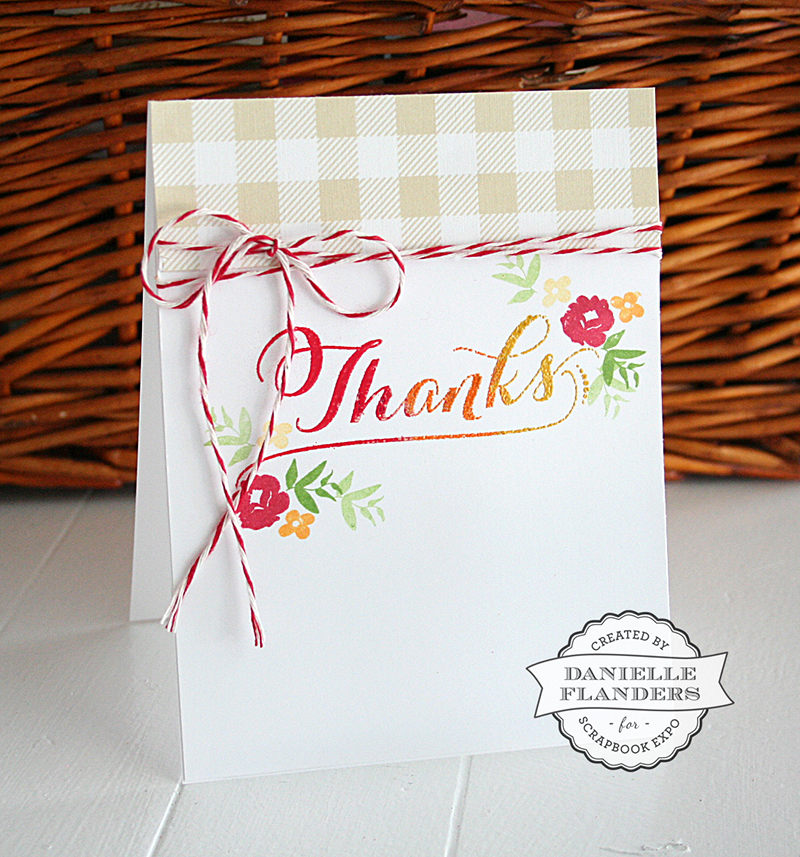
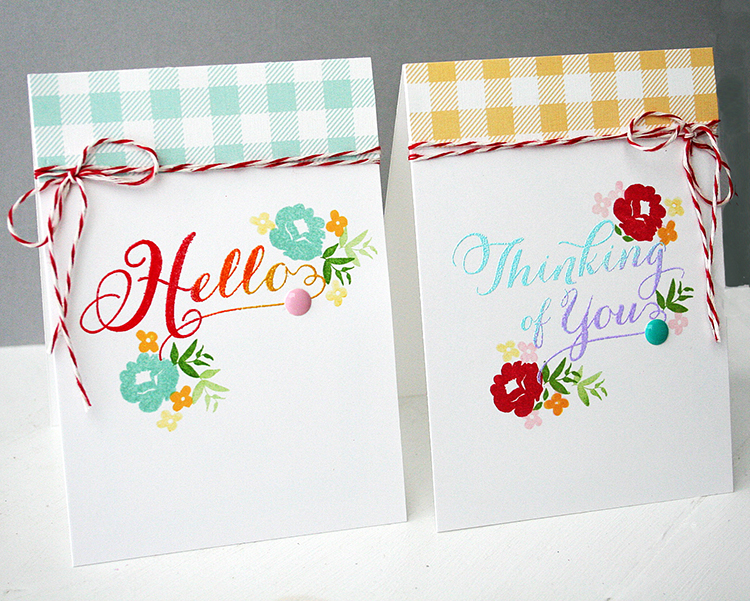
Last, I added a gingham paper to the top, a piece of twine, and some stamped flowers from the Graceful Greetings stamp set by Papertrey Ink.

Voila! We have a multi-colored sentiment!

Here are a couple other samples I’ve made in the past with this same technique.
I hope you’ll have fun with this idea and give it a try! See you next week!
Danielle
What a great way to really make a simple sentiment shine! Awesome tutorial!
Thank you, Tara!
Great tutorial..love the cards!
Thank you, Holly!
Very pretty cards Danielle! Great technique and very well explained. I liked the tip about which way to tip your card. Ask you how you know? 🙂
Thanks for your nice note, Tami!
It is absolutely delightful with the multi-color embossing! ADORE the simplicity of this sophisticated card, Danielle!
You’re always so sweet, Virginia! Thanks!
Cool technique! I am excited to see your posts every week!
Thank you, Angel!
I love these cards Danielle. 🙂 I will give this cool technique a try, thank you!
Can’t wait to see your cards, Luanne! Thanks for your nice note!
Pretty cards! Love the embossing shading!
Thank you, Jan!
Great idea. I will definitely be trying this technique
Thanks, Carolyn!