Happy Tuesday! Danielle here with another card making tip! Today I’d like to share with you how to get this pretty gradient look using border dies.
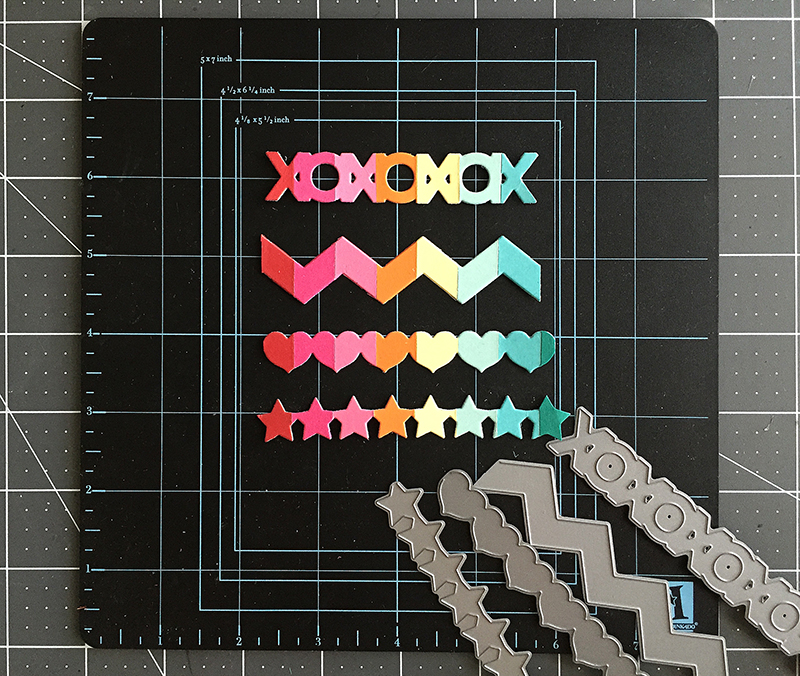
The first thing you will want to do is choose which cardstock colors you will want for your border. I have a rainbow effect going on here on my sample, but you can use any colors that will coordinate with your project. Cut the cardstock sheets into strips, wide or narrow. These are 1/2 inch wide. Glue them down onto a piece of white cardstock.
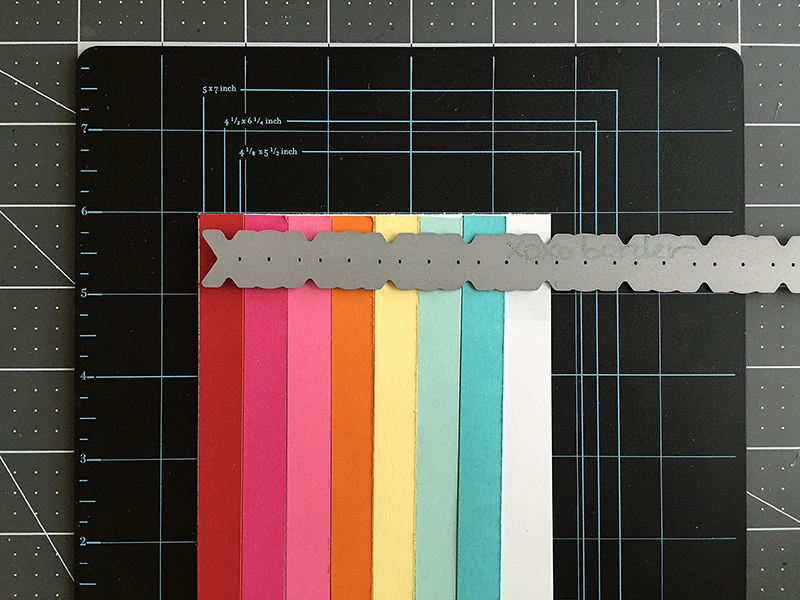
Lay your border die of choosing over the top, face down. Cut with a die cutting machine, such as a Cricut Cuttlebug™ die cutting machine.
This is what you’ll get when you take it out! You may want to make your cardstock strips skinnier or wider, depending on what type of border you are using.
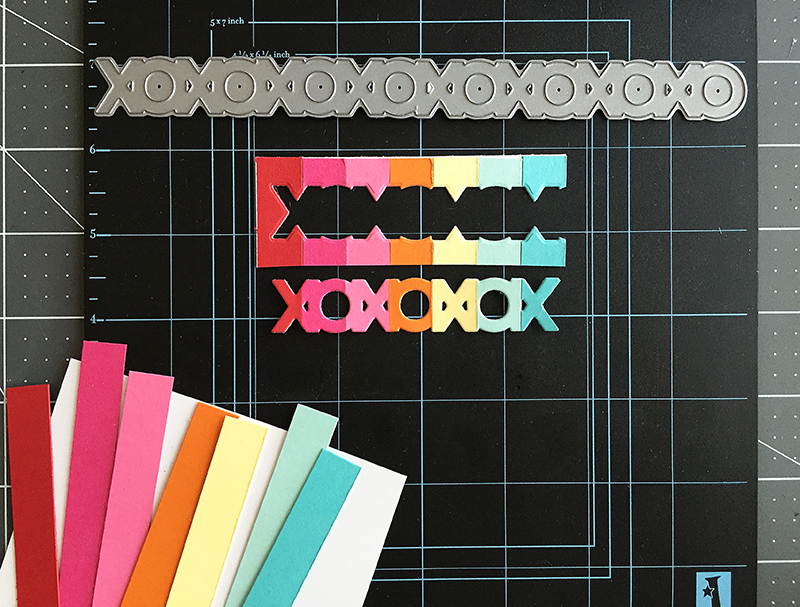
You can also cut a few different borders out all at the same time from one sheet…stars, hearts, XOXO, chevrons, etc.
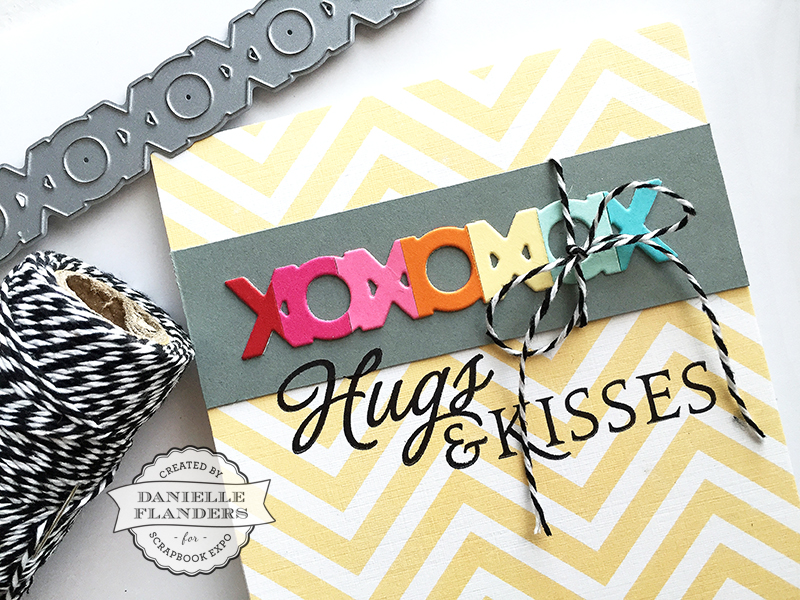
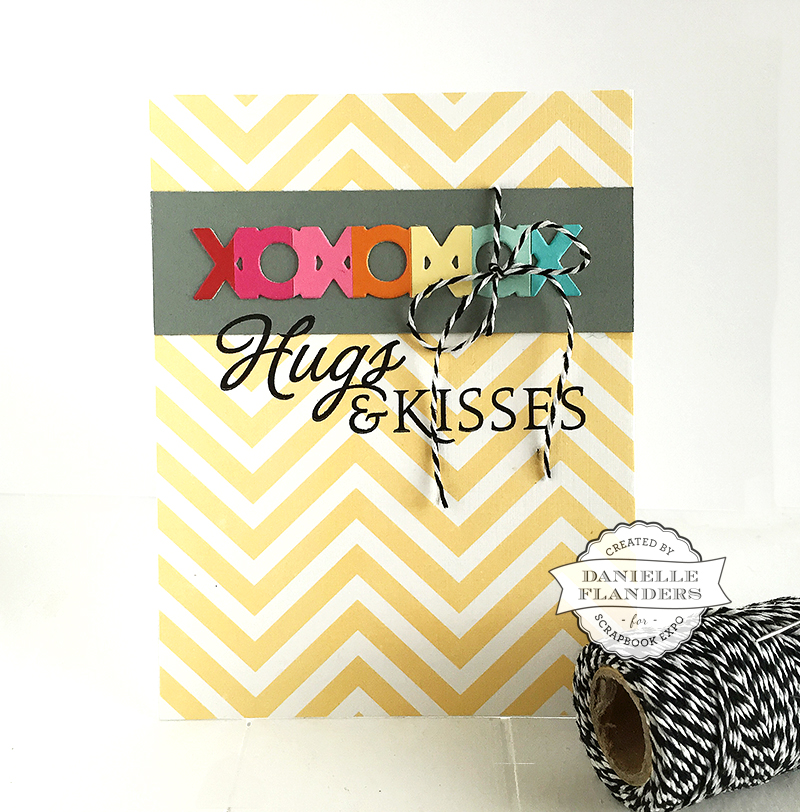
Use them simply as a border on a card, or as the focal point of the card, like I’ve done here. I’ve used a piece of gray cardstock behind the border to bring attention to it, wrapped a piece of twine around it before adhering, then stamped “Hugs & Kisses” underneath. The stamp is from Papertrey Ink’s Think Big Favorites #11 stamp set and the XO border die can be found HERE.

I hope you’ll pull out your border dies, cardstocks and/or patterned papers and your die cutting machine and give it a try! Have a great week!
Danielle
I love this idea and plan on using it with some of my 12 inch border dies for scrapbook pages. Thanks for the inspiration!
That’s a great idea, Joan! Thank you for your note!
what a clever idea…love it!!!
Thank you very much, Alice!