Hey everyone! Roree here with today’s Make It! Monday post.
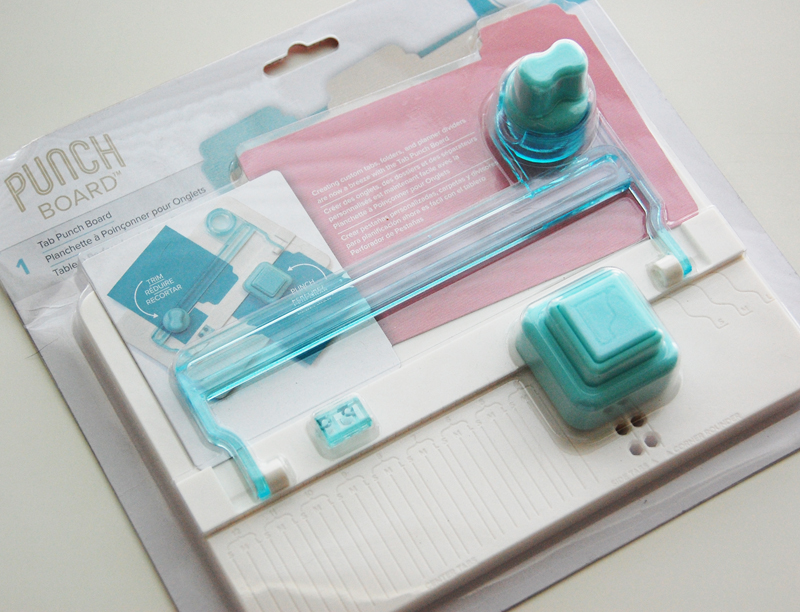
Our next show is in Grapevine, Texas on March 31st – April 1st! Stamp & Scrapbook Expo will be teaching three “Latest & Greatest” workshops at this show: Card Making, Cool Tools, and Stamping. We have lots of great products from some awesome manufacturers in these classes, and today I am going to be working with one from our Cool Tools workshop: We R Memory Keepers‘ Tab Punch Board.
We R Memory Keepers is the one of my go-to companies for craft tools (along with their other amazing products) and the Tab Punch Board is no exception. It is easy to use and perfect for so many types of projects. You can learn more about it HERE.
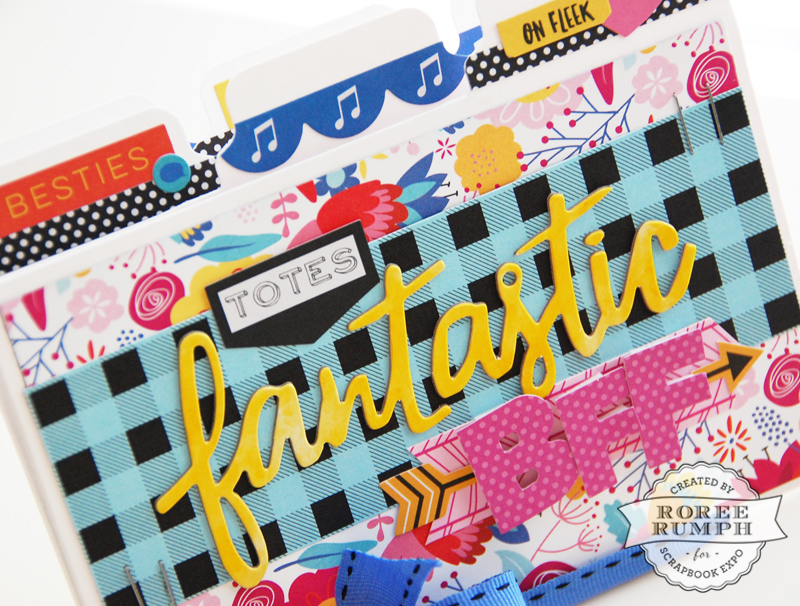
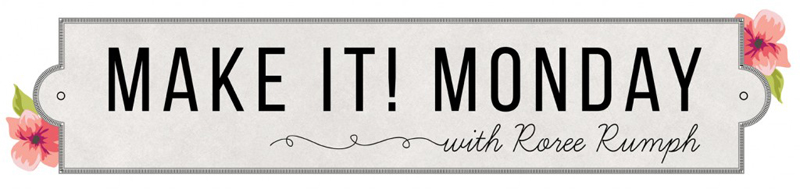
I used my Tab Punch Board to create this mini album:
First, I started with the Tab Punch board and some white cardstock.
I wanted the my mini album to be 4 x 6″ (excluding the tabs) so I cut each piece of cardstock to 6 x 9 1/2″ and scored each panel in the center.

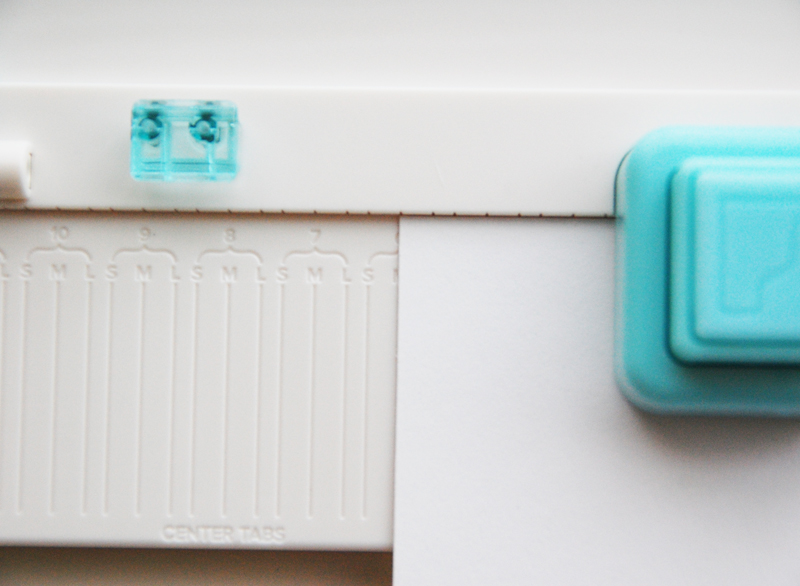
I placed the Tab Alignment Bar in the Side Tabs position and punched the corner of my cardstock panel.

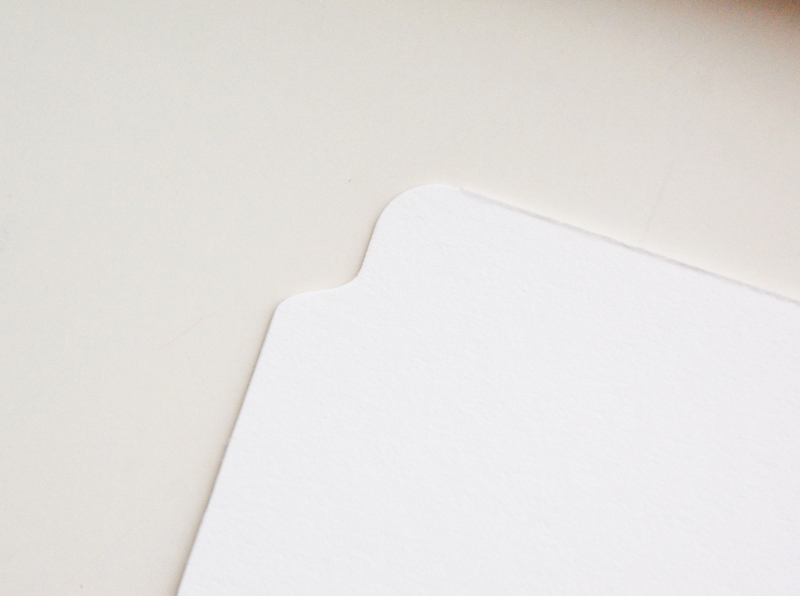
I then removed the Tab Alignment Bar, flipped the cardstock panel over, lined up the punched tab with the tab size I was creating (medium), and punched the other end.
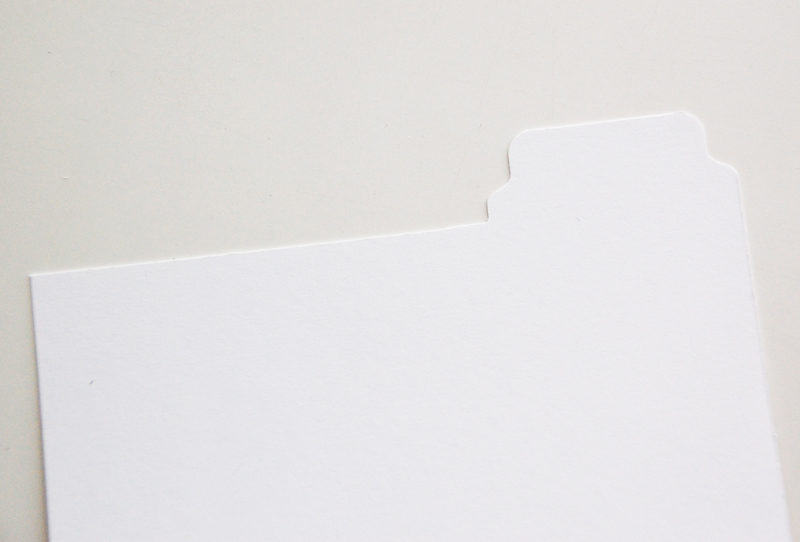
I placed the cardstock under the Cutting Track and trimmed off the excess cardstock with the Cutter to create my tab.

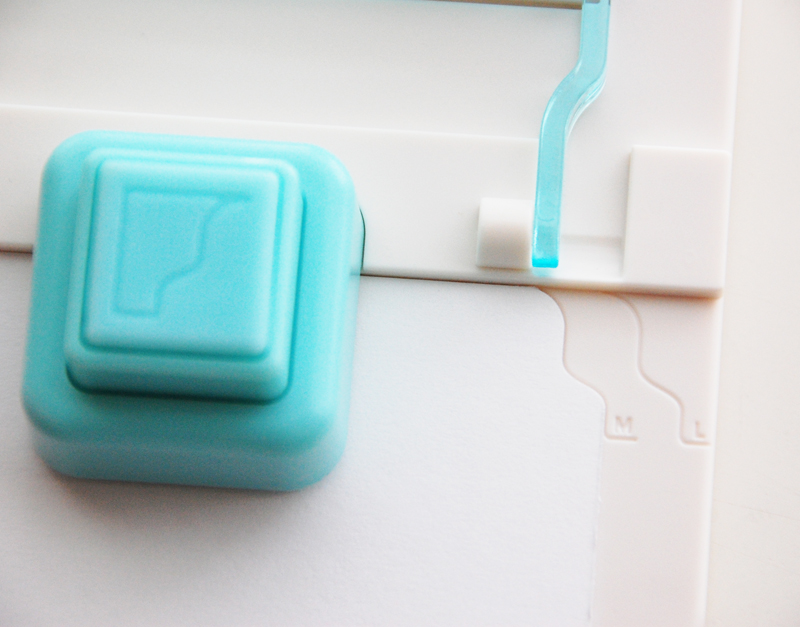
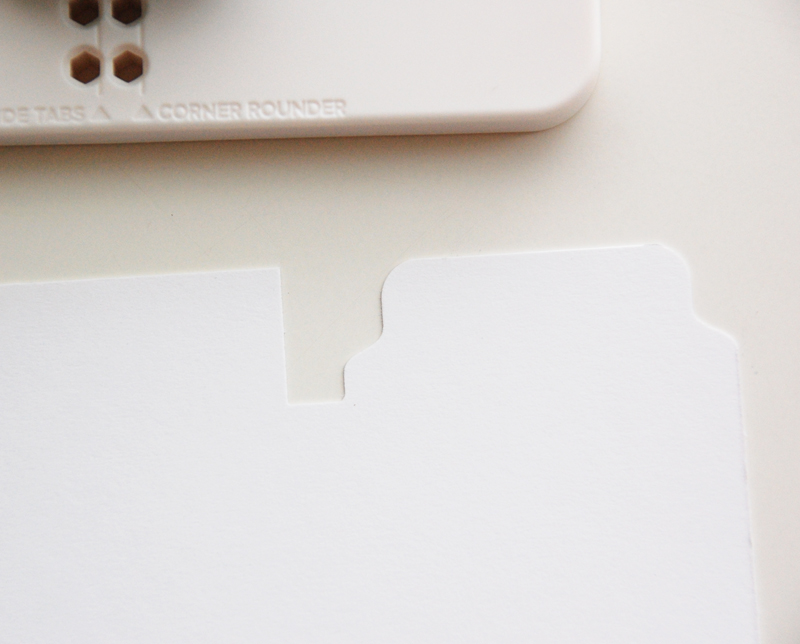
To create my center tabs, I lined up the edge of the cardstock in the 6″ medium tab position (the length of my page and the size of my tab) and punched the cardstock. I flipped the paper over and repeated this step for the other side.
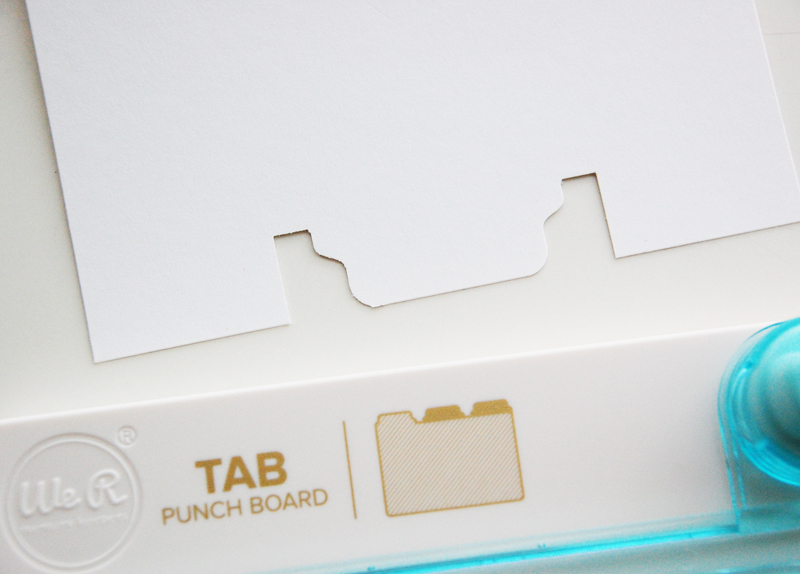
Then, I trimmed off the excess with the Cutter and Cutting Track.
I created two panels with side tabs on both ends that were diagonal from each other and one panel with center tabs on both sides.

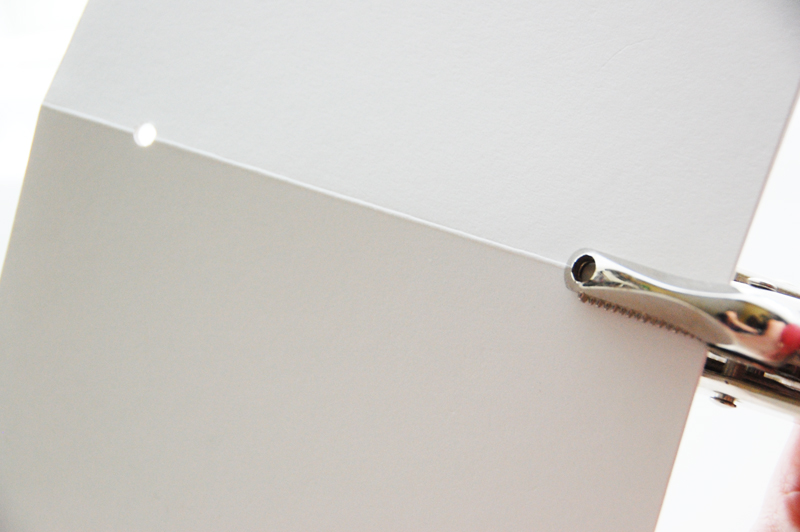
I layered the panels together and punched holes along the scored lines with my Crop-A-Dile.
Then I decorated my mini album. I chose papers and stickers from Bella Blvd‘s Addison and Alex collections, a chipboard sentiment from Pink Paislee‘s Take Me Away Wild Heart Thickers pack, and some ribbon to bind it all together.
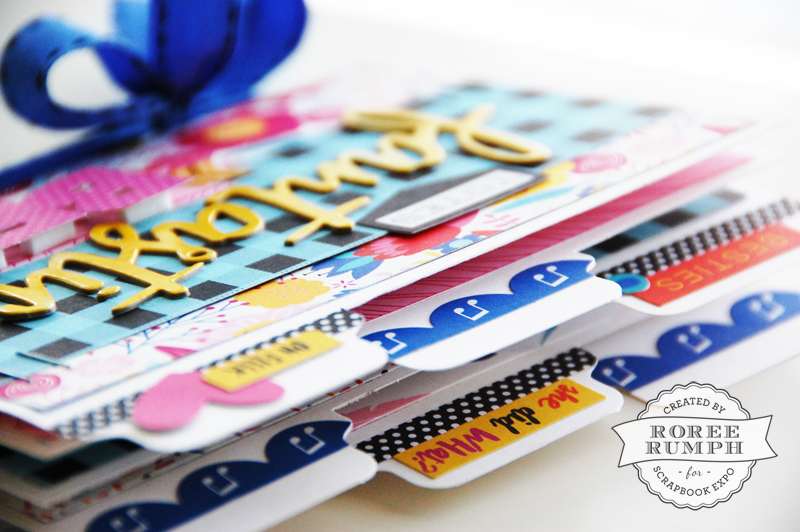
And here is a tip for decorating your tabs: I used border stickers cut into smaller strips, attached them to the tabs, then used the punch on the Tab Punch Board to trim off the excess sticker. So quick and easy!
This Cool Tools workshop featuring We R Memory Keeper’s Tab Punch Board will also be taught at our shows in Anaheim CA, Milwaukee WI, Orlando FL, and Puyallup WA. We hope you can come join us at one of these shows. We would love to see you there!
I hope you enjoyed today’s Make It! Monday project. Thanks so much for stopping by!
Save
Save